Creating a connector using Kafka Connect in SMM
Learn how to create a connector through Kafka Connect in your cluster.
Perform the following steps to create a connector:
-
Click the New Connector option in the upper right corner
of the
Connect Clusterpage.TheSelect A Templatescreen appears.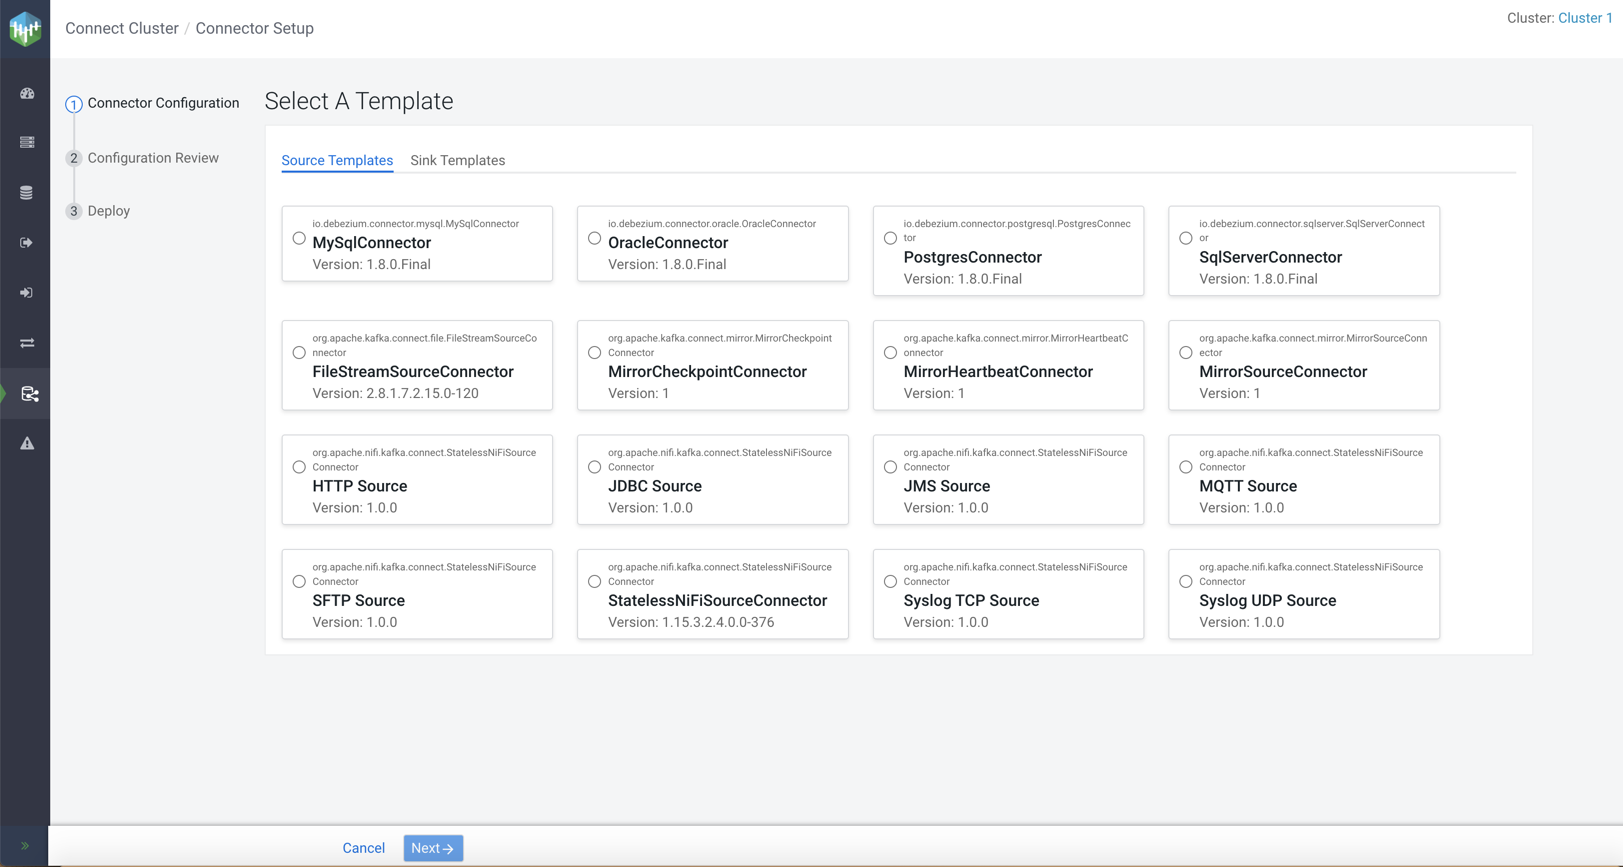
-
Select a connector.
The Connector Form appears.
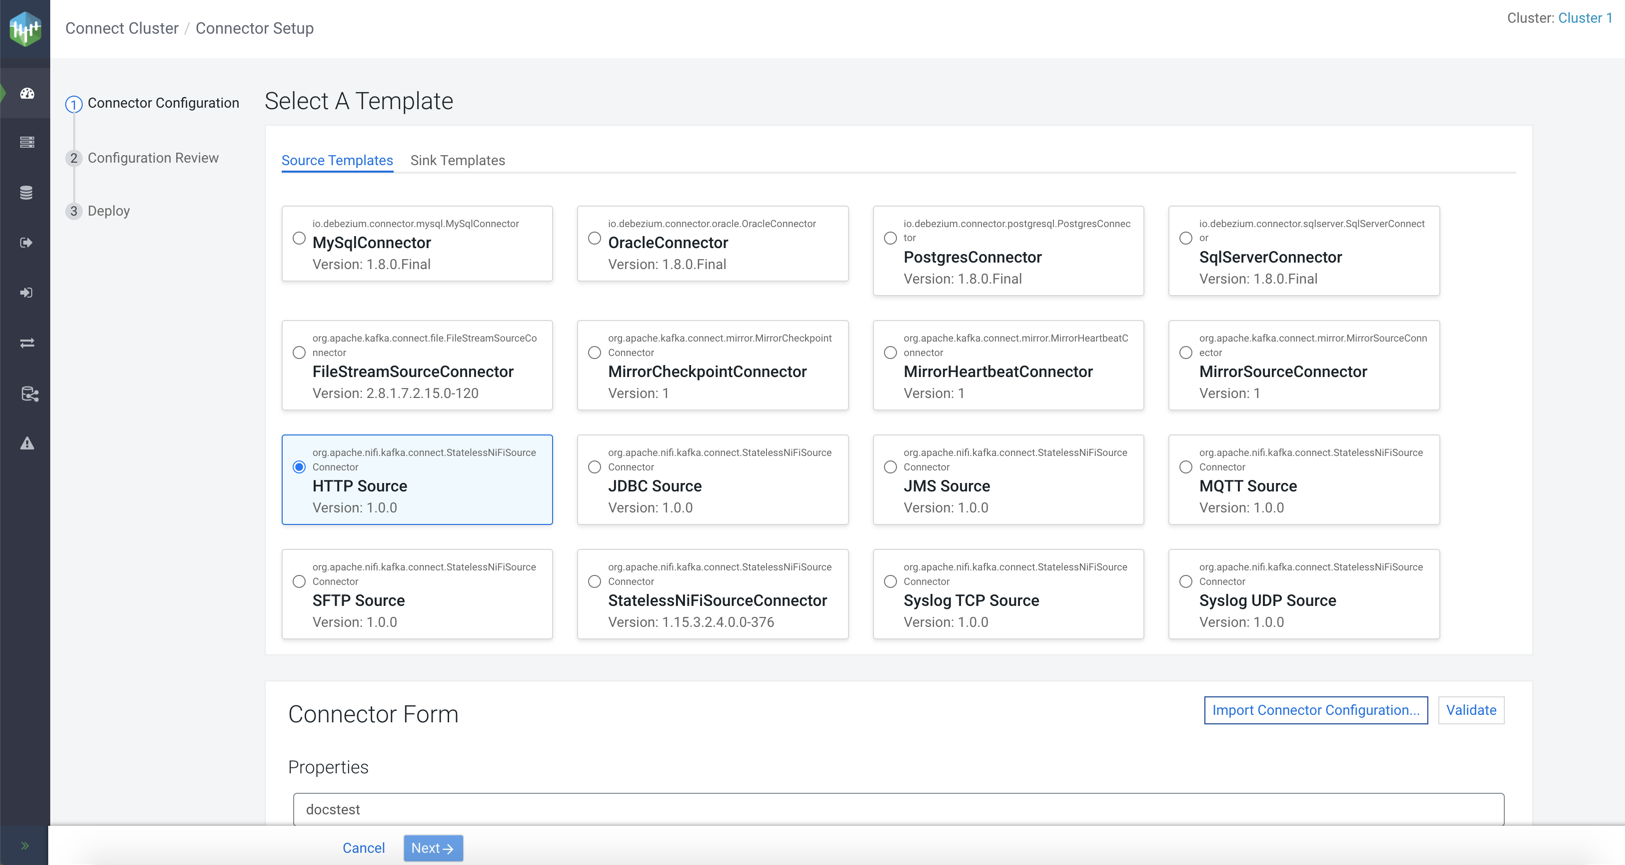
-
Configure the properties of the connector.
For more details about the options in the Connector Form section, see Configuring Connector Form.
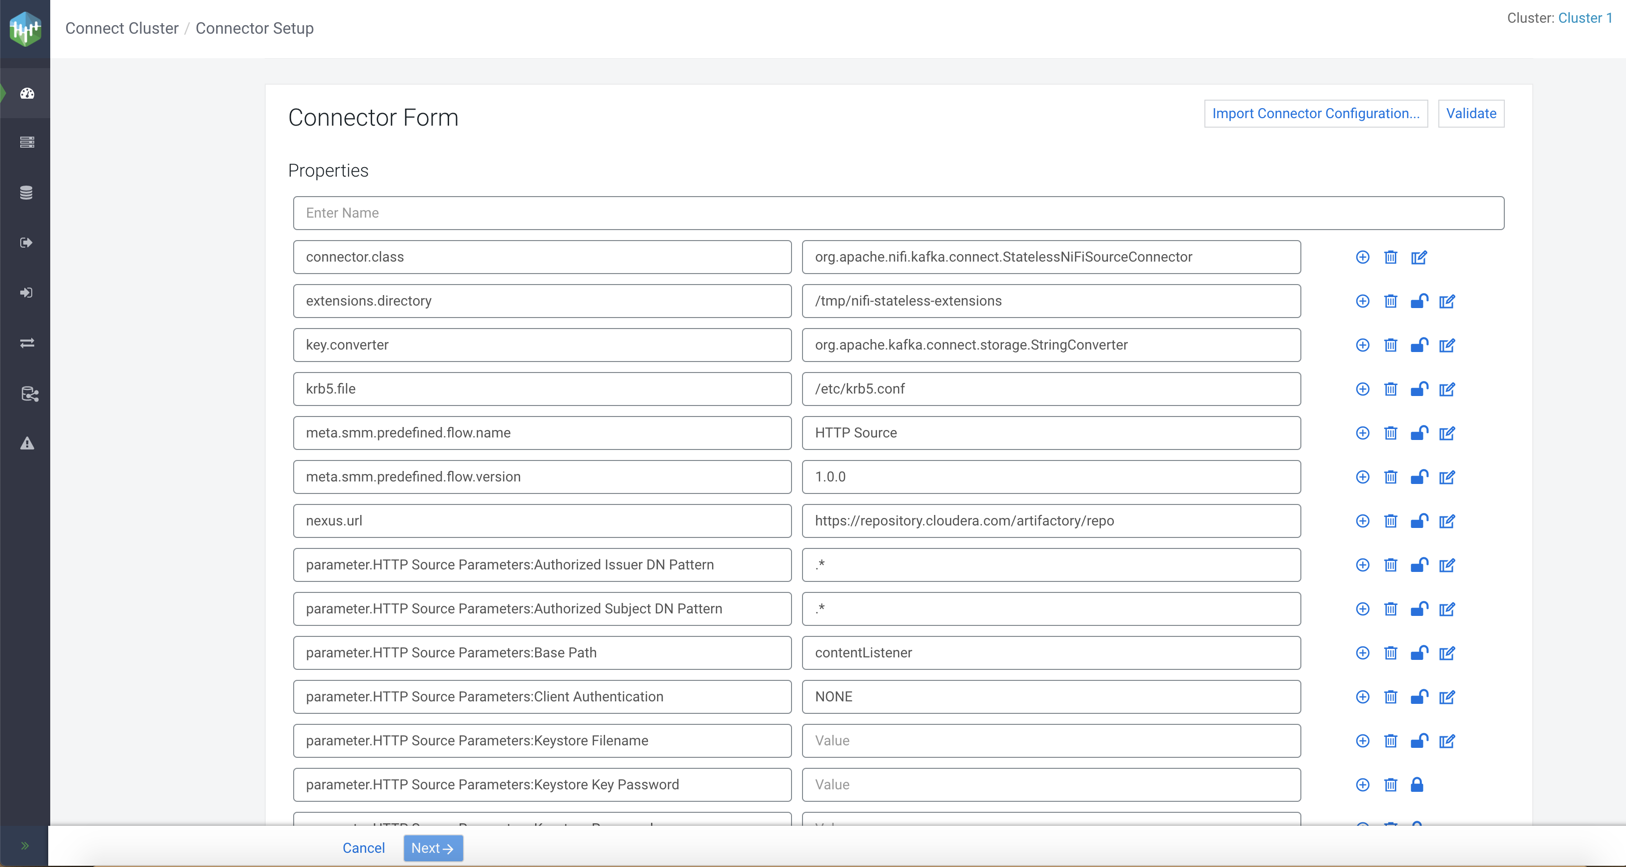
- Optional:
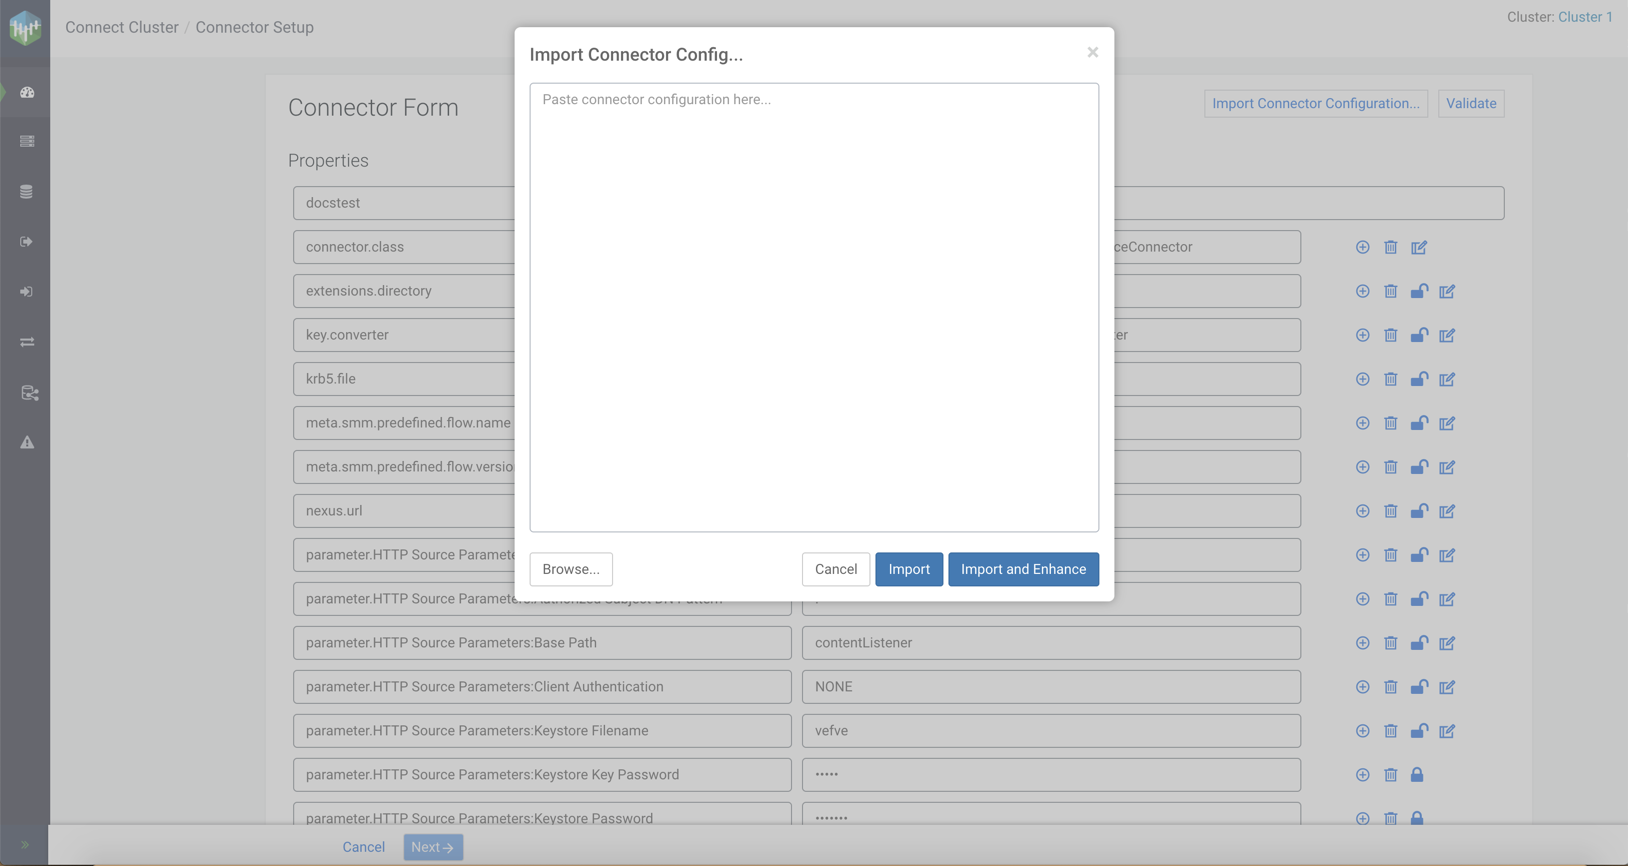
Click Import Connector Configuration to import
configurations for a connector.
For more information about how to import connector configuration, see Importing connector configuration.The Import Connector Config... dialog appears.
-
Resolve the errors until validation passes, and then click
Next.
The
Configuration Reviewpage appears.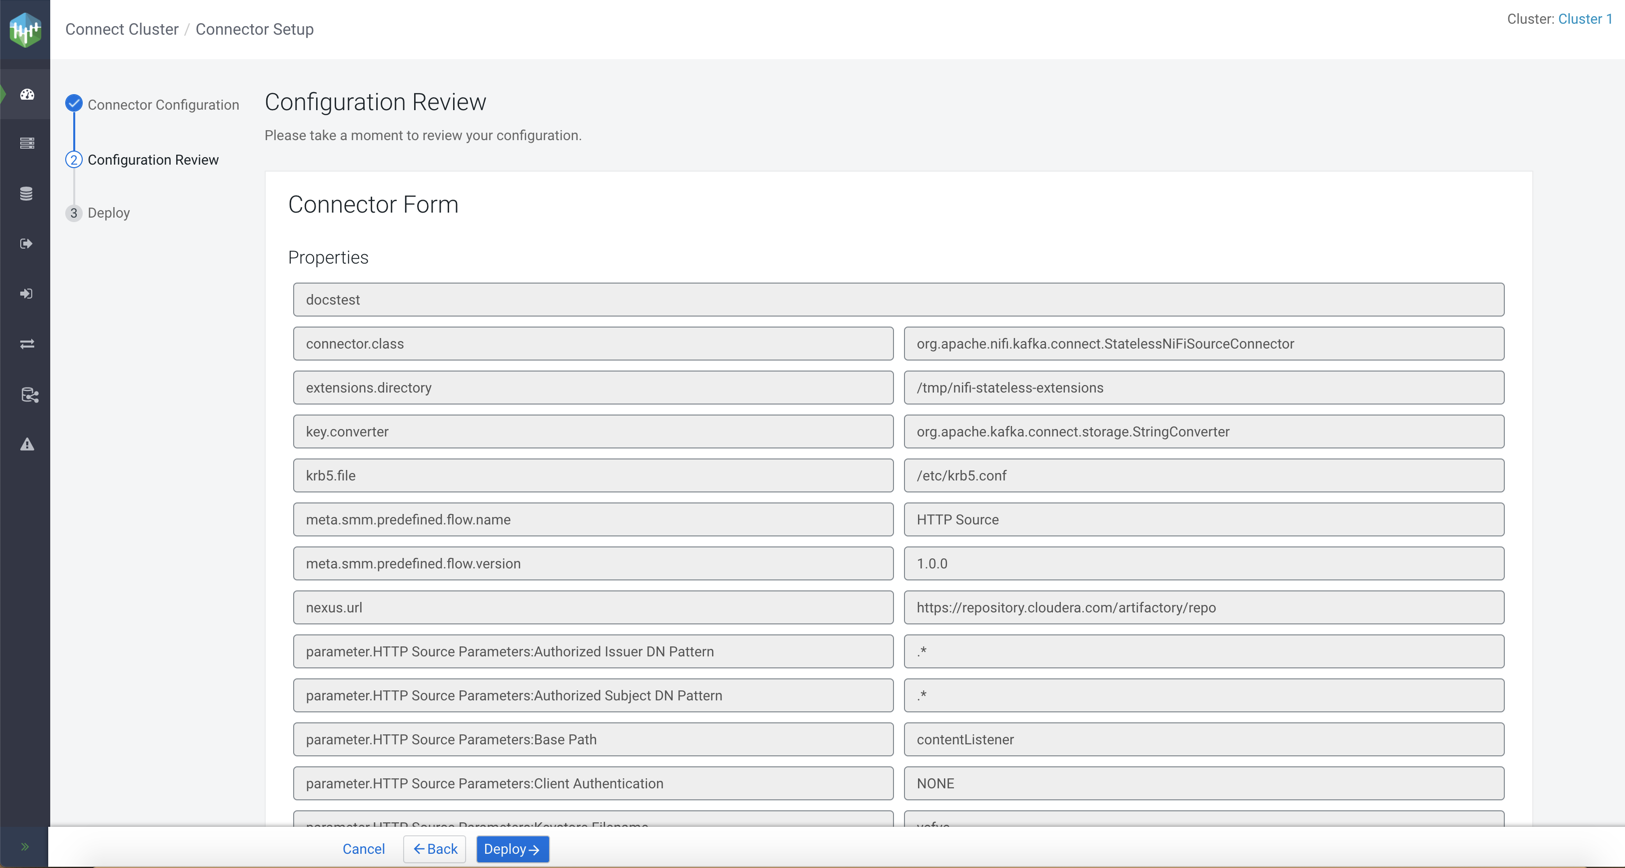
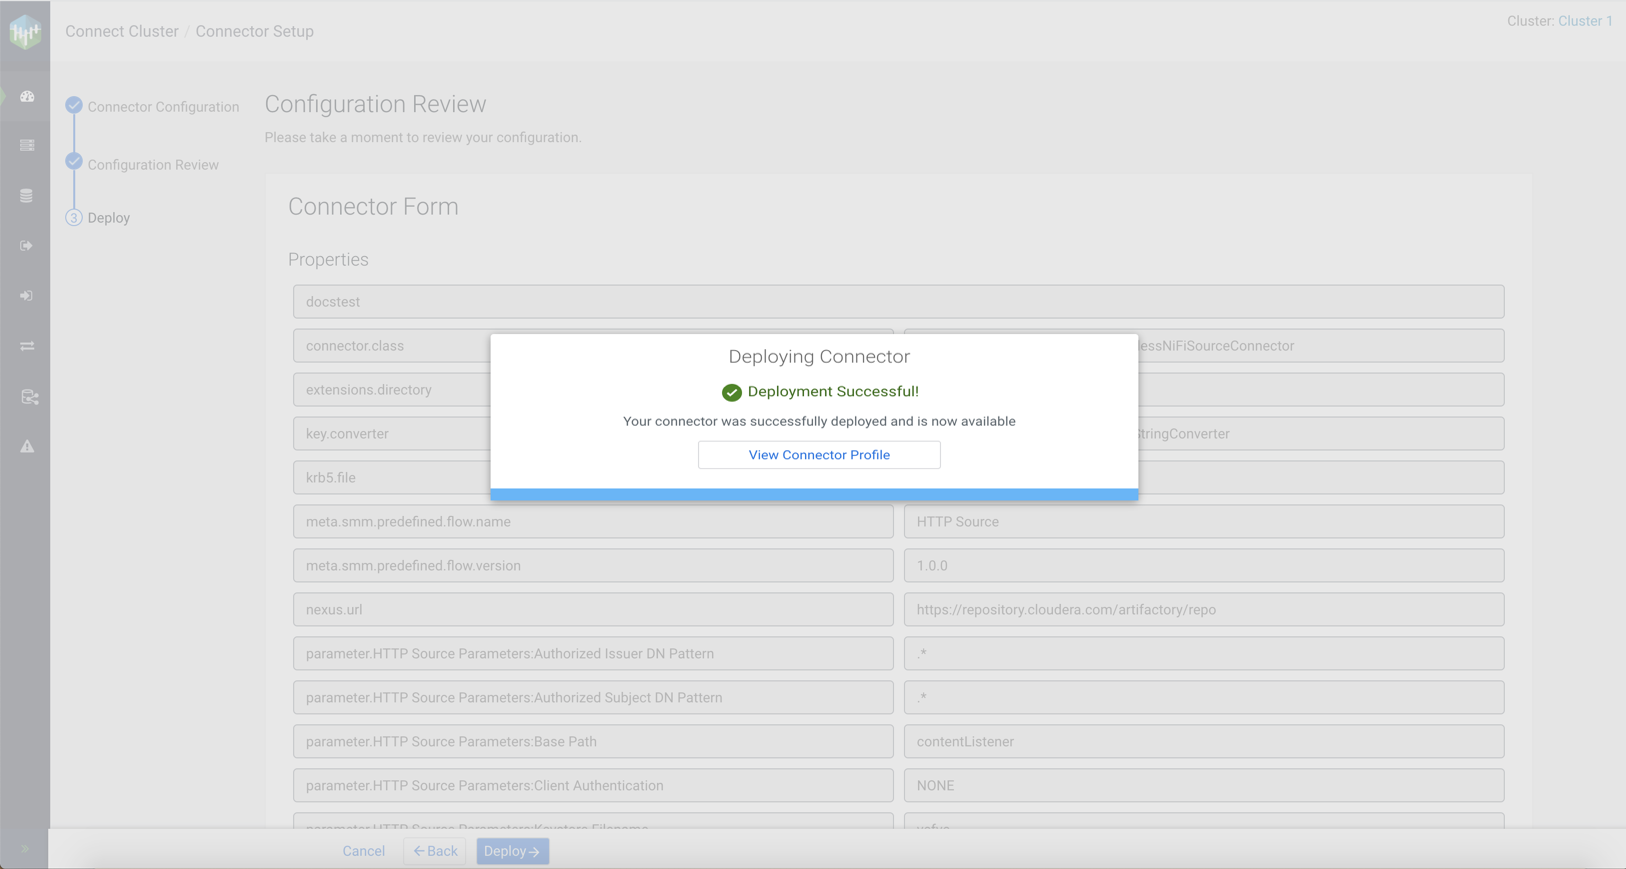
-
Review your connector configuration and click
Deploy.
The
Deploying Connectordialog appears.