After creating your cluster

The cluster you have created using the Edge Flow Management cluster definition is secured by default, and it is integrated with Knox SSO.

You can access the EFM UI from the Services section of the Data Hub cluster page. Click the CEM icon or the Edge Flow Manager UI link and you are redirected to the EFM page.

The user that creates the Data Hub cluster is added as an administrator in EFM and can access the UI automatically. Other users can log in, but they must be granted access by the administrator before they can access data in EFM. To secure the communication between agents and EFM, you need to generate and utilize proper certificates. You also need to add the agents that you want to manage with EFM.

Giving access to your cluster

When your cluster has been created successfully, EFM is running as a Data Hub and the token provided by Knox is translated to an EFM token internally.

The administrator must grant access to all other users on the EFM Administration page before they can access data in EFM. For more information about user management and access control in CEM, see Access control policies.

Enabling remote agent deployment in Edge Flow Manager

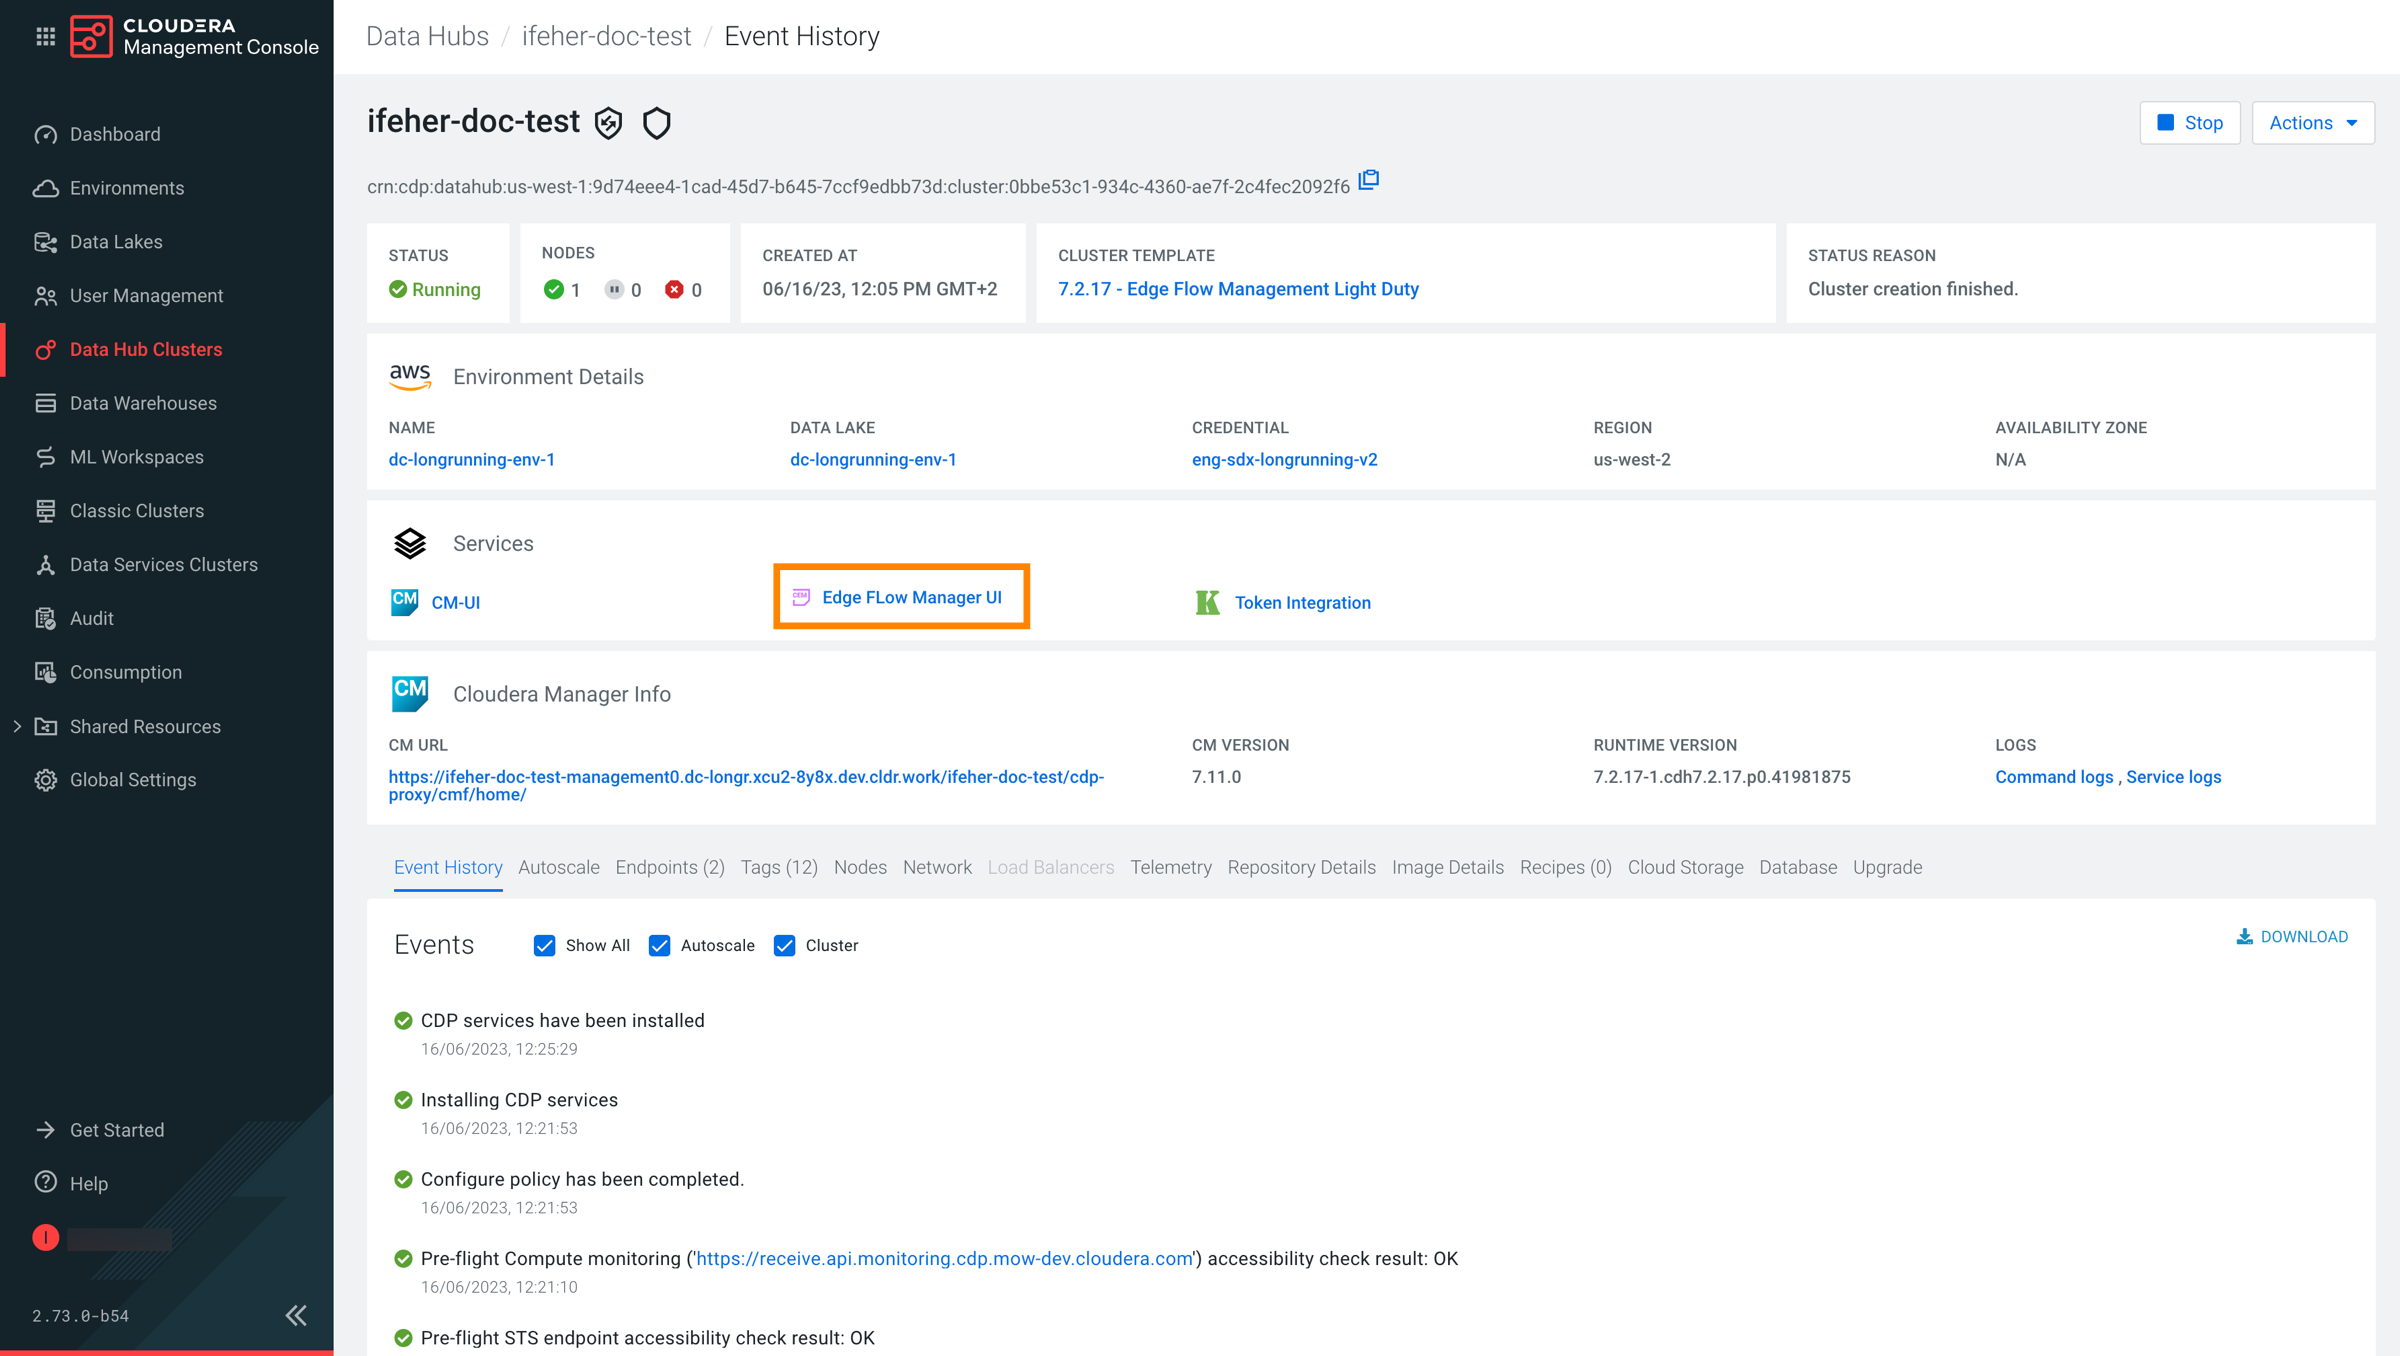
Edge Flow Manager (EFM) supports the deployment and automatic configuration of MiNiFi agents (including security settings), enabling streamlined agent provisioning.

Remote agent deployment simplifies the agent deployment process by generating a one-liner command that you can run on the target host. The selected agent binary is downloaded, configured, and started without requiring manual intervention, allowing you to start to work on your data flows immediately.

You have to perform the following steps to enable and configure the Remote Agent Deployer:

  1. Open port for direct EFM access.

    While user traffic accessing the EFM UI is routed through Knox, the agents running outside the CDP deployment need to access EFM directly. To enable this, open a specific port for the agents on the host where EFM is deployed. The default port is 10090, utilized by CEM components for the C2 Protocol.

  2. Deploy MiNiFi agent binaries.

    Place the agent binaries in the agent deployer directory of EFM. The default directory is configured to /hadoopfs/fs{1-4}/agent-deployer/binaries on the EFM host.

Once the port is open and the agent binaries are in place, you can access this functionality from the EFM UI. For more information on using the Remote Agent Deployer, see Deploying agents in CEM.

Generating certificates for MiNiFi agents

To secure the communication between agents and EFM, you need to generate and use proper certificates.

Edge Flow Manager (EFM) is a secured application, which has to be bootstrapped with the initial admin identity. The initial admin is the person who is able to assign roles and manage permissions in EFM. In the Technical Preview, the initial admin is the workload user of the person who deploys the Data Hub. For more information about authentication and authorization, see Access control bootstrapping.

While the user traffic accessing the UI utilizes Knox, the agents running outside of the CDP deployment need to access EFM directly. To enable this, you have to open a port for the agents on the host where EFM is deployed. By default, this port is 10090, used by CEM components for C2 Protocol.

You do not have to generate the certificates from the agent host. You can generate them on any host that has access to the management node. When created, you can copy the certificates to the appropriate agent host.

In test environments it is not necessary to create different certificates for all agents. The same certificate can be configured for all agents. However, in production environments it is highly recommended to create a certificate for each agent.

Generating certificates with this approach is similar to adding a node to the cluster using Cloudera Manager.

MiNiFi agents need to set up mTLS (mutual TLS) for C2 communication to be able to communicate with EFM. For information on MiNiFi Java agent authentication, see Securing MiNiFi Java Agent. For information on MiNiFi C++ agent authentication, see Securing MiNiFi C++ Agent.

In CDP Public Cloud, certificates are managed by Cloudera Manager, acting as a certificate authority. All certificates are generated by Cloudera Manager, there is no option to use custom certificates.

  • You have a running CEM Public Cloud cluster
  • SSH access is configured to the management node of the cluster
  • You have an SSH user with keypair that has sudo privileges
  • You have the host name of the Edge Management cluster’s management node
  • An external node is available from which you are able to SSH into the Edge Management cluster’s management node
  1. Create a working directory on your external node that has SSH access to your Edge Flow Management cluster.
  2. Save the following script to the previously created working directory, and name it create_certs.sh.
    #!/bin/bash
    
    set -eo pipefail
    
    # input parameters
    SSH_USER=$1
    SSH_KEY=$2
    CM_HOST=$3
    AGENT_FQDN=$4
    
    EXAMPLE_USAGE="Example usage: ./create_certs.sh sshUserName ~/.ssh/userKey.pem host0.company.site agent-x.company.site"
    
    [[ -z "$SSH_USER" ]] && echo "SSH User parameter is missing. $EXAMPLE_USAGE" && exit 1
    [[ -z "$SSH_KEY" ]] && echo "SSH Key parameter is missing. $EXAMPLE_USAGE" && exit 1
    [[ -z "$CM_HOST" ]] && echo "Cloudera Manager parameter is missing. $EXAMPLE_USAGE" && exit 1
    [[ -z "$AGENT_FQDN" ]] && echo "Agent FQDN parameter is missing. $EXAMPLE_USAGE" && exit 1
    
    KEYSTORE_PASSWORD=$(hexdump -vn16 -e'4/4 "%08X" 1 "\n"' /dev/urandom | tr '[:upper:]' '[:lower:]')
    
    # constants
    GENERATED_CREDENTIALS_ARCHIVE=credentials.tar
    GENERATED_CREDENTIALS_REMOTE_PATH="/tmp/$GENERATED_CREDENTIALS_ARCHIVE"
    CM_SITE_PACKAGES="/opt/cloudera/cm-agent/lib/python3.8/site-packages"
    ORIGINAL_CERTMANAGER_BASE_DIR="/etc/cloudera-scm-server/certs"
    CUSTOM_CERTMANAGER_BASE_DIR="/root/certs"
    CERT_PASSWORDS_DIR="$CUSTOM_CERTMANAGER_BASE_DIR/private"
    GLOBAL_KEY_PASSWORD_FILE="$CERT_PASSWORDS_DIR/.global_key_password"
    GLOBAL_TRUSTSTORE_PASSWORD_FILE="$CERT_PASSWORDS_DIR/.global_truststore_password"
    
    rm -rf "$AGENT_FQDN"
    mkdir "$AGENT_FQDN" 
    
    remote_ssh_command=$(cat << EOF
    sudo \cp -n -R $ORIGINAL_CERTMANAGER_BASE_DIR $CUSTOM_CERTMANAGER_BASE_DIR;
    sudo /opt/rh/rh-python38/root/bin/python -c "import site; site.addsitedir('$CM_SITE_PACKAGES'); import cmf.tools.cert; passwd = cmf.tools.cert.read_obfuscated_password('$GLOBAL_TRUSTSTORE_PASSWORD_FILE'); print(passwd);"
    sudo rm -f $GLOBAL_KEY_PASSWORD_FILE;
    sudo /opt/rh/rh-python38/root/bin/python -c "import site; site.addsitedir('$CM_SITE_PACKAGES'); import cmf.tools.cert; cmf.tools.cert.write_obfuscated_password('$GLOBAL_KEY_PASSWORD_FILE', '$KEYSTORE_PASSWORD');";
    sudo /opt/cloudera/cm-agent/bin/certmanager --location "$CUSTOM_CERTMANAGER_BASE_DIR" gen_node_cert --output "$GENERATED_CREDENTIALS_REMOTE_PATH" --rotate "$AGENT_FQDN";
    sudo chmod 666 "$GENERATED_CREDENTIALS_REMOTE_PATH";
    EOF
    )
    
    ssh -i "$SSH_KEY" -o StrictHostKeyChecking=no "$SSH_USER"@"$CM_HOST" "$remote_ssh_command" > "$AGENT_FQDN/cm-auto-in_cluster_trust.pw" 2> /dev/null
    scp -r -i "$SSH_KEY" -o "StrictHostKeyChecking=no" "$SSH_USER"@"$CM_HOST":"$GENERATED_CREDENTIALS_REMOTE_PATH" "$AGENT_FQDN/" 2> /dev/null
    tar -xf "$AGENT_FQDN/$GENERATED_CREDENTIALS_ARCHIVE" -C "$AGENT_FQDN"
    echo "MiNiFi-Java KeyStore File":
    ls -alh "$AGENT_FQDN/cm-auto-host_keystore.jks"
    echo "MiNiFi-Java TrustStore File:"
    ls -alh "$AGENT_FQDN/cm-auto-in_cluster_truststore.jks"
    echo "MiNiFi-CPP Client certificate":
    ls -alh "$AGENT_FQDN/cm-auto-host_key_cert_chain.pem"
    echo "MiNiFi-CPP Client private key":
    ls -alh "$AGENT_FQDN/cm-auto-host_key.pem"
    echo "MiNiFi-CPP CA certificate"
    ls -alh "$AGENT_FQDN/cm-auto-in_cluster_ca_cert.pem"
    echo "KeyStore / HostKey Password: sensitive data, please check for it in $AGENT_FQDN/cm-auto-host_key.pw"
    echo "TrustStore Password: sensitive data, please check for it in $AGENT_FQDN/cm-auto-in_cluster_trust.pw"
    
    rm -f "$AGENT_FQDN/cm-auto-global_cacerts.pem" "$AGENT_FQDN/cm-auto-global_truststore.jks" "$AGENT_FQDN/$GENERATED_CREDENTIALS_ARCHIVE" "$AGENT_FQDN/cm-auto-host_cert_chain.pem"
    
  3. Make the script executable.
    chmod +x create_certs.sh
  4. Run the script with the following parameters:
    ./create_certs.sh **[ssh_user}** **[ssh_private_key]** **[management_node_host_name]** **[agent_fqdn]**

    For example:

    ./create_certs.sh adminuser ~/.ssh/adminuser.pem management-node.company.site.com agent-1.company.site.com

    The script should print a similar output:

    credentials.tar                                                                                                                                                                                          100%  420KB 222.0KB/s   00:01
    MiNiFi-Java KeyStore File:
    -rw-------@ 1 user  group   5.2K Apr 24 13:33 agent-1.company.site.com/cm-auto-host_keystore.jks
    MiNiFi-Java TrustStore File:
    -rw-r-----@ 1 user  group   2.3K Apr 24 13:19 agent-1.company.site.com/cm-auto-in_cluster_truststore.jks
    MiNiFi-CPP Client certificate:
    -rw-------@ 1 user  group   7.1K Apr 24 13:33 agent-1.company.site.com/cm-auto-host_key_cert_chain.pem
    MiNiFi-CPP Client private key:
    -rw-------@ 1 user  group   2.5K Apr 24 13:33 agent-1.company.site.com/cm-auto-host_key.pem
    MiNiFi-CPP CA certificate
    -rw-r-----@ 1 user  group   3.0K Apr 24 13:19 agent-1.company.site.com/cm-auto-in_cluster_ca_cert.pem
    KeyStore / HostKey Password: sensitive data, please check for it in agent-1.company.site.com/cm-auto-host_key.pw
    TrustStore Password: sensitive data, please check for it in agent-1.company.site.com/cm-auto-in_cluster_trust.pw
    

    A directory is created with the same name as the agent’s FQDN, provided as a parameter for the script. The directory contains all the necessary keystores and certificates for configuring mTLS authentication.

    The keystore and truststore passwords are not printed as they are sensitive information. You can find them in the directory that was created with the following names:
    • cm-auto-host_key.pw
    • cm-auto-in_cluster_trust.pw
  5. Set the agent parameters.
    • For the MiNiFi Java agent:
      c2.security.truststore.location=/path/to/cm-auto-in_cluster_truststore.jks
      c2.security.truststore.password=<password_from_cm-auto-in_cluster_trust.pw>
      c2.security.truststore.type=JKS
      c2.security.keystore.location=/path/to/cm-auto-host_keystore.jks
      c2.security.keystore.password=<password_from_cm-auto-host_key.pw>
      c2.security.keystore.type=JKS
      
    • For the MiNiFi C++ agent:
      nifi.security.client.certificate=/path/to/cm-auto-host_key_cert_chain.pem
      nifi.security.client.private.key=/path/to/cm-auto-host_key.pem
      nifi.security.client.pass.phrase=/path/to/cm-auto-host_key.pw
      nifi.security.client.ca.certificate=/path/to/cm-auto-in_cluster_ca_cert.pem
      

Adding agents to your cluster

When your cluster has been created successfully, you can add agents that you want to manage with EFM. Agents are deployed outside of CDP Public Cloud, so follow the standard agent deployment instructions: