Using auto discovery of services
Using the auto discovery of services in SQL Stream Builder (SSB), you can easily connect to catalogs and data sources that are running on a different Data Hub cluster in the same CDP Public Cloud environment.
You can use the service discovery to automatically register Kafka, Schema Registry and Kudu with SSB within the same environment. This means when you have a Streams Messaging or Real-Time Data Mart cluster beside your Streaming Analytics cluster in your environment, you can use the auto discovery to automatically import the tables from both services. Using the auto discovery has the same result as manually adding the catalogs and providers: you can read from and write to Kafka, Schema Registry and Kudu. However, when you have numerous Kafka, Schema Registry and Kudu services in your environment, you do not have to add them one by one, instead you can use the service discovery to import them all at once.
For more information about manually adding data sources and catalogs, see the Registering Data providers in SSB section.
The auto discovery feature does not check the changes you make in your environment. This means that you can register the newly added services from your environment to SSB using the same process. However, when you delete the cluster from the environment, the already registered catalog and data sources are not removed from SSB, you need to manually delete them from the Streaming SQL Console.
Setting up a machine user for service discovery
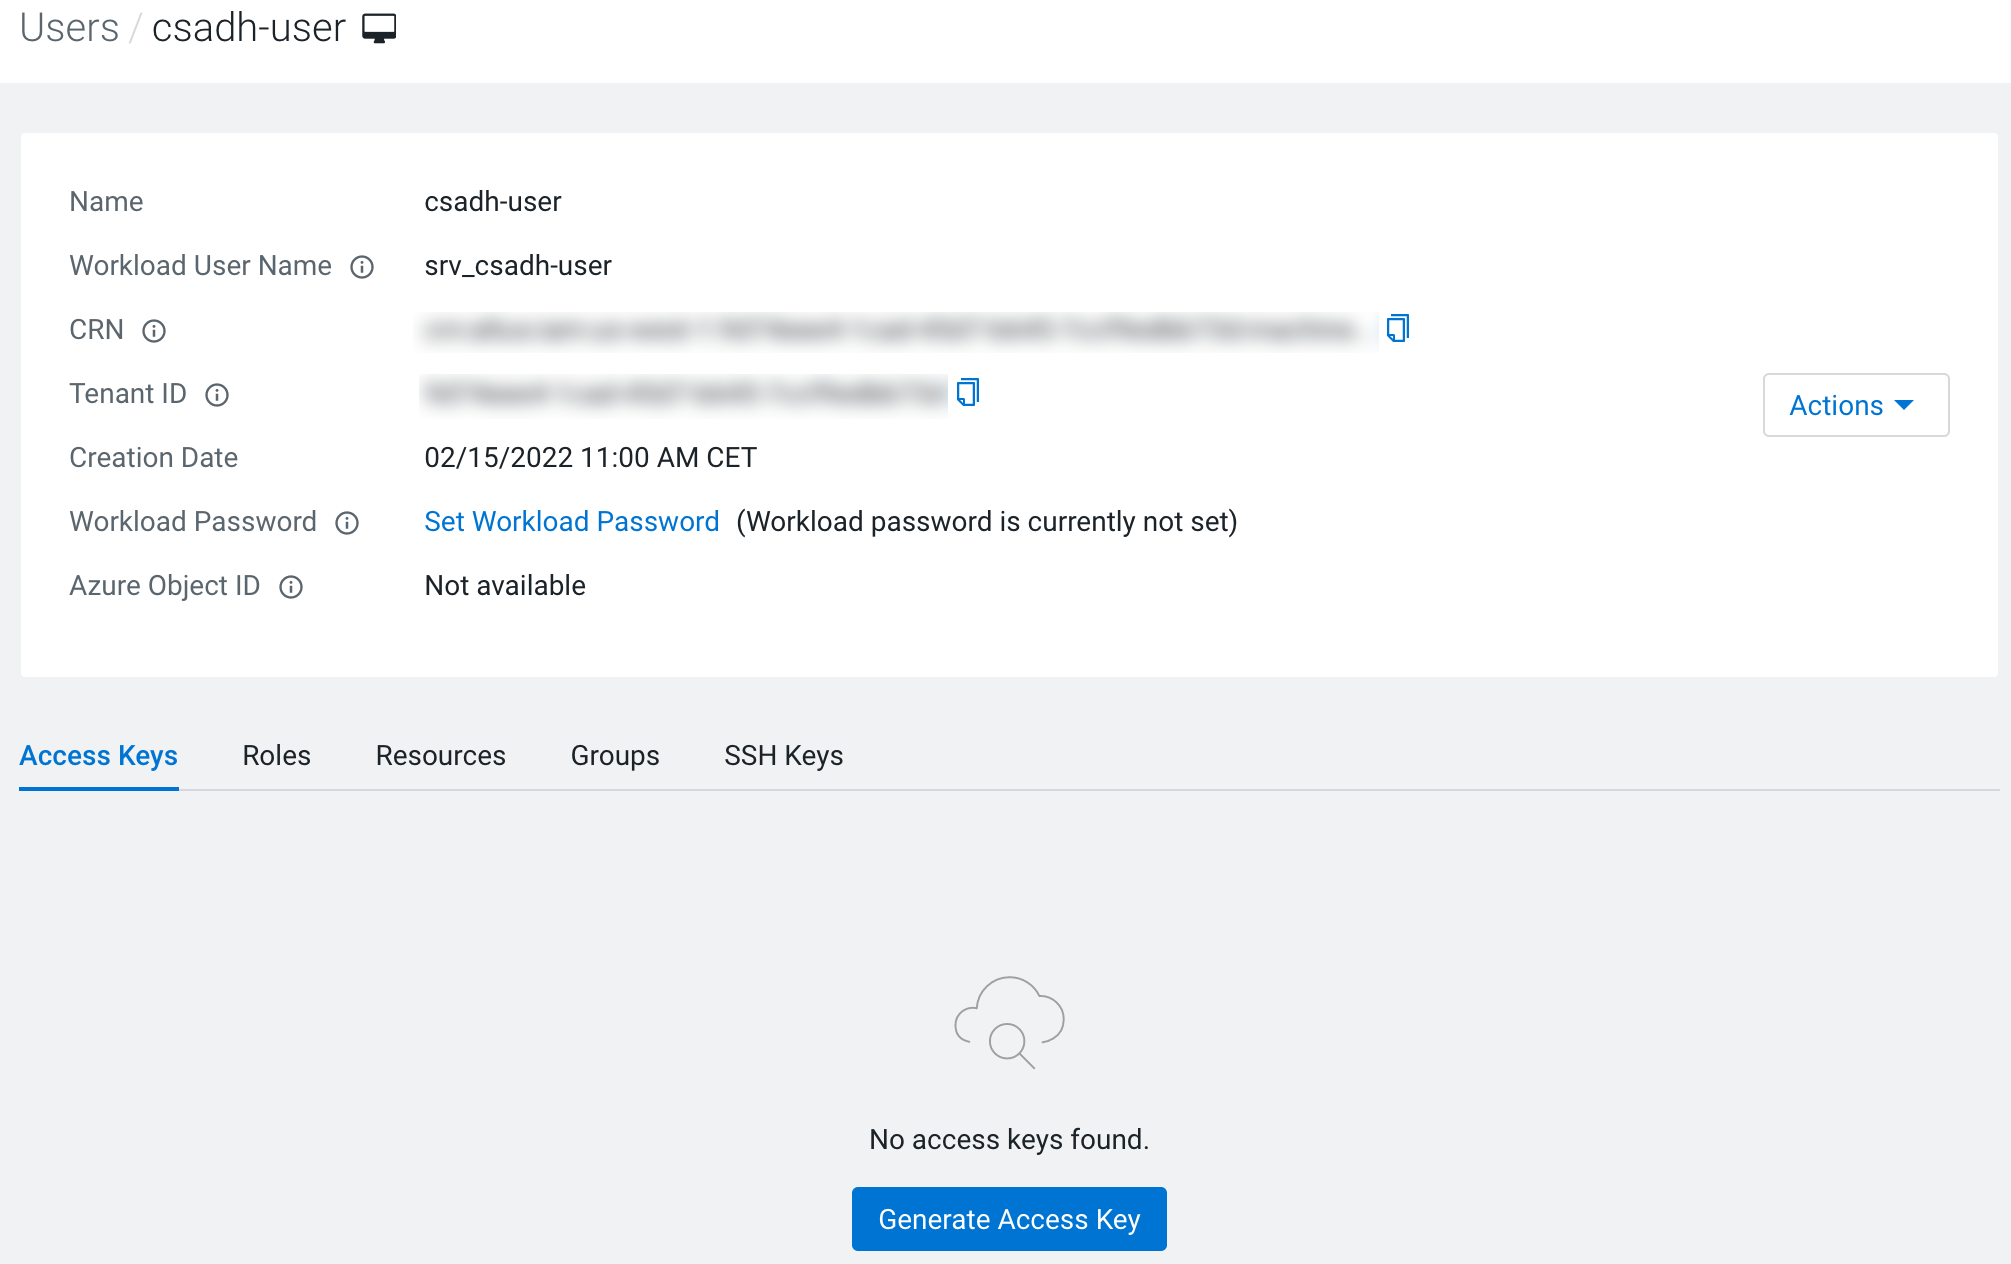
As an administrator, you need to make sure to set up a machine user that is used to register the services from the clusters to SSB. The machine user information must be provided when configuring the service discovery in SSB.
For the auto discovery, you need to create a machine user, and assign the correct role so the machine user has access to the environment. The machine user must be also synchronized to the environment.
-
Click .

-
Click Create.
You are redirected to the User Profile page.
-
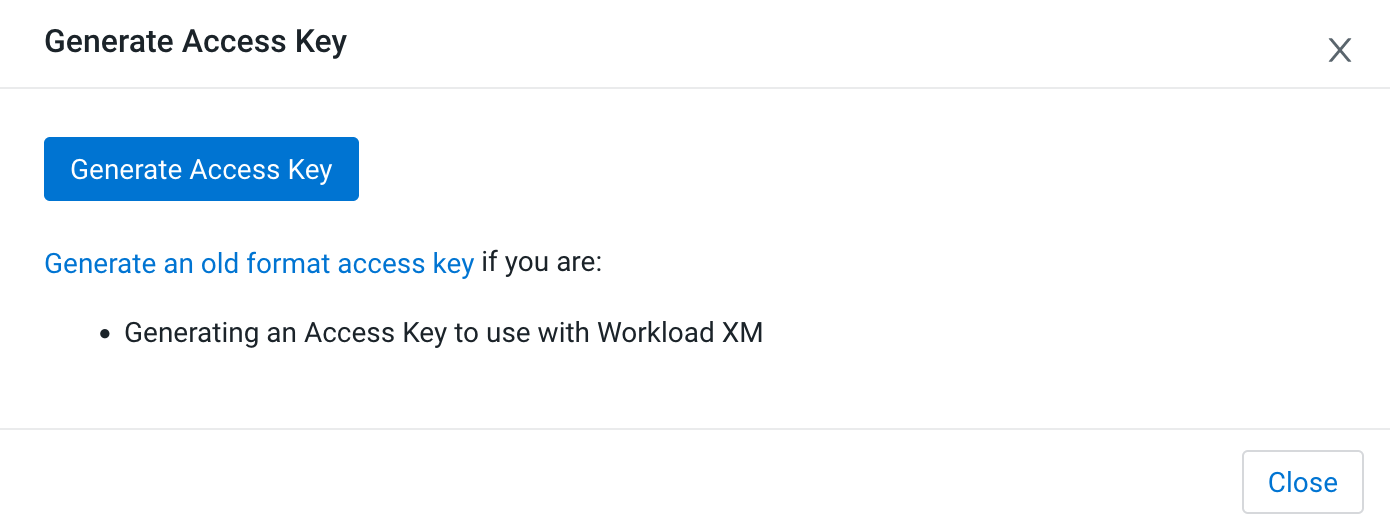
Select Generate Access Key under Access
Keys tab.
-
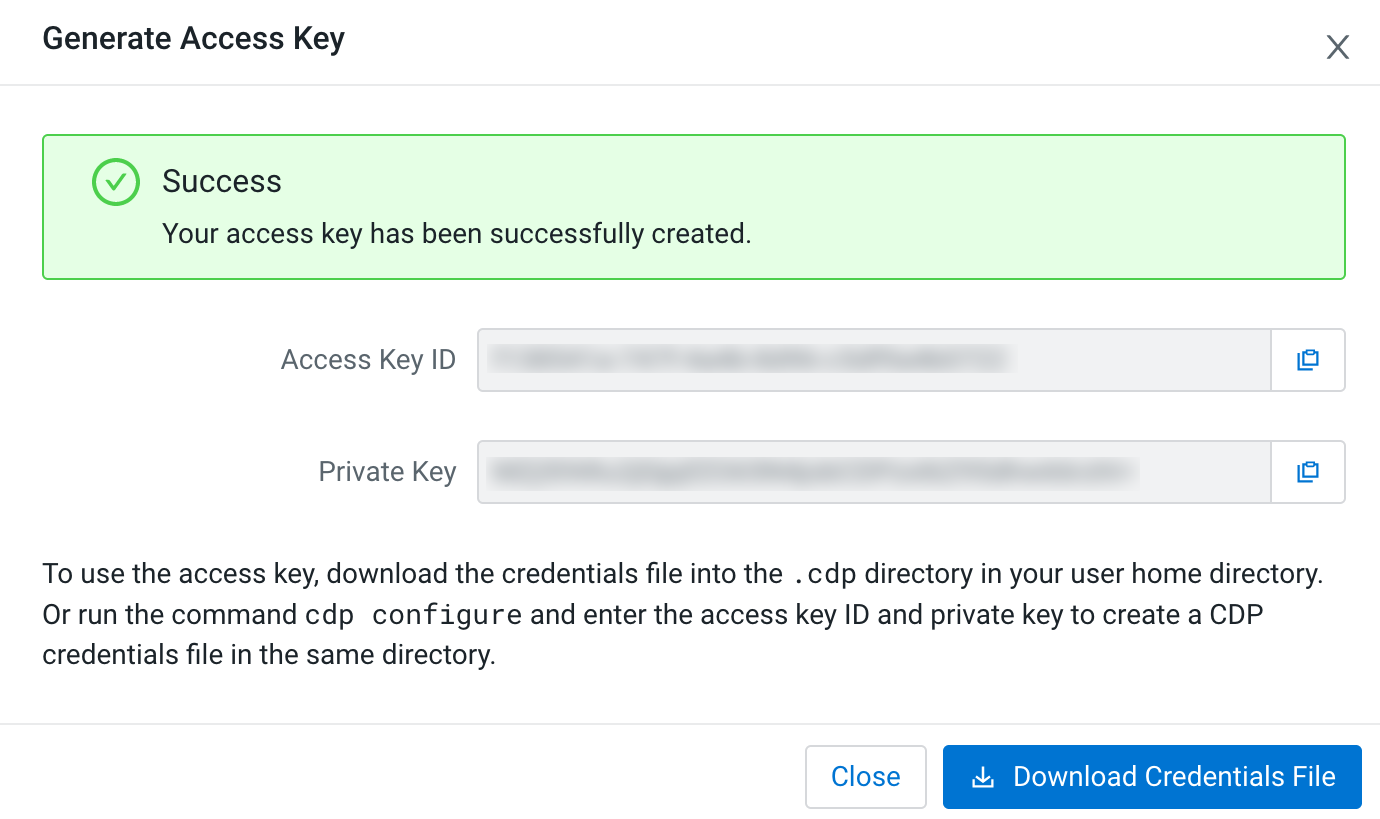
Click Generate Access Key.
The Generate Access Key window pops up to indicate that the access key generation was successful.
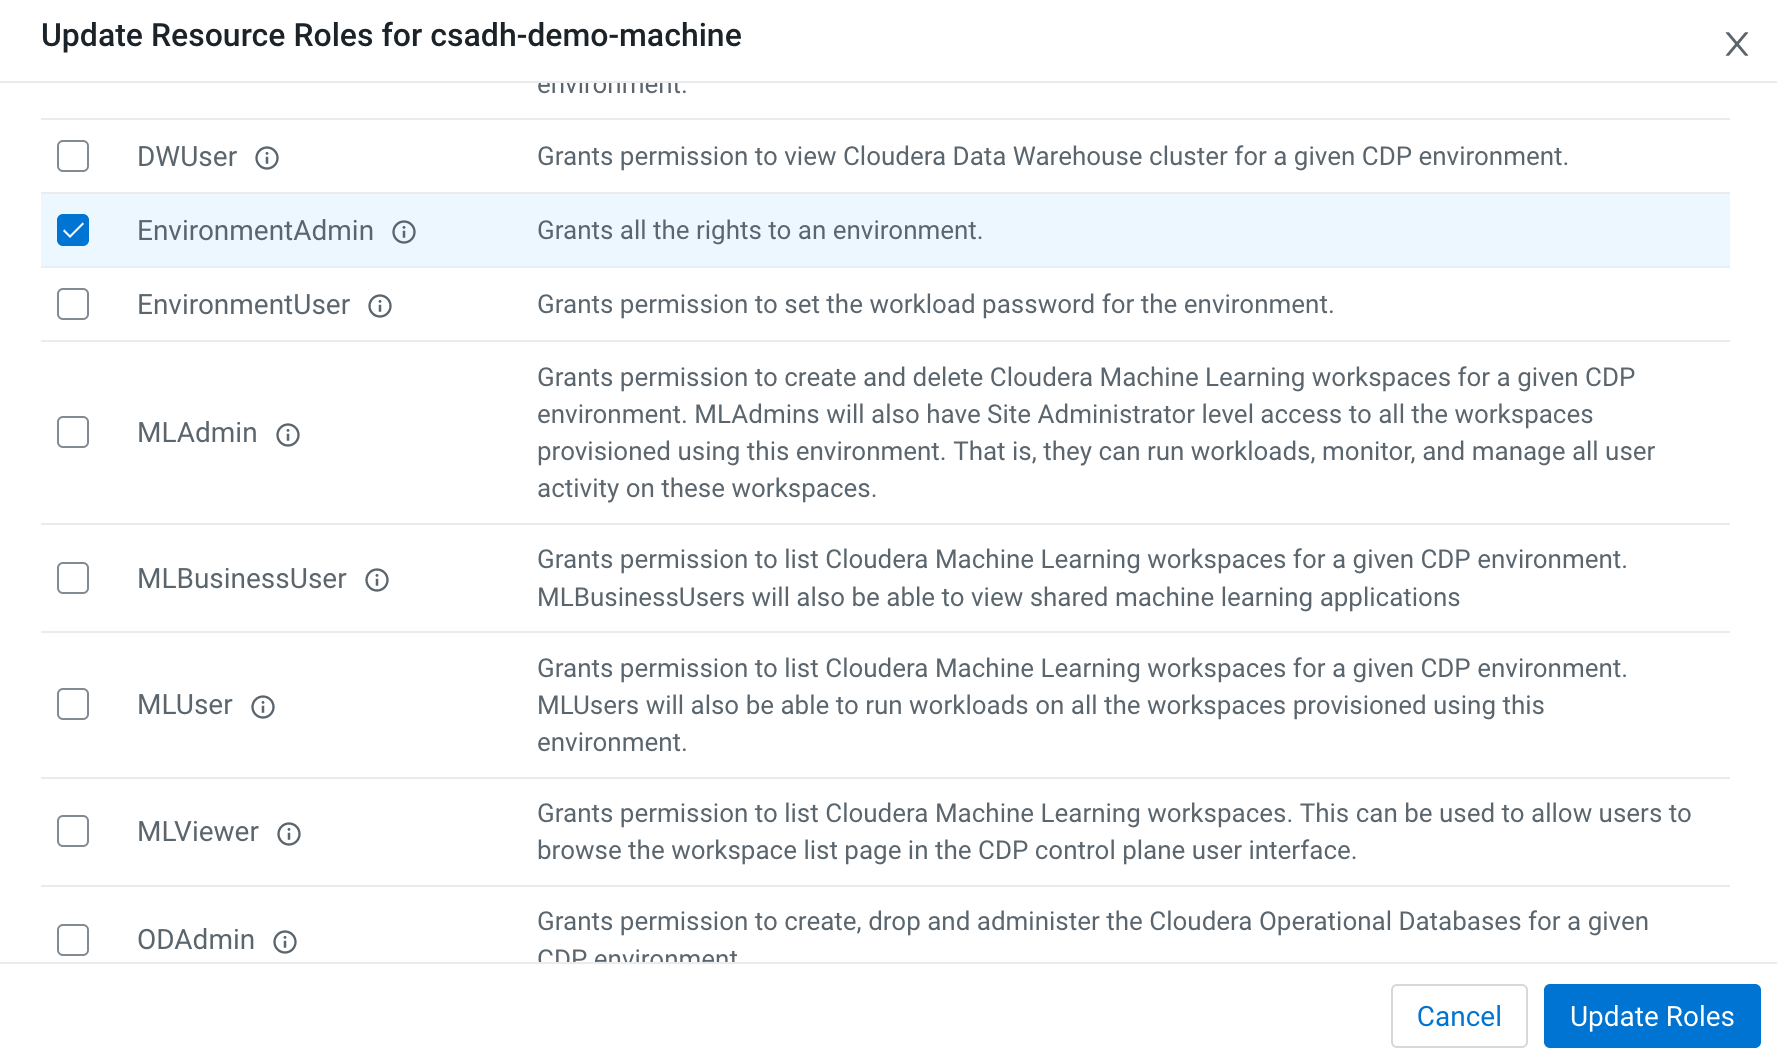
-
Select EnvironmentAdmin role from the list of Resource
Roles.
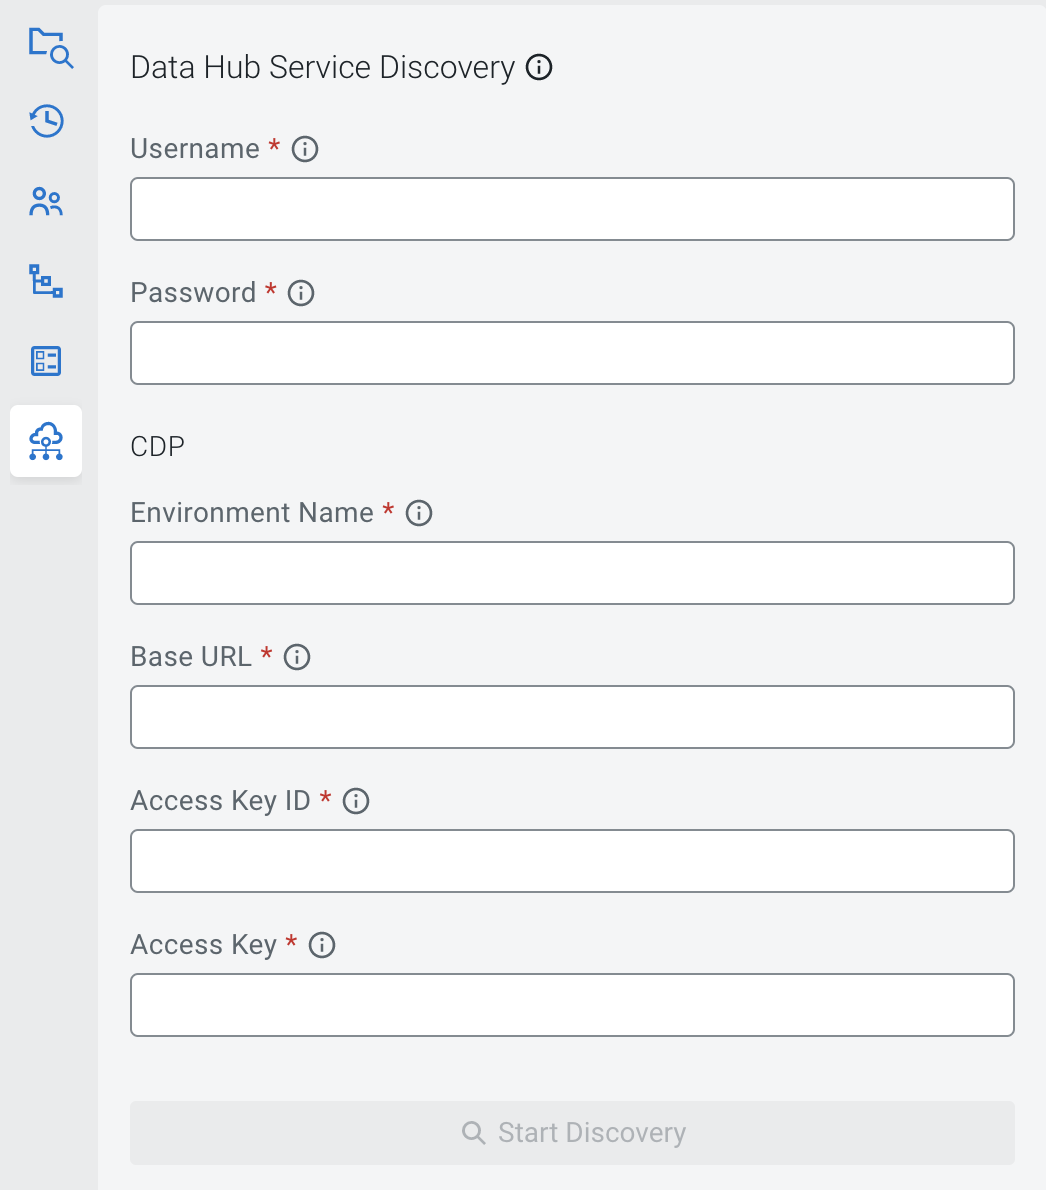
Using service discovery on Streaming SQL Console
Using the Streaming SQL Console, you can import the Kafka, Schema Registry and Kudu services that already exist in your CDP Public Cloud environment. To enable service discovery, you need to provide the environment and machine user information that was provided by your administrator.
- Ensure that a machine user is set up for your environment.
For more information, see the Setting up a machine user for service discovery documentation.
- Ensure that you have every information that is needed for the configuration of
service discovery using the following list:
- Workload username and password of the machine user
- Name of the CDP Public Cloud environment
- Base URL of the CDP Public Cloud environment
- Access key ID and Private Key of the machine user
-
Click Data Hub Service Discovery from the
Project Manager.