Configure Ranger Admin High Availability
How to configure Ranger Admin High Availability (HA) by adding additional Ranger Admin role instances.
-
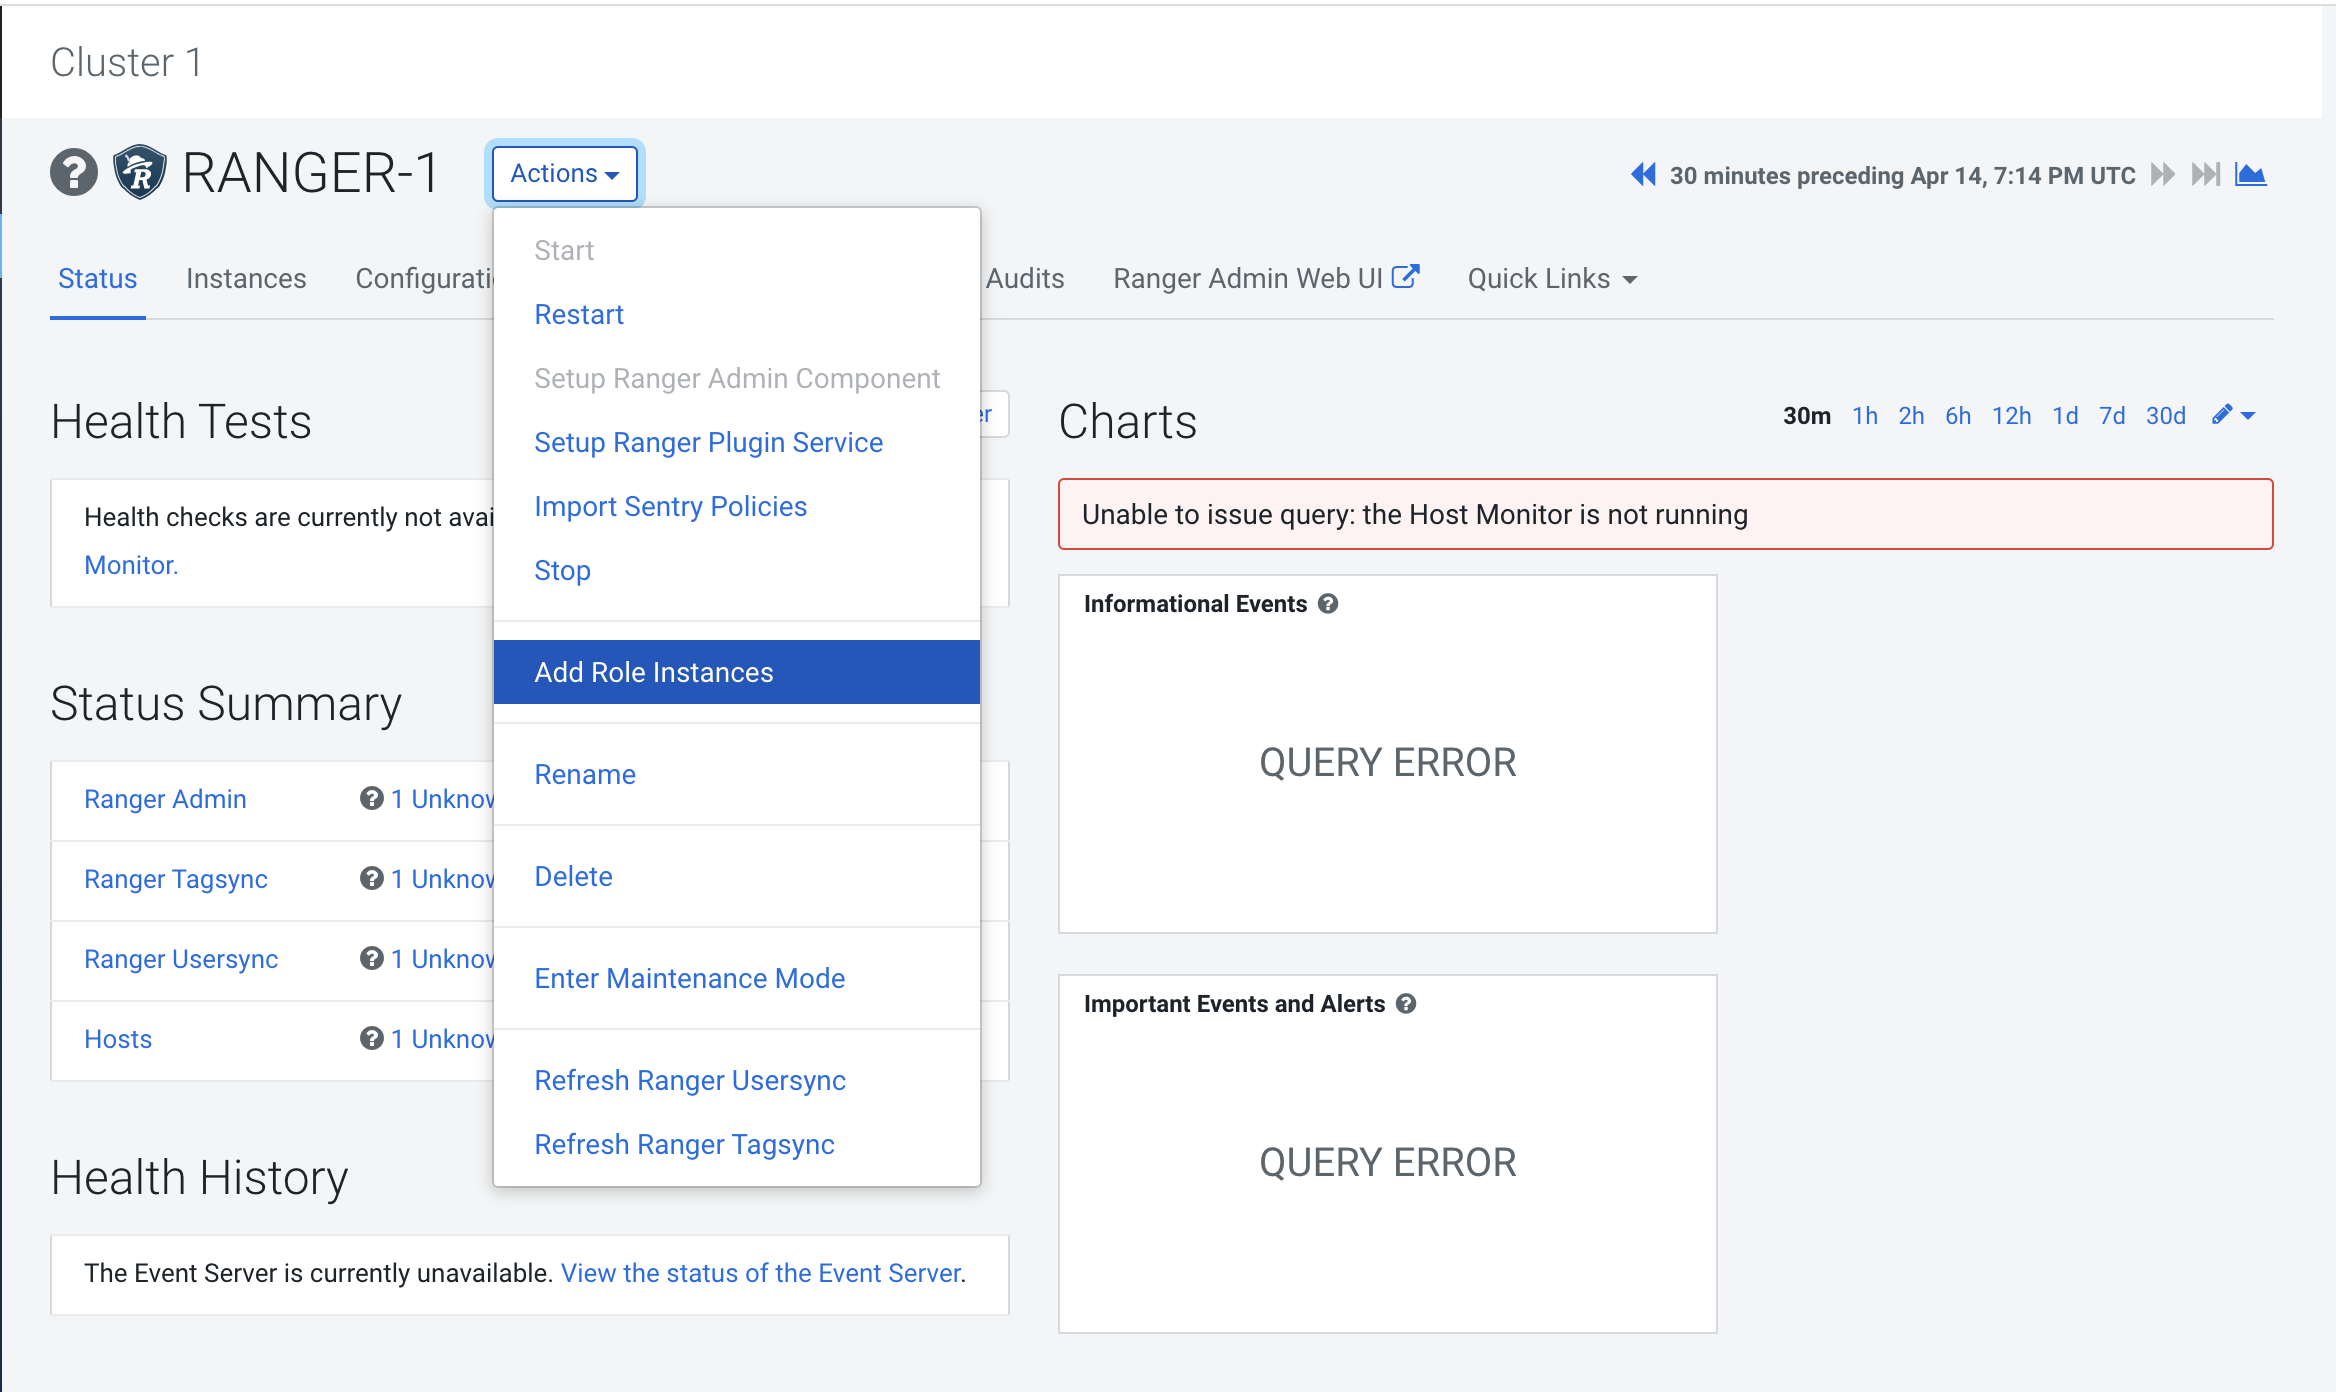
In Cloudera Manager, select Ranger, then select Actions > Add Role
Instances.
-
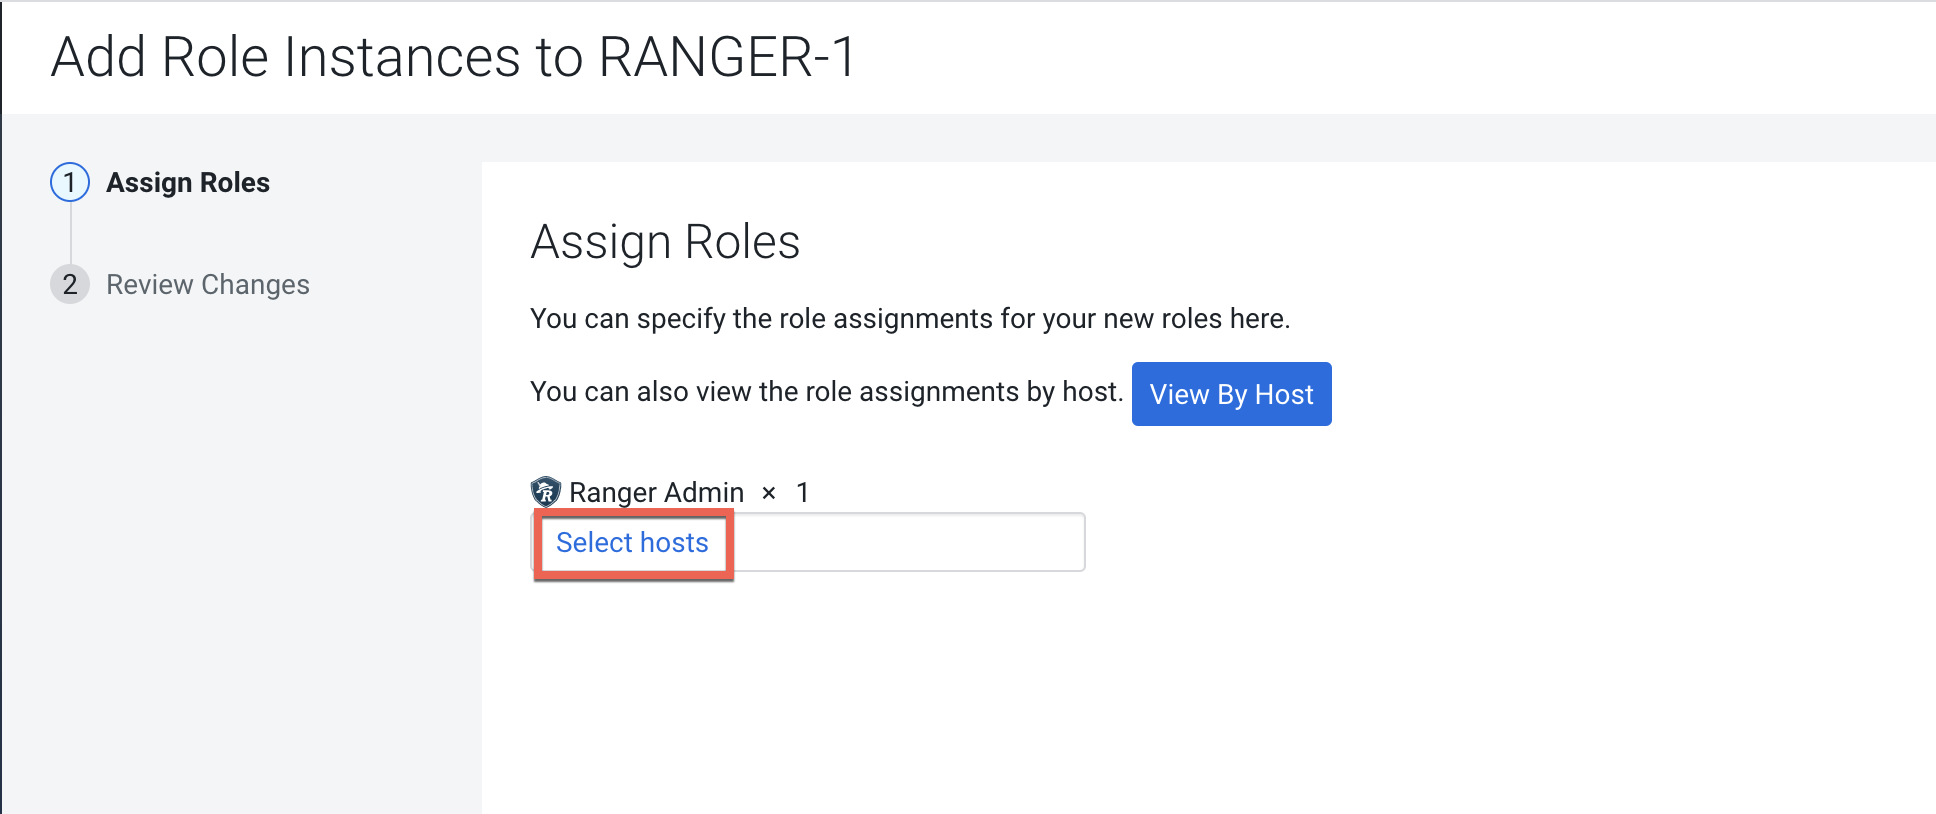
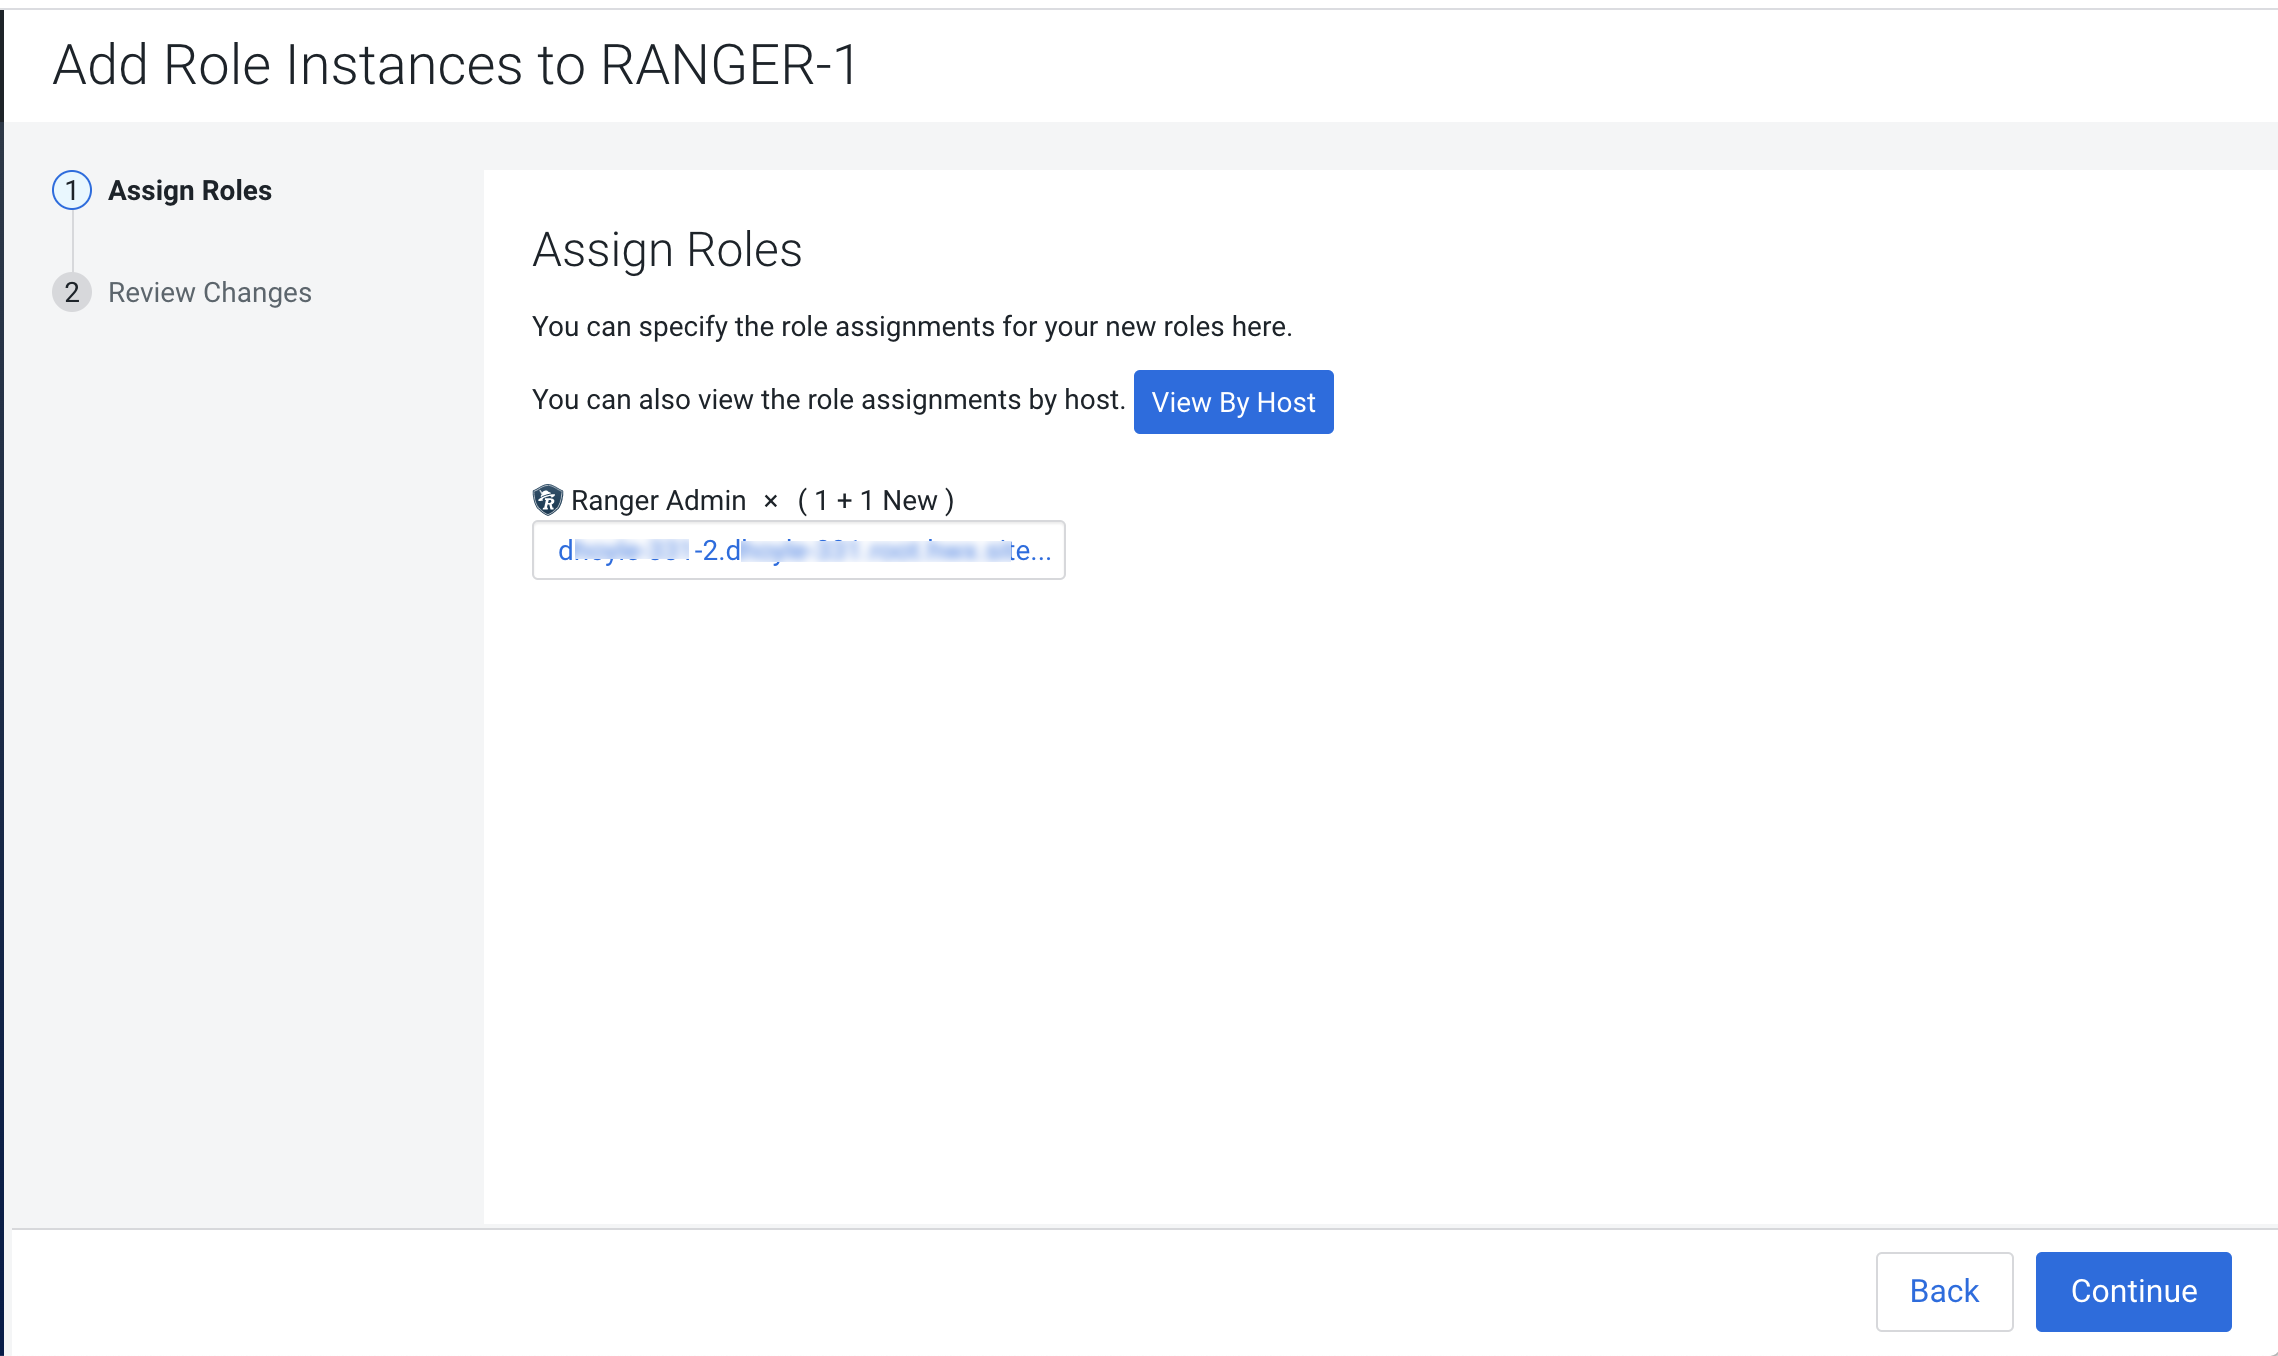
On the Add Role Instances page, click Select hosts.
-
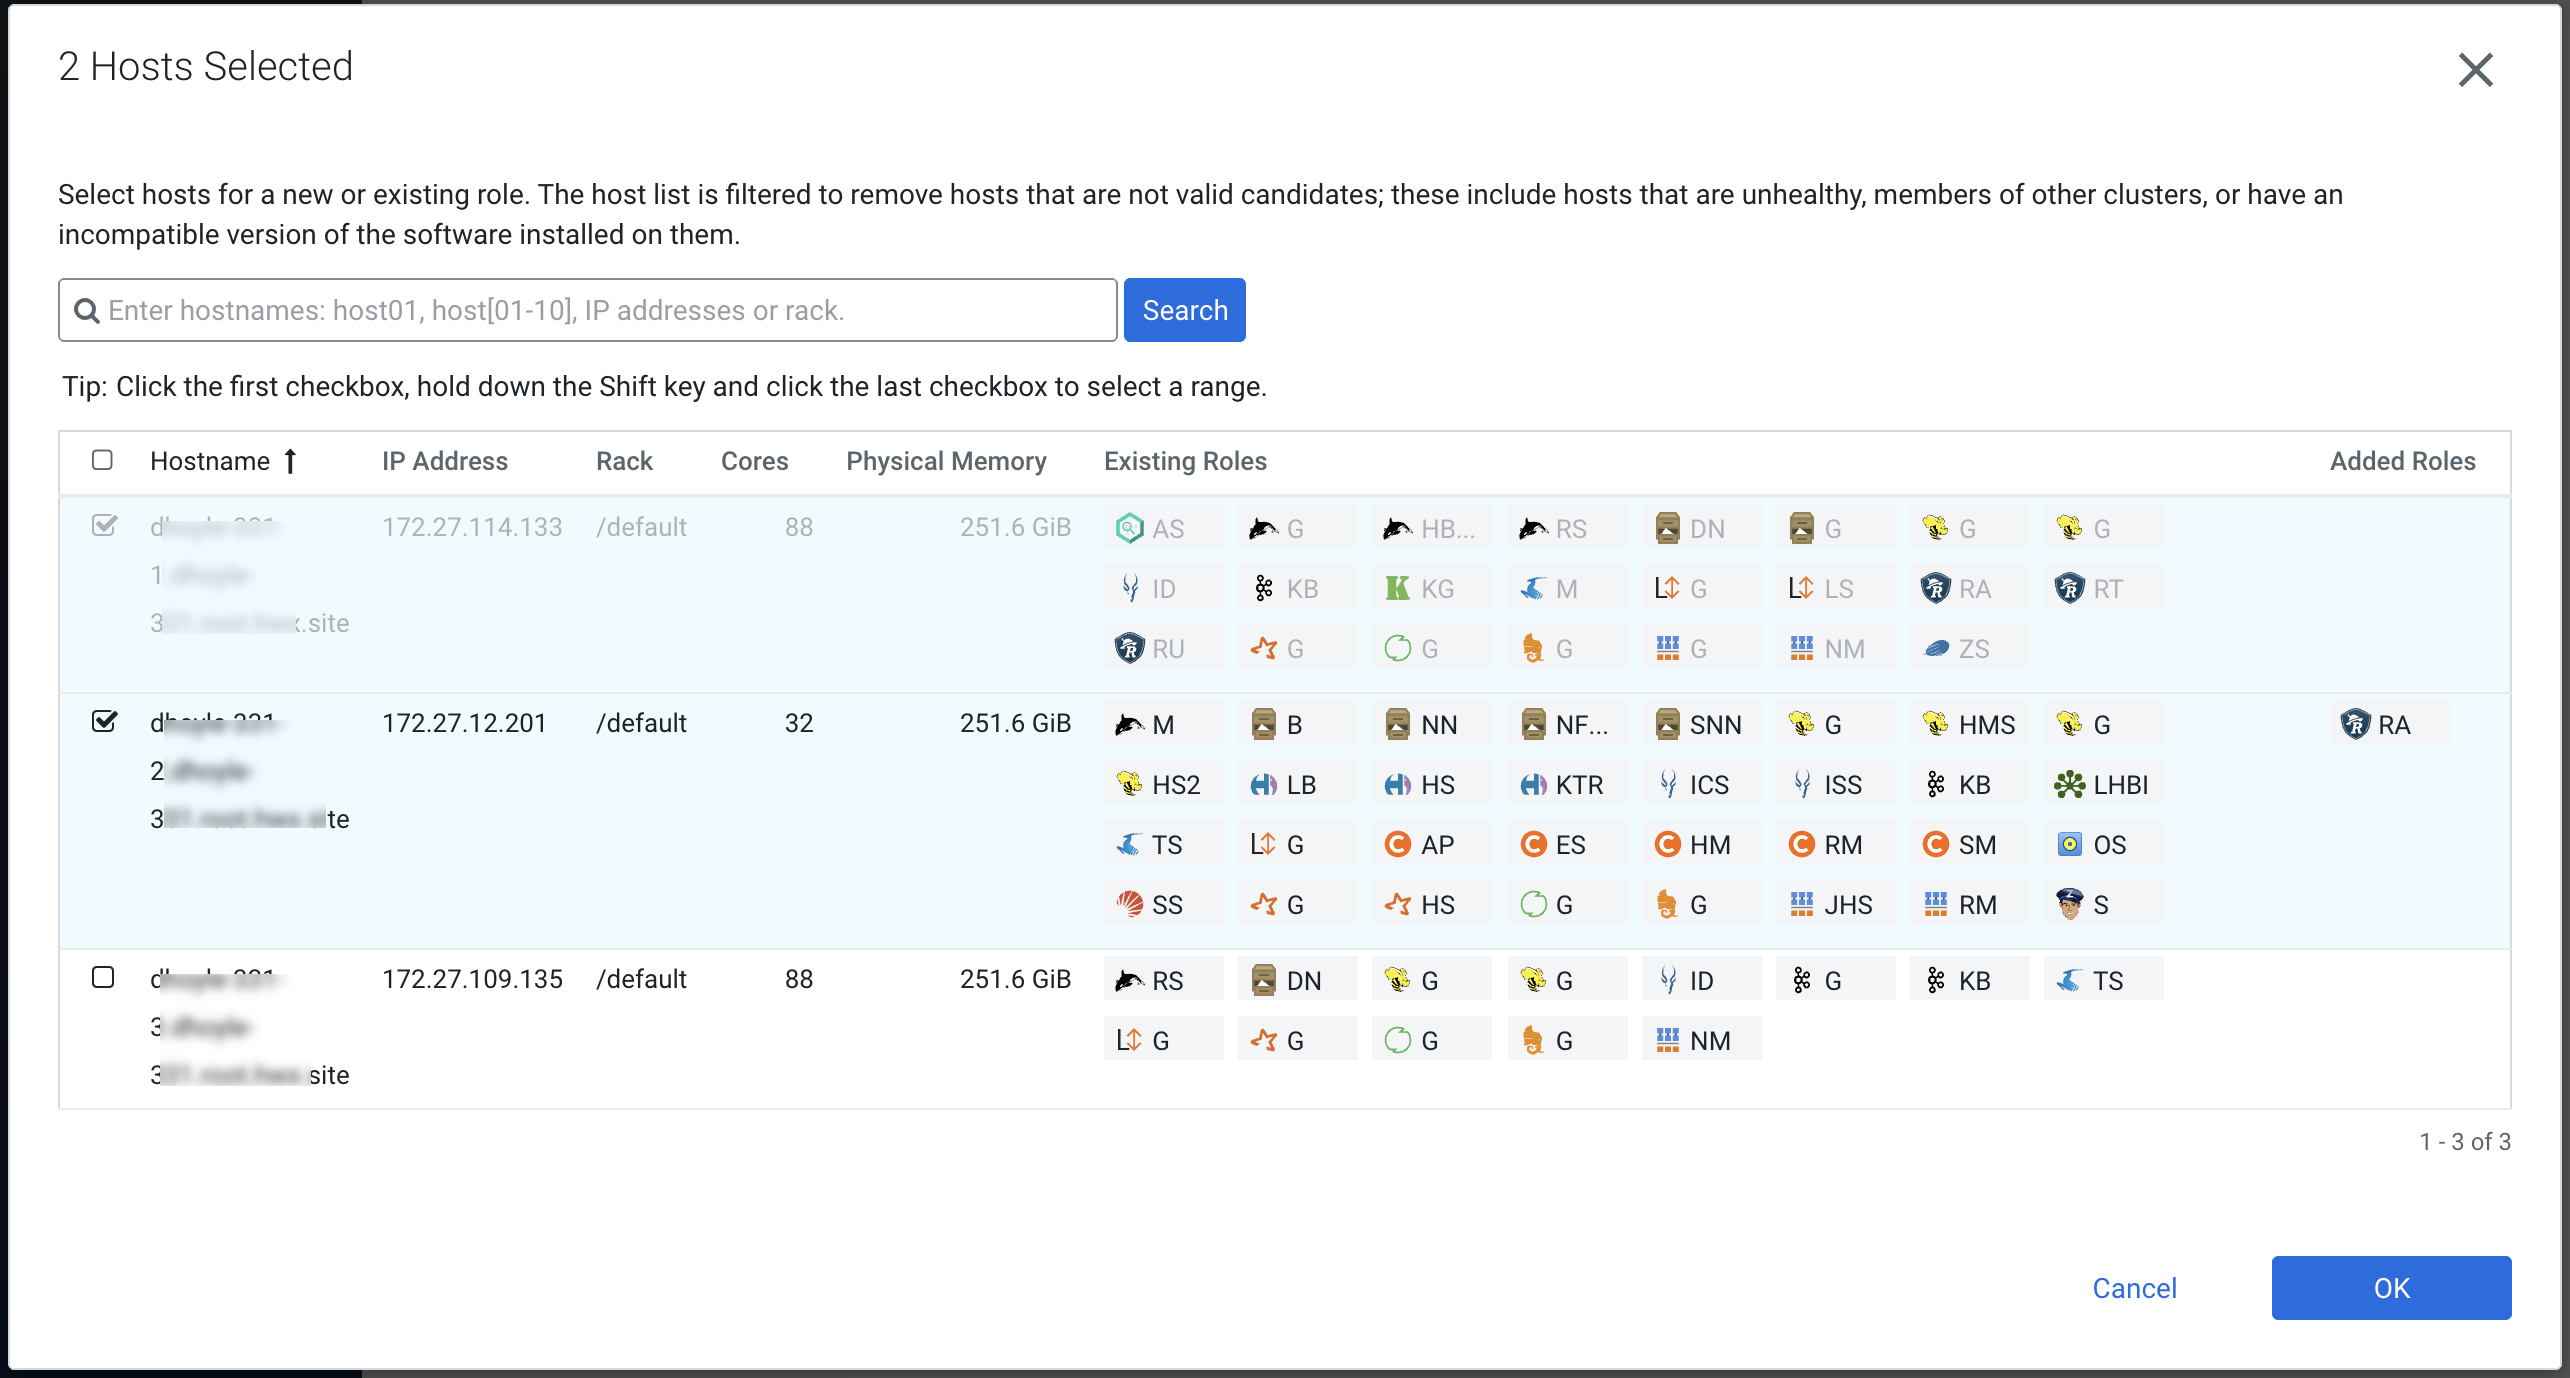
On the selected hosts page, the primary Ranger Admin host is selected by default.
Select a backup Ranger host. A Ranger Admin (RA) icon appears in the Added Roles
column for the selected backup host. Click OK to continue.
-
The Add Role Instances page is redisplayed with the new backup host. Click
Continue.
-
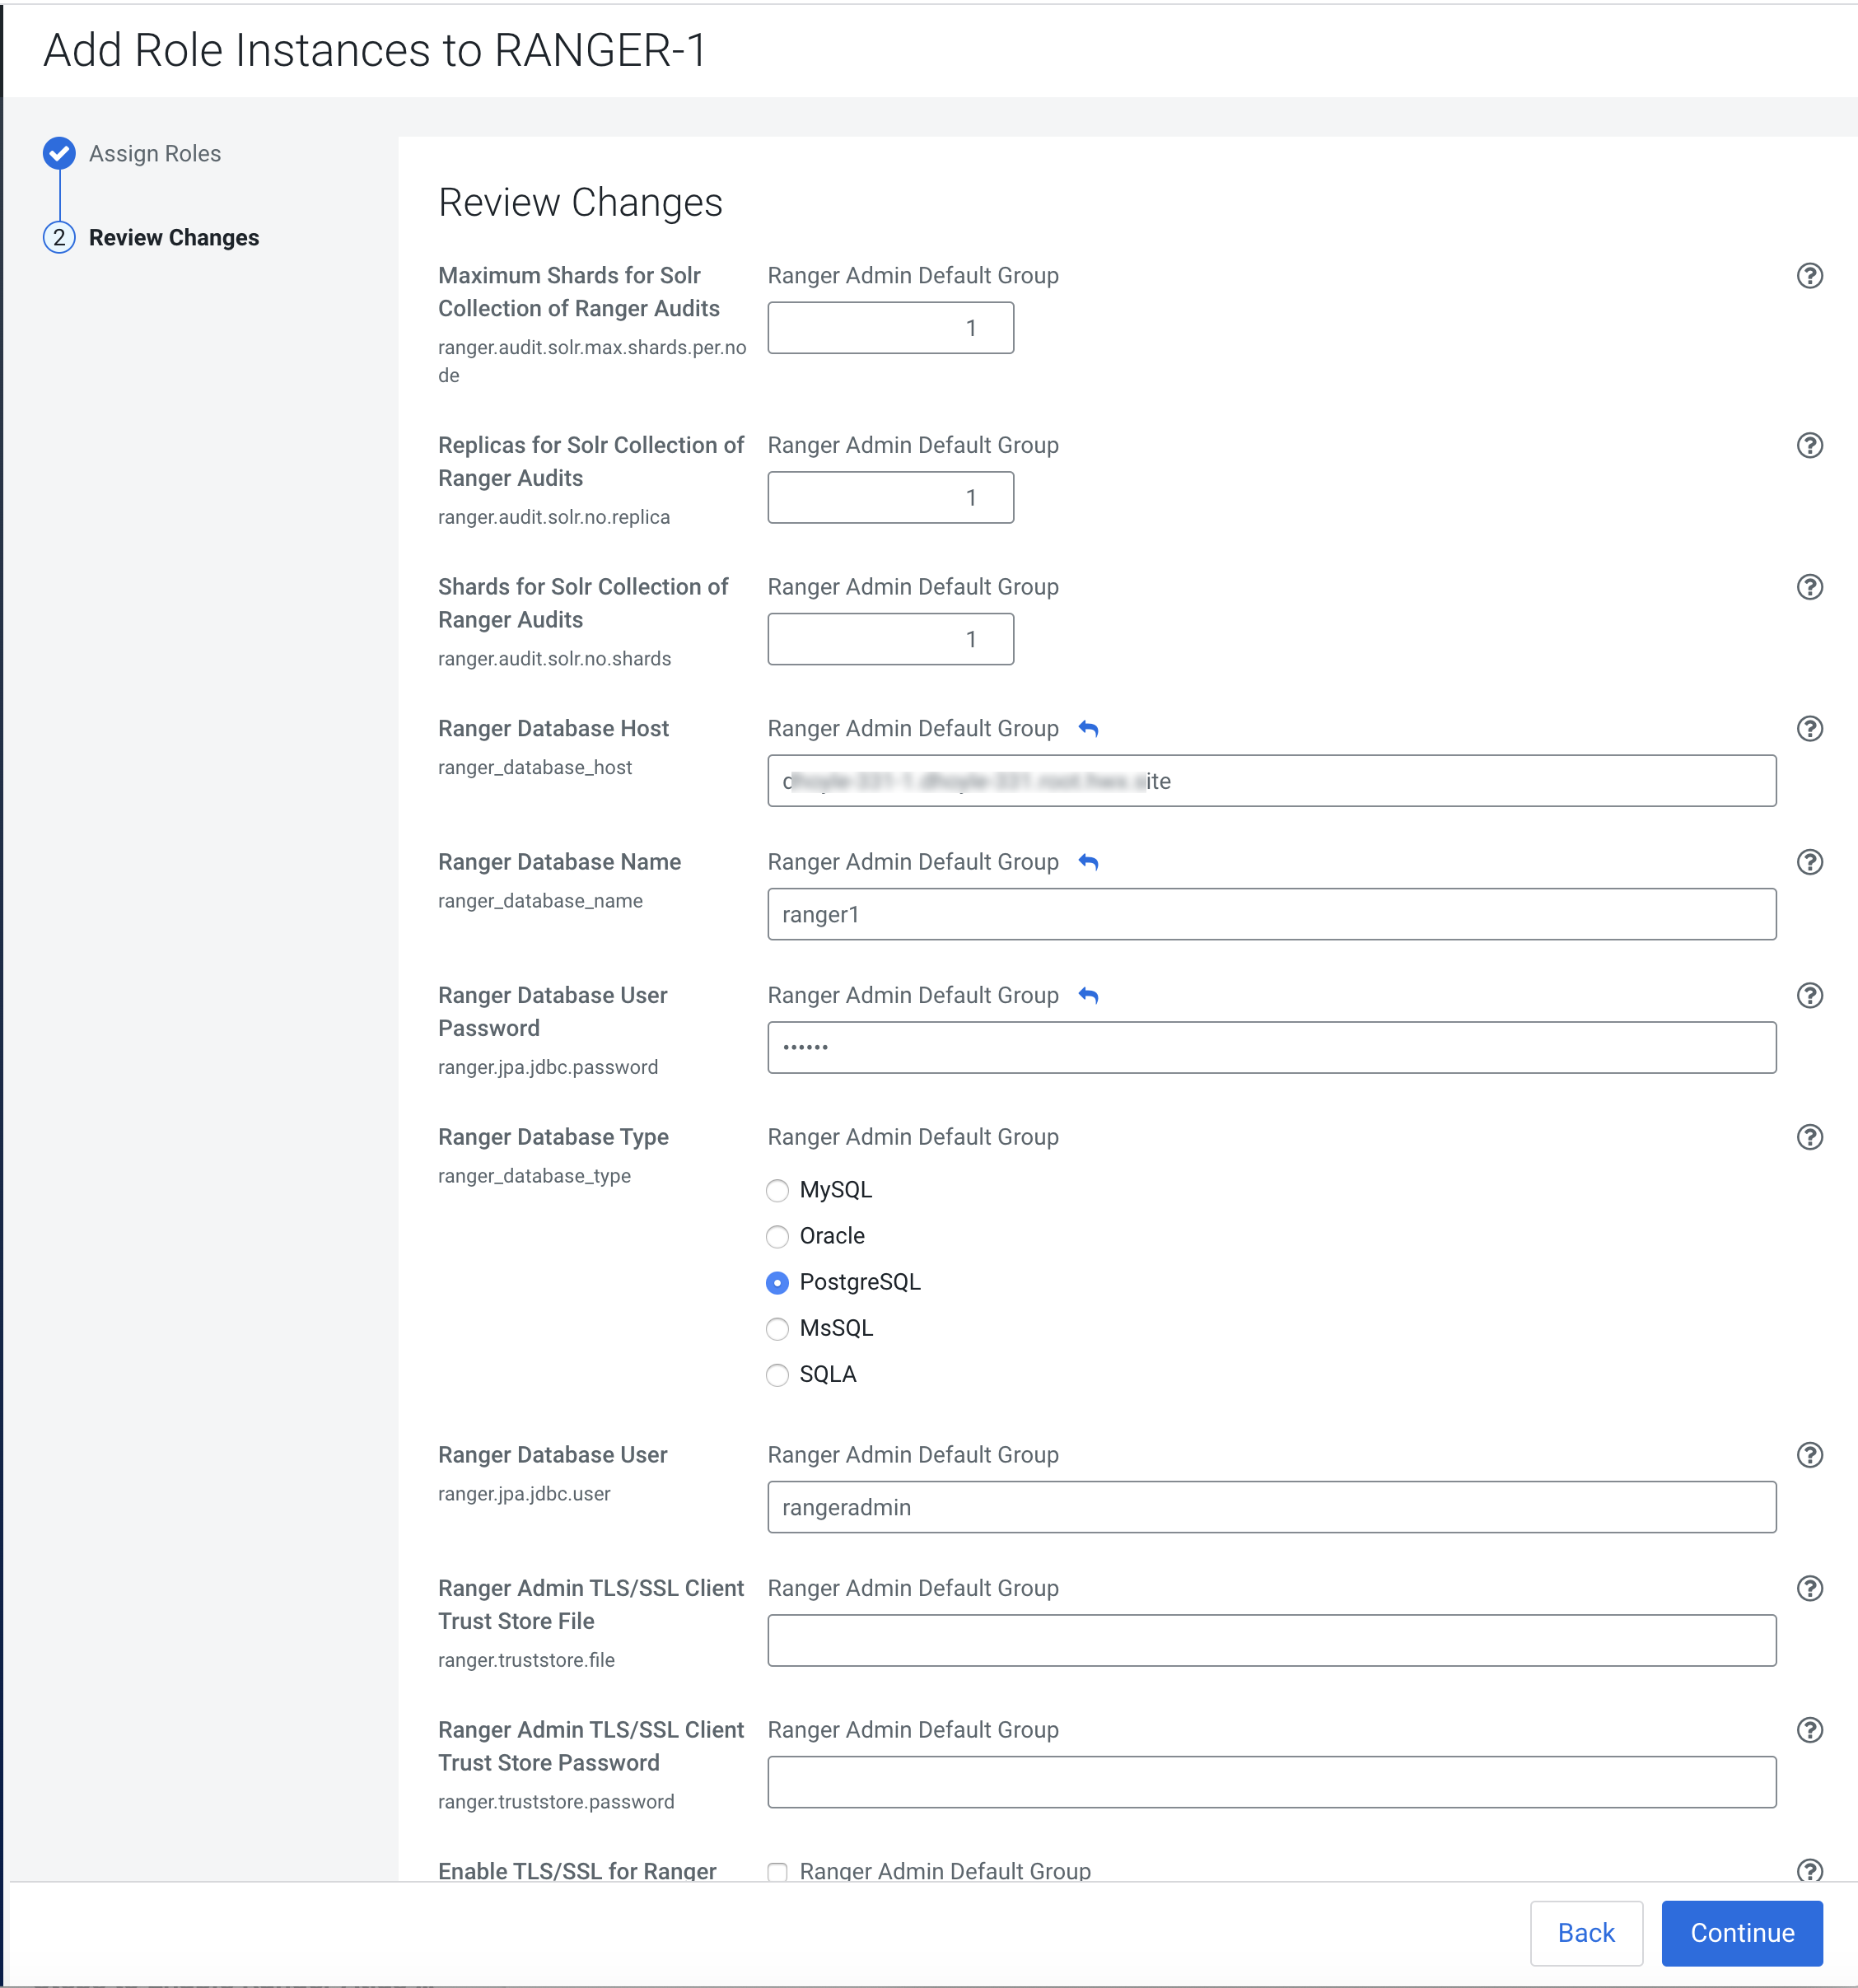
Review the settings on the Review Changes page, then click Continue.
-
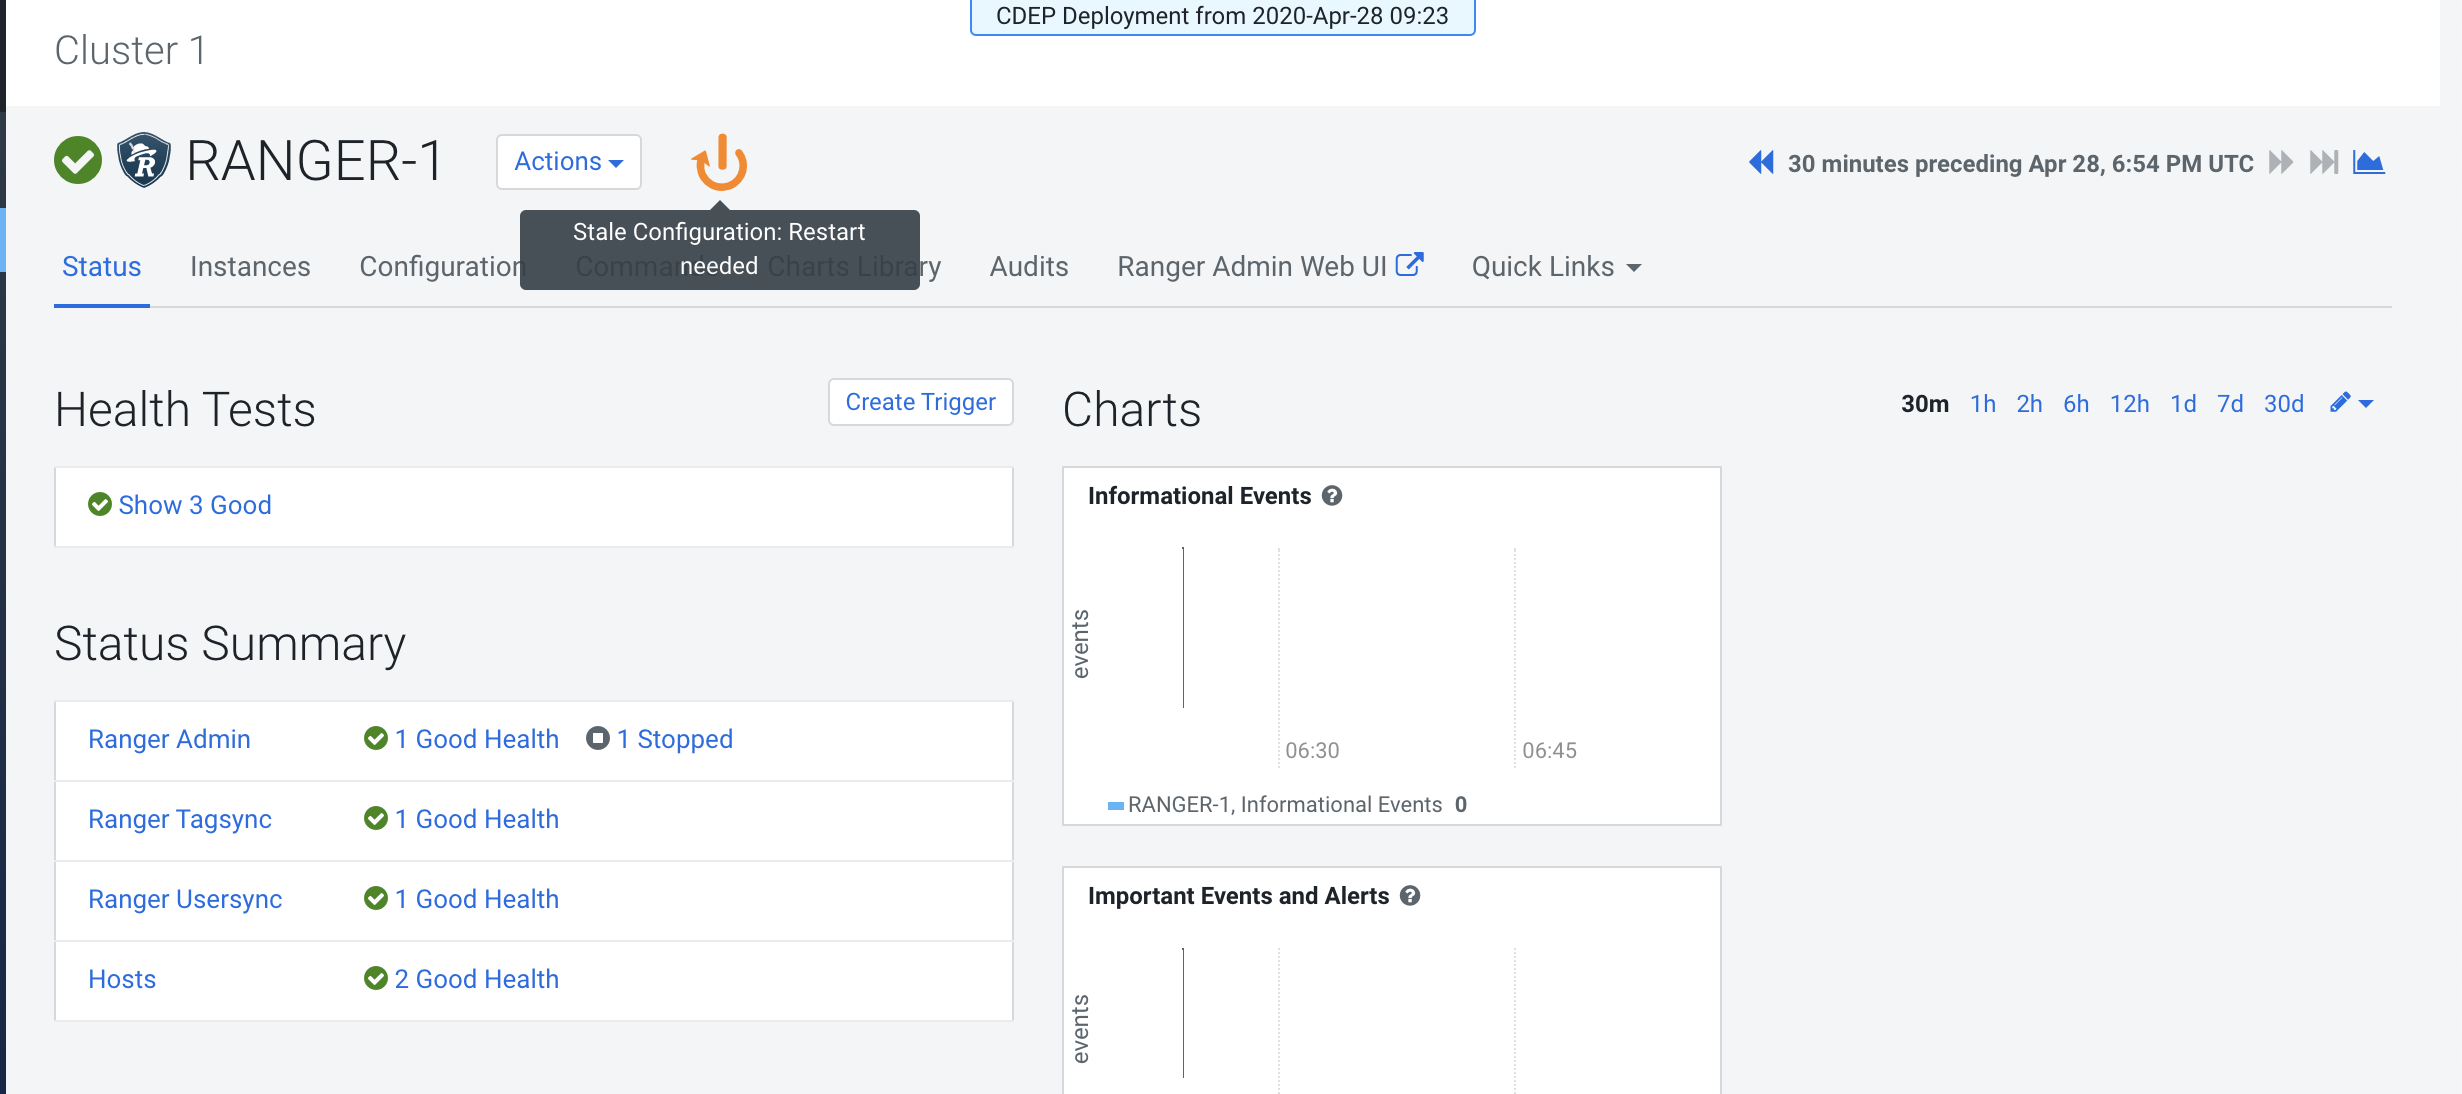
Restart the stale Ranger configuration, then click Finish.
-
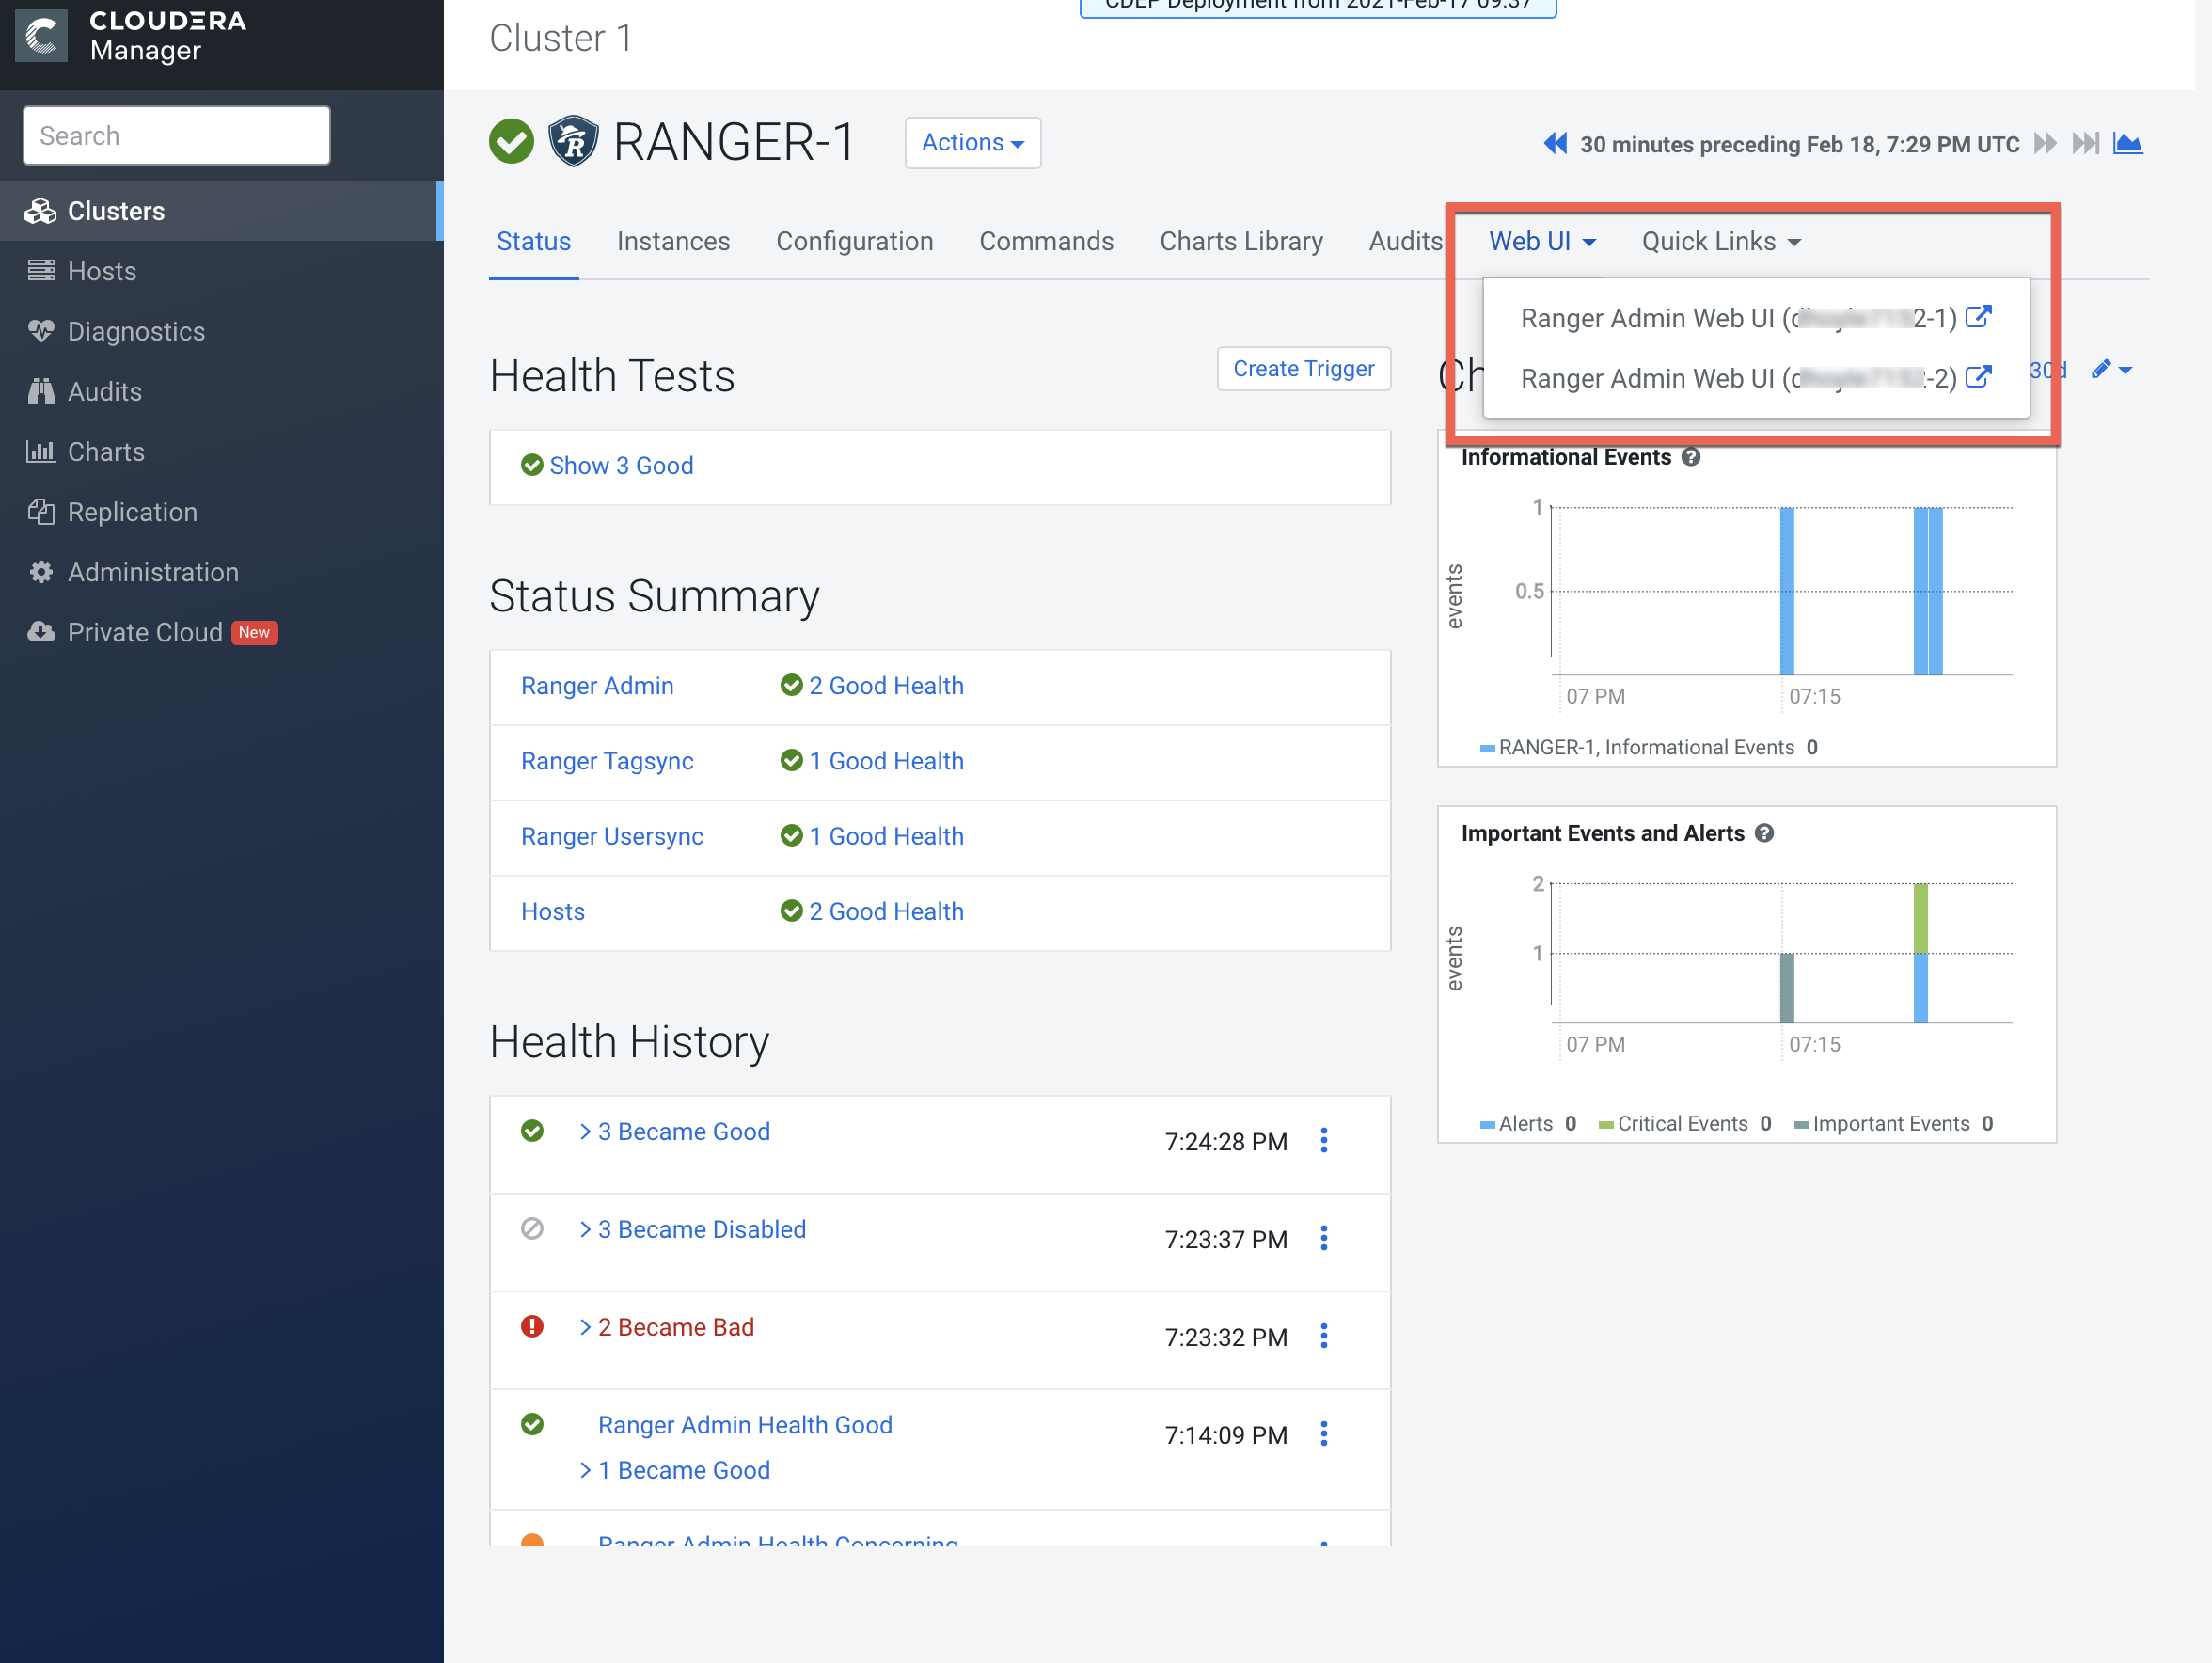
After restart you will see two URLs for the Ranger Admin Web UI.
- Requests are distributed to the multiple Ranger Admin instances in a round-robin fashion.
- If a connection is refused (indicating a failure), requests are automatically rerouted to the alternate Ranger Admin instance. However, you must manually switch to the alternate Ranger Admin Web UI.
- For all services that have the Ranger plugin enabled, the value of the
ranger.plugin.<service>.policy.rest.urlproperty changes tohttp://<RANGER-ADMIN-1>:6080,http://<RANGER-ADMIN-2>:6080.