Building a custom cluster template

You can build a custom cluster template to modify the cluster Runtime services, including the Runtime configuration properties and the distribution of Runtime services across host groups. To create a custom template, modify an existing default cluster template and then upload and register the custom template.

If the default cluster templates are insufficient for the cluster that you want to create, you can build a custom cluster template. The recommended method for building a cluster template is to modify an existing default template, so that the structure of the template is mostly preserved.

Required role: EnvironmentCreator can create a shared resource and then assign users to it. SharedResourceUser or Owner of the shared resource can use the resource. The Owner of the shared resource can delete it.

  1. Review information on the default cluster configurations to find one that includes services suitable for the type of cluster that you want to create. In general, it is best to use the templates for the current release.
  2. To access the existing default cluster templates, click Shared Resources > Cluster Templates.
  3. To find the newest template versions, click Platform at the top of the Platform column to sort the templates in descending order.
  4. Under the Name column, click the desired default ("Built In") template.
    The template opens in LIST view, which shows how the template is structured across host groups.
  5. Click RAW VIEW to view the JSON structure.
  6. Select all of the JSON code, copy it, and paste it to a suitable code editor. Standard text editors are not recommended.
  7. If you are using a code editor such as Microsoft Visual Studio Code, you can use built-in tools to validate the JSON before you proceed. Optionally, you can save the file as-is (without having made any changes), and upload it using the instructions in the topic Upload a cluster template. To verify that the template JSON is functional, you can create a test cluster by selecting the template that you just registered, and see if the cluster successfully deploys.
  8. When you are satisfied that you are working with a clean template, you can begin to modify the template. Return to the JSON template file in your code editor.
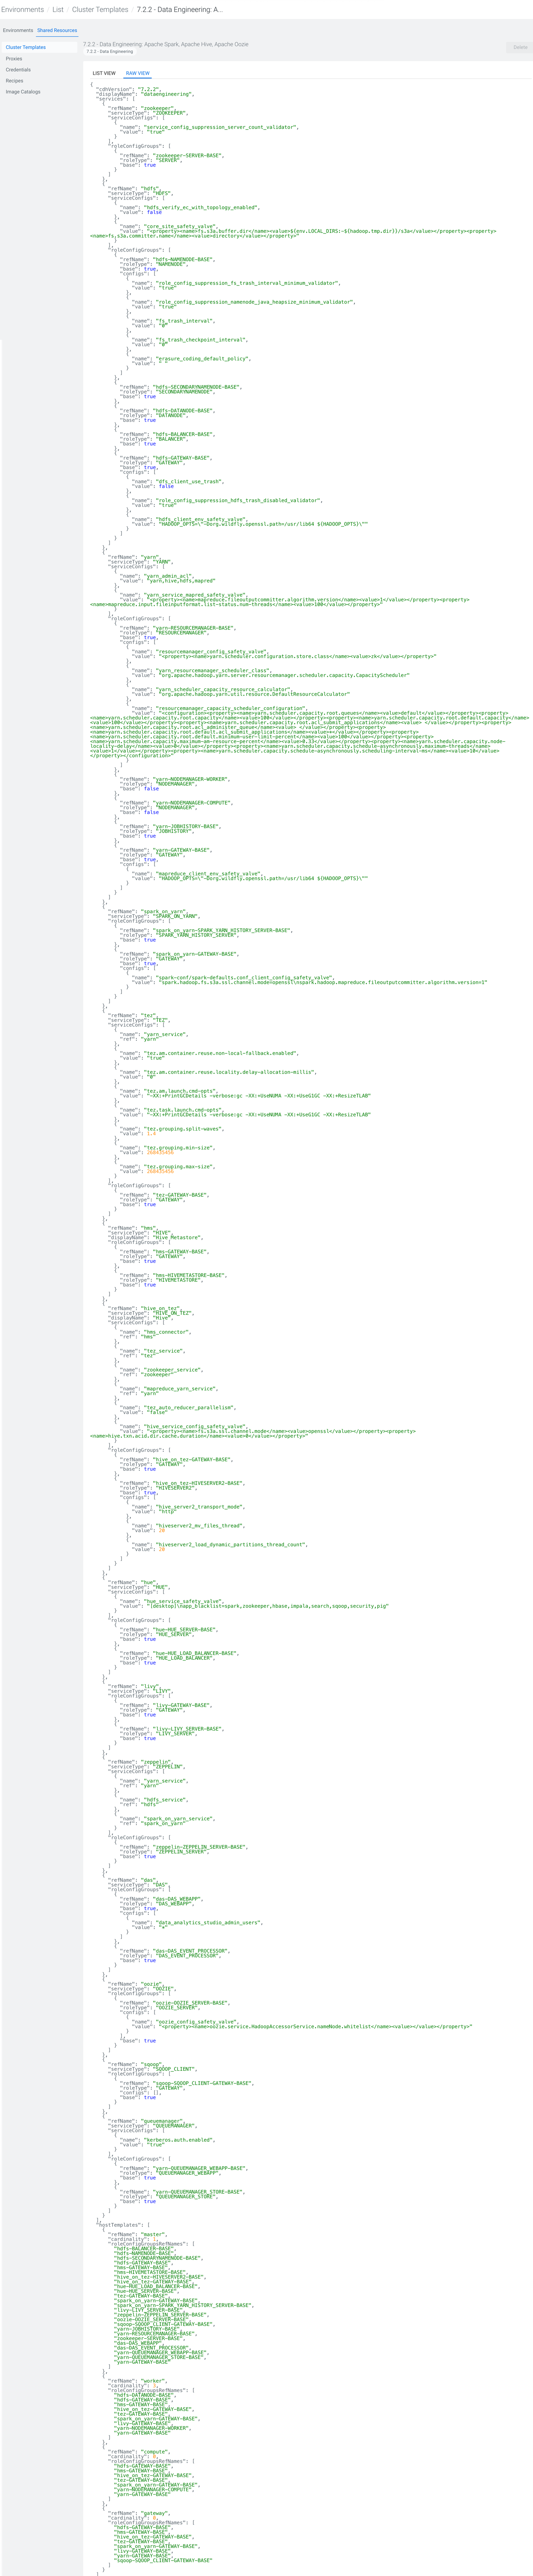
    Each default template consists of two main sections: the services section and the hostTemplates section. The services section includes the components that make up the cluster. This is where you can add or remove services, as well as modify service configuration properties. If you want to modify a service's configuration, for example to tune Yarn or Hive, refer to the Cloudera Manager configuration properties for the desired service. You can search these properties by their API Name, which is how they appear in a Data Hub template.
    For example, in a Data Engineering template you might want to adjust the amount of physical memory allocated for containers by configuring the yarn.nodemanager.resource.memory-mb property. If you want to configure this property to 80% of the total system RAM, for a 256 GB machine this would look like:
    {
          "refName": "yarn",
          "serviceType": "YARN",
          "serviceConfigs": [
            {
              "name": "yarn_admin_acl",
              "value": "yarn,hive,hdfs,mapred"
            }
          ],
          "roleConfigGroups": [
            {
              "refName": "yarn-RESOURCEMANAGER-BASE",
              "roleType": "RESOURCEMANAGER",
              "base": true,
              "configs": [
                {
                  "name": "yarn.nodemanager.resource.memory-mb",
                  "value": 2052096
                },

    If you want to add a service in a template, the simplest method is to find the service in the RAW VIEW of another default template and copy it into your JSON.

    For example, if you want to add Sqoop to the services in a template, copy it from the Data Engineering or Data Engineering HA template into the services section of another template:
    {
          "refName": "sqoop",
          "serviceType": "SQOOP_CLIENT",
          "roleConfigGroups": [
            {
              "refName": "sqoop-SQOOP_CLIENT-GATEWAY-BASE",
              "roleType": "GATEWAY",
              "configs": [],
              "base": true
            }
          ]
        },

    The hostTemplates section of the JSON file describes the nodes by their type and the services on the node. This section also includes a cardinality parameter, which you can set to increase or decrease the quantity of that specific node type.

    For example, say that you want to create a new node type called "ZKserver" that runs a single service, Zookeeper. Assuming that Zookeeper is already a service defined in the services section of the template, you can move down to the hostTemplate section. In the master node section of this Data Engineering template, you can see that Zookeeper is already defined in the "master" node section with the string "zookeeper-SERVER-BASE":
    "hostTemplates": [
        {
          "refName": "master",
          "cardinality": 1,
          "roleConfigGroupsRefNames": [
            "hdfs-BALANCER-BASE",
            "hdfs-NAMENODE-BASE",
            "hdfs-SECONDARYNAMENODE-BASE",
            "hdfs-GATEWAY-BASE",
            "hms-GATEWAY-BASE",
            "hms-HIVEMETASTORE-BASE",
            "hive_on_tez-HIVESERVER2-BASE",
            "hive_on_tez-GATEWAY-BASE",
            "hue-HUE_LOAD_BALANCER-BASE",
            "hue-HUE_SERVER-BASE",
            "tez-GATEWAY-BASE",
            "spark_on_yarn-GATEWAY-BASE",
            "spark_on_yarn-SPARK_YARN_HISTORY_SERVER-BASE",
            "livy-LIVY_SERVER-BASE",
            "zeppelin-ZEPPELIN_SERVER-BASE",
            "oozie-OOZIE_SERVER-BASE",
            "sqoop-SQOOP_CLIENT-GATEWAY-BASE",
            "yarn-JOBHISTORY-BASE",
            "yarn-RESOURCEMANAGER-BASE",
            "zookeeper-SERVER-BASE",
            "das-DAS_WEBAPP",
            "das-DAS_EVENT_PROCESSOR",
            "yarn-QUEUEMANAGER_WEBAPP-BASE",
            "yarn-QUEUEMANAGER_STORE-BASE",
            "yarn-GATEWAY-BASE"
          ]
    To create our new ZKserver node, you can copy the standard node format and modify it for your purpose:
    {
          "refName": "ZKserver",
          "cardinality": 1,
          "roleConfigGroupsRefNames": [
            "zookeeper-SERVER-BASE"
          ]
        }

    If you also want to include dynamic parameters in your custom template, see the documentation for Dynamic cluster templates. During the cluster creation phase, dynamic parameters pick up the parameter values that you provided in the Data Hub cluster wizard. See the Custom Properties documentation for a list of properties that can be dynamically replaced. You might want to use dynamic parameters when you regularly provision clusters using a specific template, but want to change a few of the property values each time you provision a new cluster.

  9. When you have finished modifying the template, validate the JSON in your code editor and save the template.
Upload the JSON file and register the template following the instructions in the Upload a cluster template topic. Then, when you navigate to the Data Hub page and select Create Data Hub, be sure to select the Custom radio button underneath environment selection. Here you can provision a Data Hub cluster using the custom template that you registered. Select your custom template from the drop-down menu before you configure any advanced options.