Creating a Hive external table replication policy

You must set up your clusters before you create a Hive/Impala replication policy. You can also use CDP Private Cloud Base Replication Manager to replicate Hive/Impala data to and from S3 or ADLS, however you cannot replicate data from one S3 or ADLS instance to another using Replication Manager.

To replicate Hive/Impala data to and from S3 or ADLS, you must have the appropriate credentials to access the S3 or ADLS account. Additionally, you must create buckets in S3 or data lake store in ADLS. Replication Manager backs up file metadata, including extended attributes and ACLs when you replicate data to cloud storage.
The Apache Ranger access policy model consists of the following components:
  • Specification of the resources that you can apply to a replication policy which includes the HDFS files and directories; Hive databases, tables, and columns; and HBase tables, column-families, and columns.
  • Specification of access conditions for specific users and groups.
Replication Manager functions consistently across HDFS and Hive:
  • Replication policies can be set up on files or directories in HDFS and on external tables in Hive—without manual translation of Hive datasets to HDFS datasets, or vice versa. Hive Metastore information is also replicated.
  • Applications that depend on external table definitions stored in Hive, operate on both replica and source as table definitions are updated.
  • Set the Ranger policy for hdfs user on target cluster to perform all operations on all databases and tables. The same user role is used to import Hive Metastore. The hdfs user should have access to all Hive datasets, including all operations. Otherwise, Hive import fails during the replication process. To provide access, perform the following steps:
    1. Log in to Ranger Admin UI.
    2. Go to the Service Manager > Hadoop_SQL Policies > Access section, and provide hdfs user permission to the all-database, table, column policy name.
  • On the target cluster, the hive user must have Ranger admin privileges. The same hive user performs the metadata import operation.
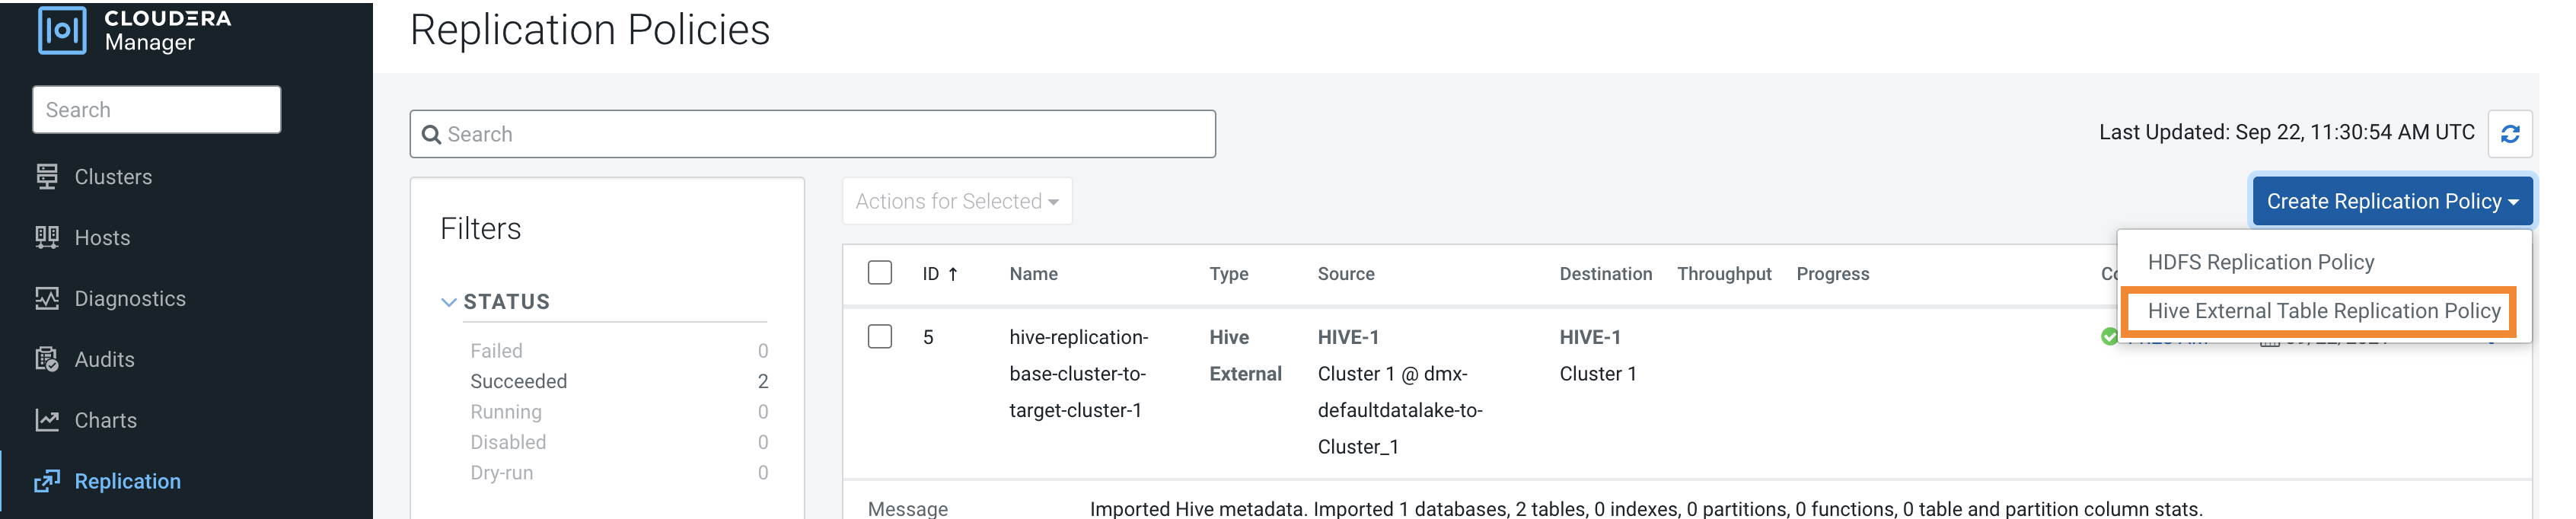
  1. If the source cluster is managed by a different Cloudera Manager server than the destination cluster, configure a peer relationship.
  2. Add the required credentials in Cloudera Manager to access the cloud storage to replicate Hive/Impala data to and from cloud storage. You can enter the s3a://[***bucket name***]/[***path***] path to replicate to/from Amazon S3 and adl://[***accountname***].azuredatalakestore.net/[***path***] path to replicate to/from ADLS.
    1. To add AWS credentials, see How to Configure AWS Credentials.
      Ensure that the following basic permissions are available to provide read-write access to S3 through the S3A connector:
      s3:Get*
      s3:Delete*
      s3:Put*
      s3:ListBucket
      s3:ListBucketMultipartUploads
      s3:AbortMultipartUpload
    2. To add ADLS credentials, perform the following steps:
      1. Click Add AD Service Principal on the Cloudera Manager Admin Console > Administration > External Accounts > Azure Credentials page for the source cluster.
      2. Enter the Name, Client ID, Client Secret Key, and Tenant Identity for the credential in the Add AD Service Principal modal window.
      3. Click Add.
  3. Go to the Cloudera Manager > Replication > Replication Policies page, click Create Replication Policy.
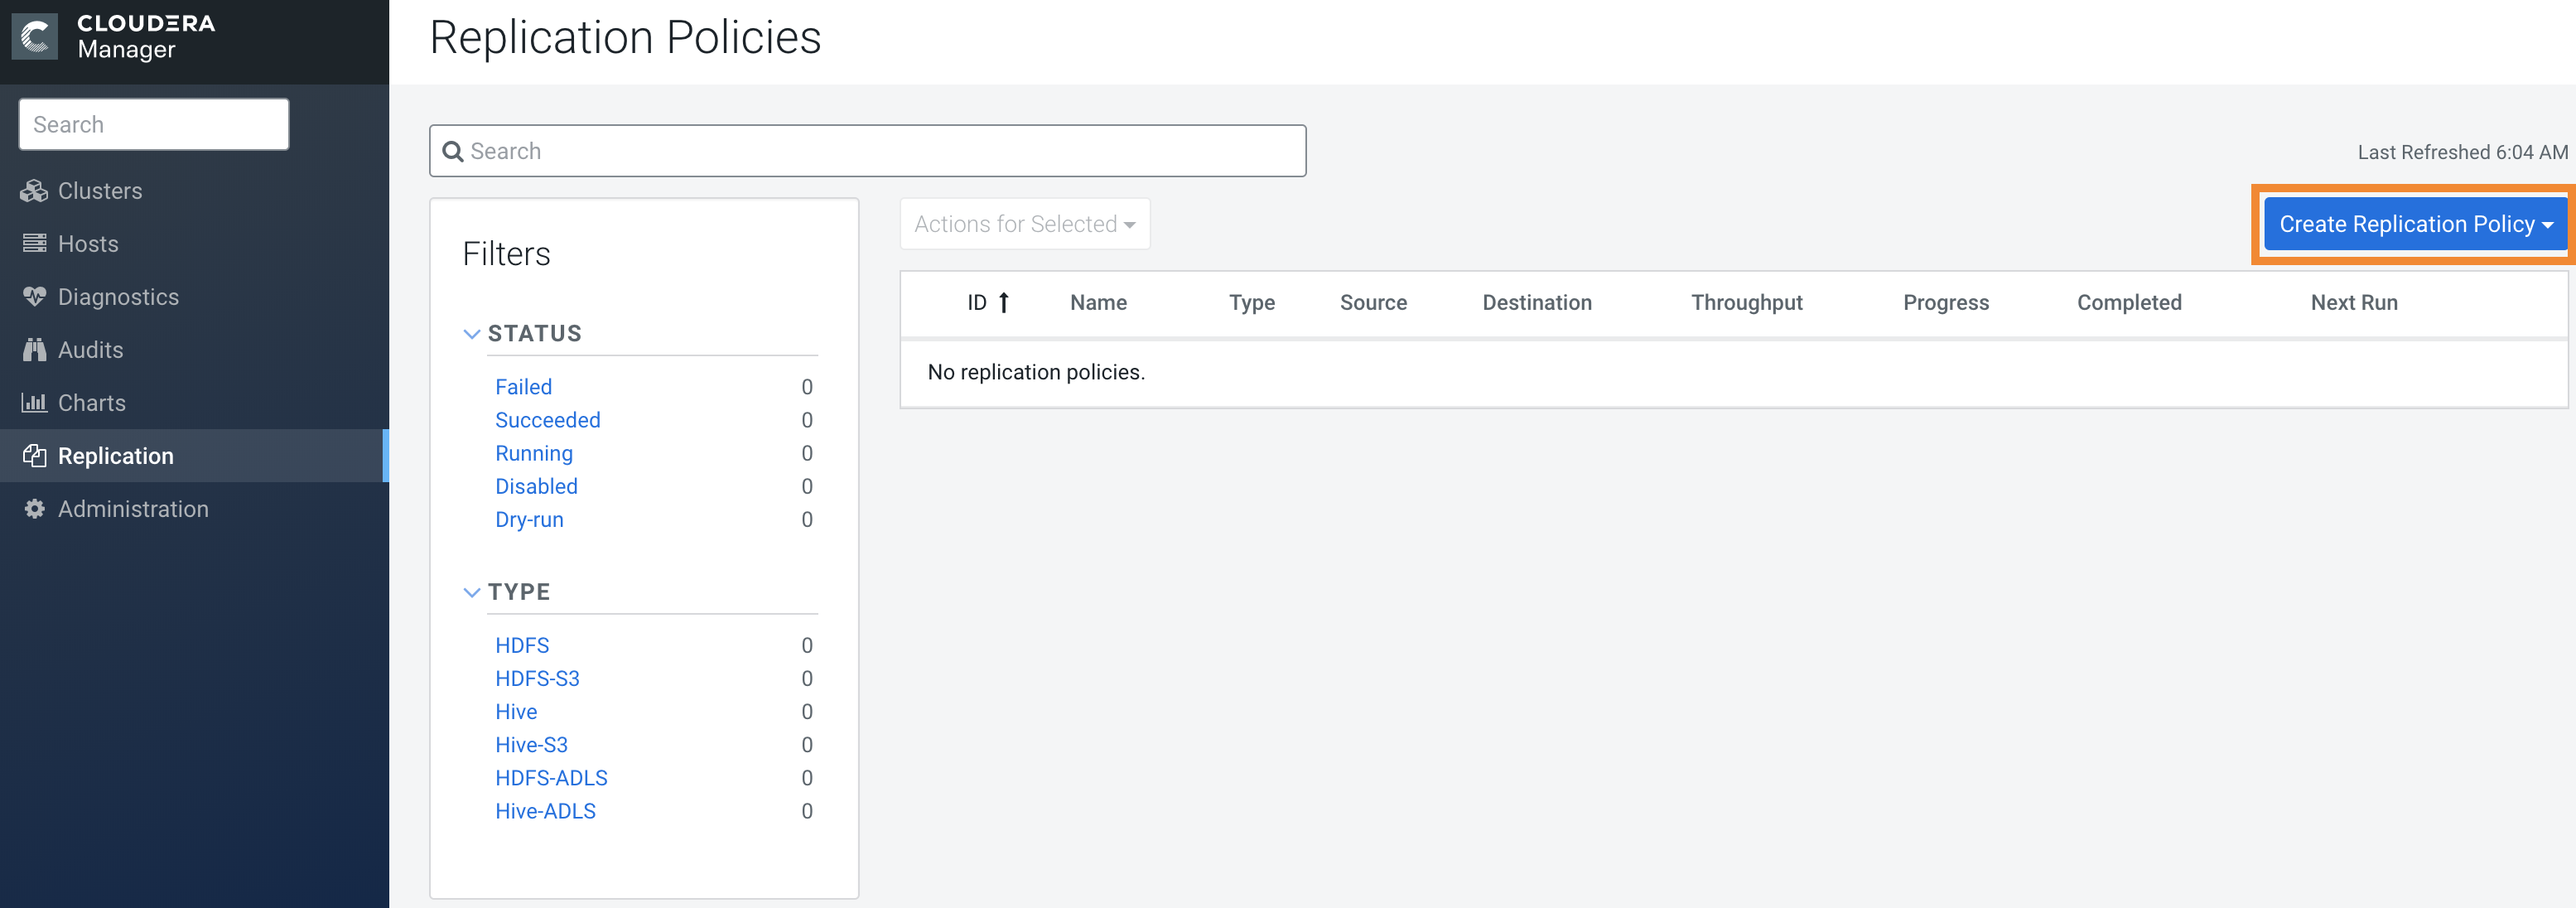
  4. Select Hive External Table Replication Policy.
  5. Configure the following options on the General tab:
    Option Description
    Name Enter a unique name for the replication policy.
    Source Select the cluster with the Hive service you want to replicate.
    Destination Select the destination for the replication. If there is only one Hive service managed by Cloudera Manager available as a destination, this is specified as the destination. If more than one Hive service is managed by this Cloudera Manager, select from among them.
    Destination Staging Path Enter a valid HDFS path without the external table base directory to store the Hive data and metadata, a root for creating table directories. Replication Manager uses this path to create the table directory on the target cluster.

    For example, if the Destination Staging Path is /mypath/ and the table location on the source cluster is /user/hive/warehouse/bdr.db/tab1. Enter /mypath in the field. After replication, the table location on the target cluster is /mypath/user/hive/warehouse/bdr.db/tab1.

    Permissions Select one of the following permissions:
    • Do not import Sentry Permissions (Default)
    • If Sentry permissions were exported from the CDH cluster, import both Hive object and URL permissions
    • If Sentry permissions were exported from the CDH cluster, import only Hive object permissions
    Databases Select Replicate Allto replicate all the Hive databases from the source, or enter the database names and table names.

    To replicate only selected databases, clear the option and enter the database name(s) and tables you want to replicate.

    • Specify multiple databases and tables using the plus symbol to add more rows to the specification.
    • Specify multiple databases on a single line by separating their names with the pipe (|) character. For example: mydbname1|mydbname2|mydbname3.
    • Use regular expressions in the database or table fields as shown in the following examples:
      • To specify any database or table name, enter the following regular expression:
        [\w].+
      • To specify any database or table except the one named 'myname', enter the following regular expression:
        (?!myname\b).+
      • To specify all the tables in the db1 and db2 databases, enter the following regular expression:
        db1|db2
        [\w_]+
      • To specify all the tables of the db1 and db2 databases (alternate method), enter the following regular expression:
        db1
        [\w_]+
        Click + icon and enter the following expression:
        db2
        [\w_]+
    Schedule Choose:
    • Immediate to run the schedule immediately.
    • Once to run the schedule one time in the future. Set the date and time.
    • Recurring to run the schedule periodically in the future. Set the date, time, and interval between runs.

      Replication Manager ensures that the same number of seconds elapse between the runs. For example, if you choose the Start Time as January 19, 2022 11.06 AM and Interval as 1 day, Replication Manager runs the replication policy for the first time at the specified time in the timezone the replication policy was created in, and then runs it exactly after 1 day that is, after 24 hours or 86400 seconds.

    Run As Username Enter the username to run the MapReduce job. By default, MapReduce jobs run as hdfs. To run the MapReduce job as a different user, enter the user name. If you are using Kerberos, you must provide a user name here, and it must have an ID greater than 1000.
    Run on peer as Username Enter the username if the peer cluster is configured with a different superuser. This is applicable in a kerberized environment.
  6. Configure the following options on the Resources tab:
    Option Description
    Scheduler Pool (Optional) Enter the name of a resource pool in the field. The value you enter is used by the MapReduce Service you specified when Cloudera Manager executes the MapReduce job for the replication. The job specifies the value using one of these properties:
    • MapReduce – Fair scheduler: mapred.fairscheduler.pool
    • MapReduce – Capacity scheduler: queue.name
    • YARN – mapreduce.job.queuename
    Maximum Map Slots Enter the number of map tasks that the DistCp MapReduce job can use for the replication policy. Default is 20.
    Maximum Bandwidth Enter the bandwidth limit for each mapper. Default is 100 MB.

    The total bandwidth used by the replication policy is equal to Maximum Bandwidth multiplied by Maximum Map Slots. Therefore, you must ensure that the bandwidth and map slots you choose do not impact other tasks or network resources in the target cluster.

    Replication Strategy Choose Static or Dynamic to determine whether the file replication tasks must be distributed among the mappers statically or dynamically. The default is Dynamic

    Static replication distributes file replication tasks among the mappers up front to achieve a uniform distribution based on the file sizes. Dynamic replication distributes file replication tasks in small sets to the mappers, and as each mapper completes its tasks, it dynamically acquires and processes the next unallocated set of tasks.

  7. Configure the following options on the Advanced tab where you can specify an export location, modify the parameters of the MapReduce job that performs the replication, and select a MapReduce service (if there is more than one in your cluster):
    Option Description
    Replicate HDFS Files Clear the option to skip replicating the associated data files.
    Force Overwrite Select the option to overwrite data in the destination metastore if incompatible changes are detected. For example, if the destination metastore was modified, and a new partition was added to a table, this option forces deletion of that partition, overwriting the table with the version found on the source.
    Directory for metadata file Enter / or a valid folder path in the target cluster to save the metadata file. If the field is empty or if the specified folder does not exist, Replication Manager creates a new folder.

    For example, the /.cm/hive-staging/ directory containing the Hive metadata is stored in the specified target HDFS path during replication, before the metadata is imported into the metastore service. If the field is empty, the /.cm/hive-staging/ directory is generated in the /user/$[***proxyUser***] location on target cluster where the proxyUser is hdfs.

    Number of concurrent HMS connections Enter the number of concurrent Hive Metastore connections. The connections are used to concurrently import and export metadata from Hive. Increase the number of threads to improve Replication Manager performance. By default, a new replication policy uses 4 connections.
    1. If you set the value to 1 or more, Replication Manager uses multi-threading with the number of connections specified.
    2. If you set the value to 0 or fewer, Replication Manager uses single threading and a single connection. Note that the source and destination clusters must run a Cloudera Manager version that supports concurrent HMS connections, Cloudera Manager 5.15.0 or higher and Cloudera Manager 6.1.0 or higher.
    MapReduce Service Select the MapReduce or YARN service to use.
    Log path Enter an alternate path for the logs.
    Description Enter a description of the replication policy.
    Error Handling Select:
    • Skip Checksum Checks to determine whether to skip checksum checks on the copied files. If selected, checksums are not validated. Checksums are checked by default.
    • Skip Listing Checksum Checks to determine whether to skip checksum check when comparing two files to determine whether they are same or not. If skipped, the file size and last modified time are used to determine if files are the same or not. Skipping the check improves performance during the mapper phase. Note that if you select the Skip Checksum Checks option, this check is also skipped.
    • Abort on Error to determine whether to abort the job on an error. If selected, files copied up to that point remain on the destination, but no additional files are copied. Abort on Error is not selected by default.
    • Abort on Snapshot Diff Failures if you want Replication Manager to use a complete copy to replicate data when snapshot diff fails during replication. If you select this option, the Replication Manager aborts the replication when it encounters an error instead.
    Preserve Determines whether to preserve the Block Size, Replication Count, and Permissions as they exist on the source file system, or to use the settings as configured on the destination file system. By default, settings are preserved on the source.
    Delete Policy Determines whether files that were deleted on the source should also be deleted from the destination directory. This policy also determines the handling of files in the destination location that are unrelated to the source.

    Choose:

    • Keep Deleted Files to retain the destination files even when they no longer exist at the source. This is the default.
    • Delete to Trash iff the HDFS trash is enabled.
    • Delete Permanently to use the least amount of space; use with caution. This option does not delete the files and directories in the top level directory. This is in line with rsync/Hadoop DistCp behavior.
    Alerts Determines whether to generate alerts for various state changes in the replication workflow. You can alert on failure, on start, on success, or when the replication workflow is aborted.
  8. Click Save Policy.