Configuring custom Kerberos principal for Atlas
Customising the Atlas Kerberos Principal is a two-step process.
-
Updating the Kerberos Principal.
In your Cloudera Manager instance, go to the Configuration tab and search for the Principal by entering "principal" in the search field.
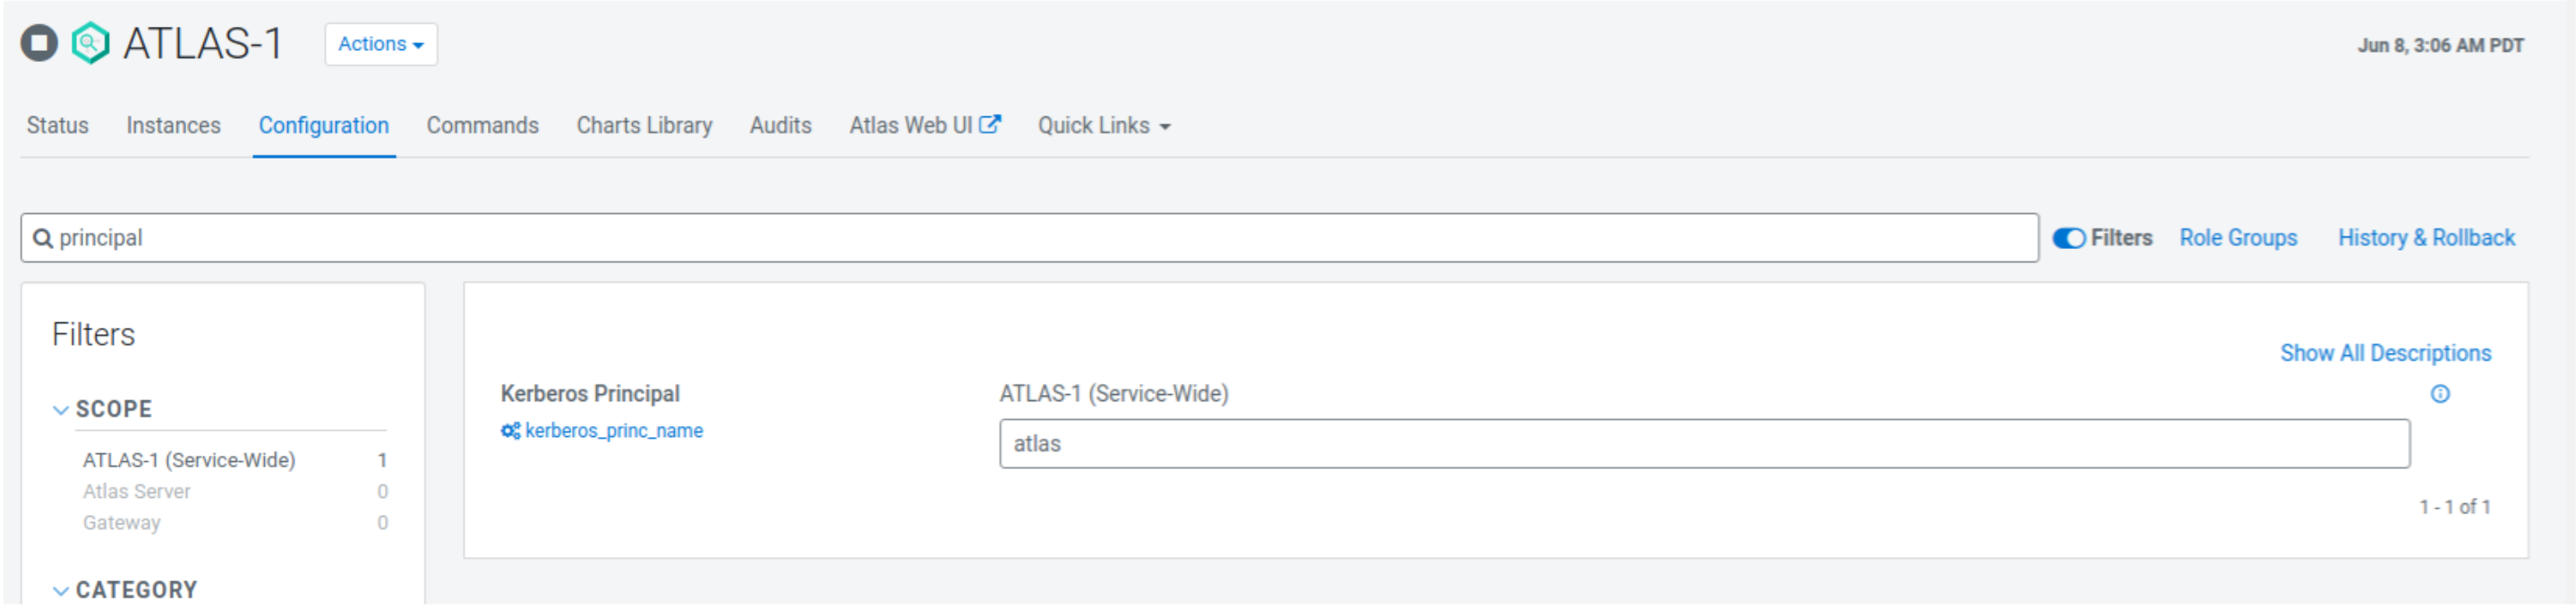
For Kerberos Principal, enter the value as “atlas” and click Save Changes.
-
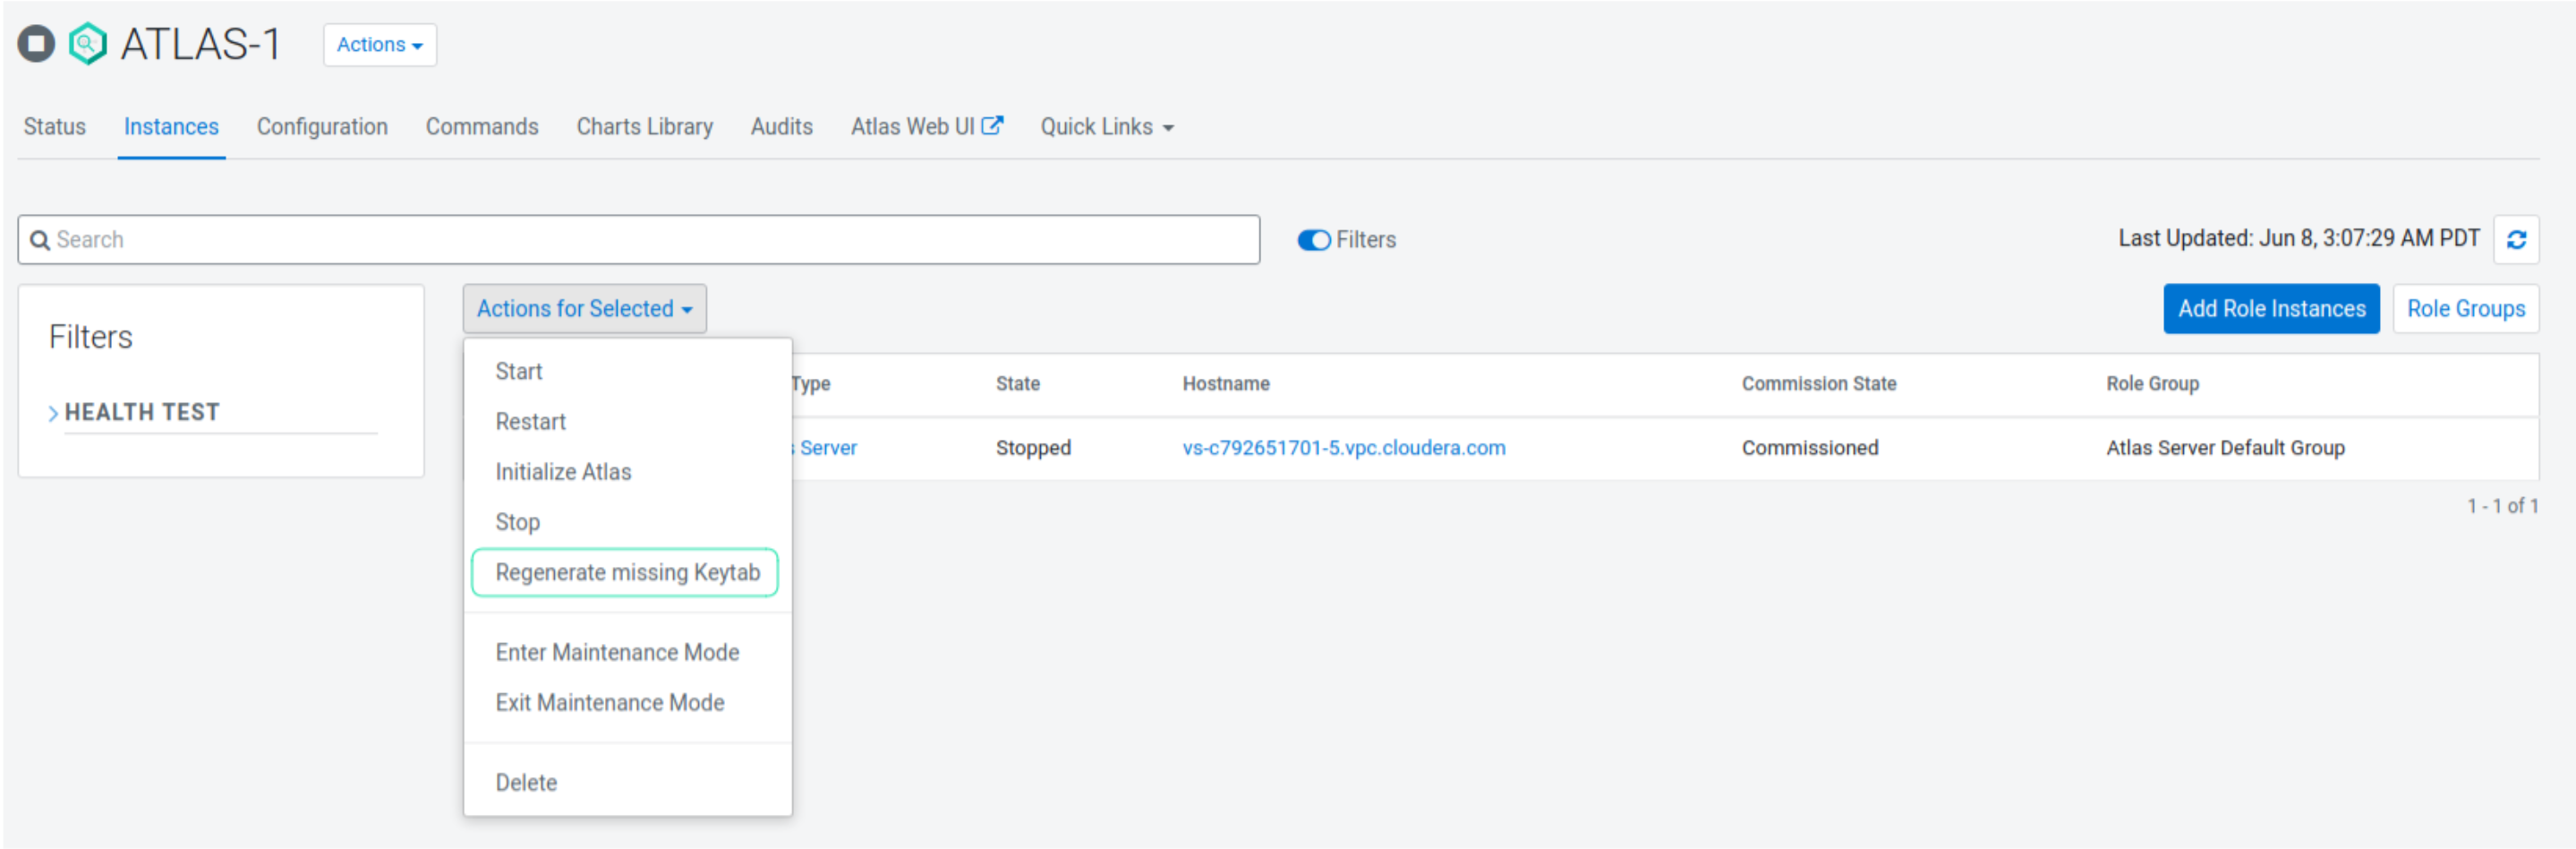
Regenerating the missing keytab.
In the Instances tab, click Actions to Selected and select Regenerate missing keytab. Click Save.
Warning: Cloudera Manager will not create service users / groups which are customised.
Cloudera Manager handles the mapping of the service user to the Kerberos Principal and no additional task is required. You must configure the required policies in the Ranger UI.
If the Kerberos principal name is customized for a Knox service having a default service user name, add the following proxy configurations to Atlas Server Advanced Configuration Snippet (Safety Valve) for conf/atlas-application.properties and restart the Atlas service:atlas.proxyuser.<knox_principal_name>.hosts= <list of allowed hosts>. The<list of allowed hosts>can be provided as * to allow all.atlas.proxyuser.<knox_principal_name>.groups= <list of allowed groups>atlas.proxyuser.<knox_principal_name>.users= <list of allowed users>
Where
<knox_principal_name>is the value of the Kerberos Principal in the Knox service. Select Clusters > Knox > Configuration and search for Kerberos Principal to display this value.