Restoring old data to a new workbench
You can restore all of the backed up data into a new workbench using the backup CRN. Use your previously defined Azure files NFS as the external NFS being supplied for workbench creation.
-
Use the sample CLI command provided below to restore the backup. Change the
field information to match with your own requirements. In particular, you must
define ‘existingNFS’, ‘nfsVersion’ and ‘backupCrn’ with
your specific information.
cdpcp-account-helper % cdp ml restore-workspace --cli-input-json '{
  "newWorkspaceParameters": {
    "environmentName": "eng-ml-dev-env-azure",
    "workspaceName": "workspace-with-migrated-nsf",
    "disableTLS": false,
    "usePublicLoadBalancer": false,
    "enableMonitoring": true,
    "enableGovernance": true,
    "enableModelMetrics": true,
    "whitelistAuthorizedIPRanges": false,
    "existingNFS": "nfs://azurenfsv4.file.core.windows.net:/azurenfsv4/test-fs",
    "nfsVersion": "4.1",
    "provisionK8sRequest": {
      "instanceGroups": [
        {
          "instanceType": "Standard_DS3_v2",
          "rootVolume": {
            "size": 128
          },
          "autoscaling": {
            "minInstances": 1,
            "maxInstances": 10
          }
        }
      ],
      "environmentName": "eng-ml-dev-env-azure",
      "tags": [],
      "network": {
        "topology": {
          "subnets": []
        }
      }
    },
    "skipValidation": true
  },
  "backupCrn": "crn:cdp:ml:us-west-1:9d74eee4-1cad-45d7-b645-7ccf9edbb73d:workspace_backup:97711308-3014-418e-88d7-1f44cca495c7",
  "useStaticSubdomain": false
}' --profile dev
The CLI returns the following output:
{
    "workspaceCrn": "crn:cdp:ml:us-west-1:9d74eee4-1cad-45d7-b645-7ccf9edbb73d:workspace:e5520051-2e5f-406d-a003-a1e9dabbe1c4"
}
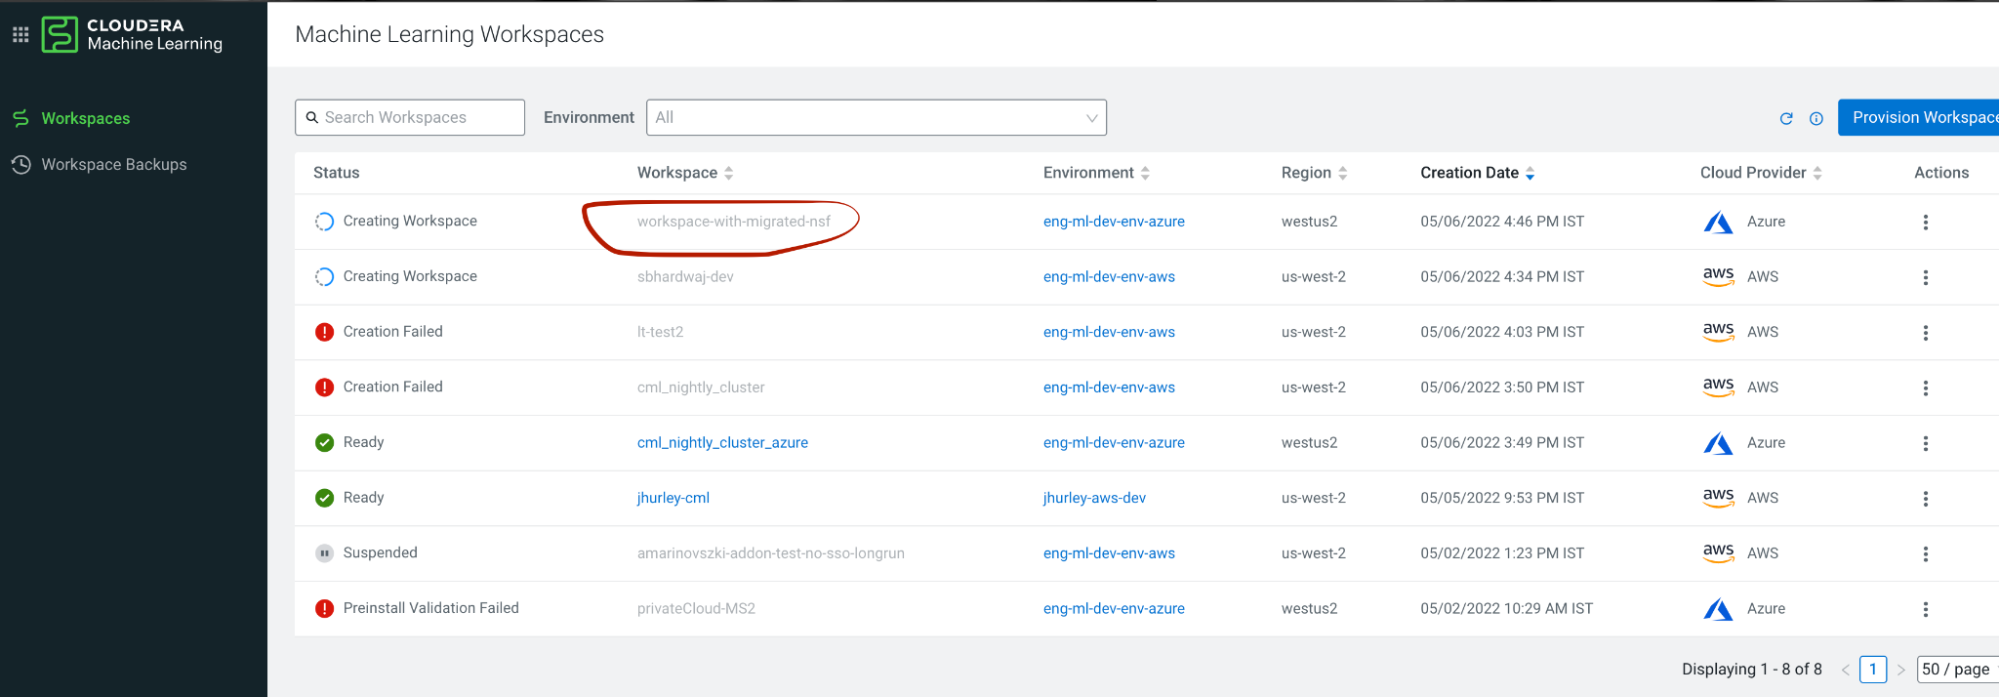
You can see the new workbench spinning up in the UI.
-
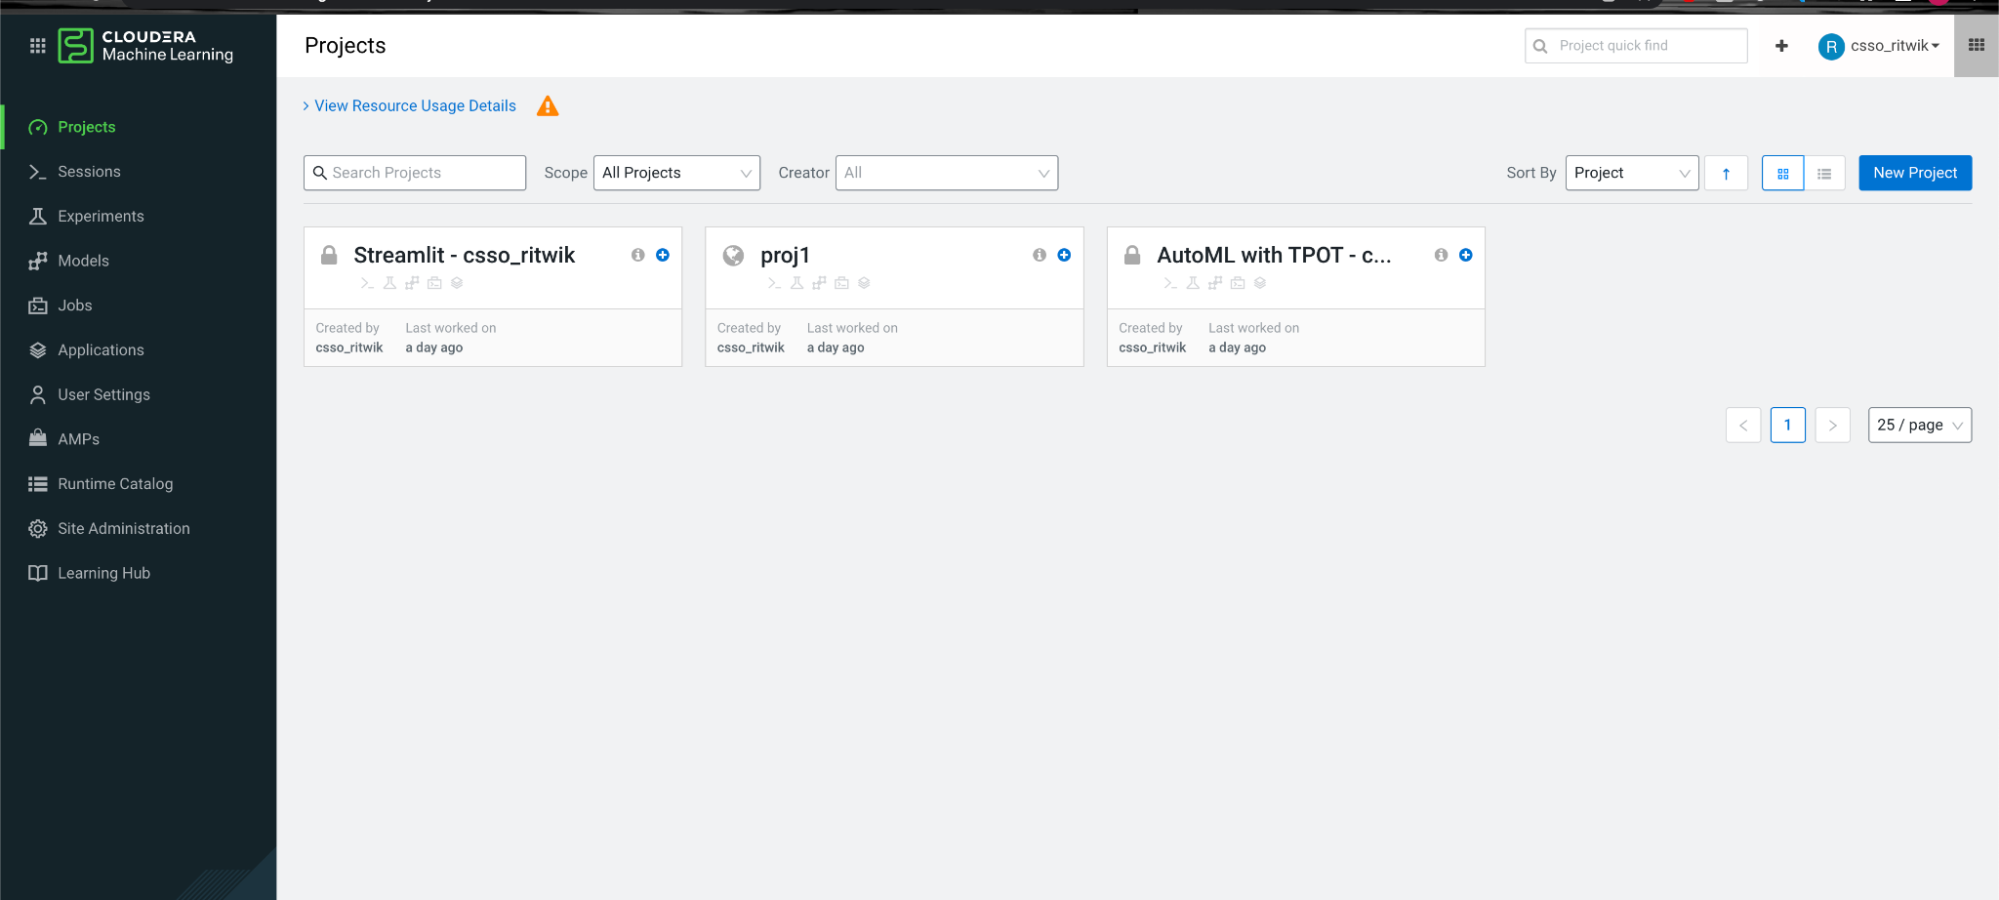
Once the workbench is in ready state, log into it.
You should be able to see all the previous projects in the same state that you left off.

-
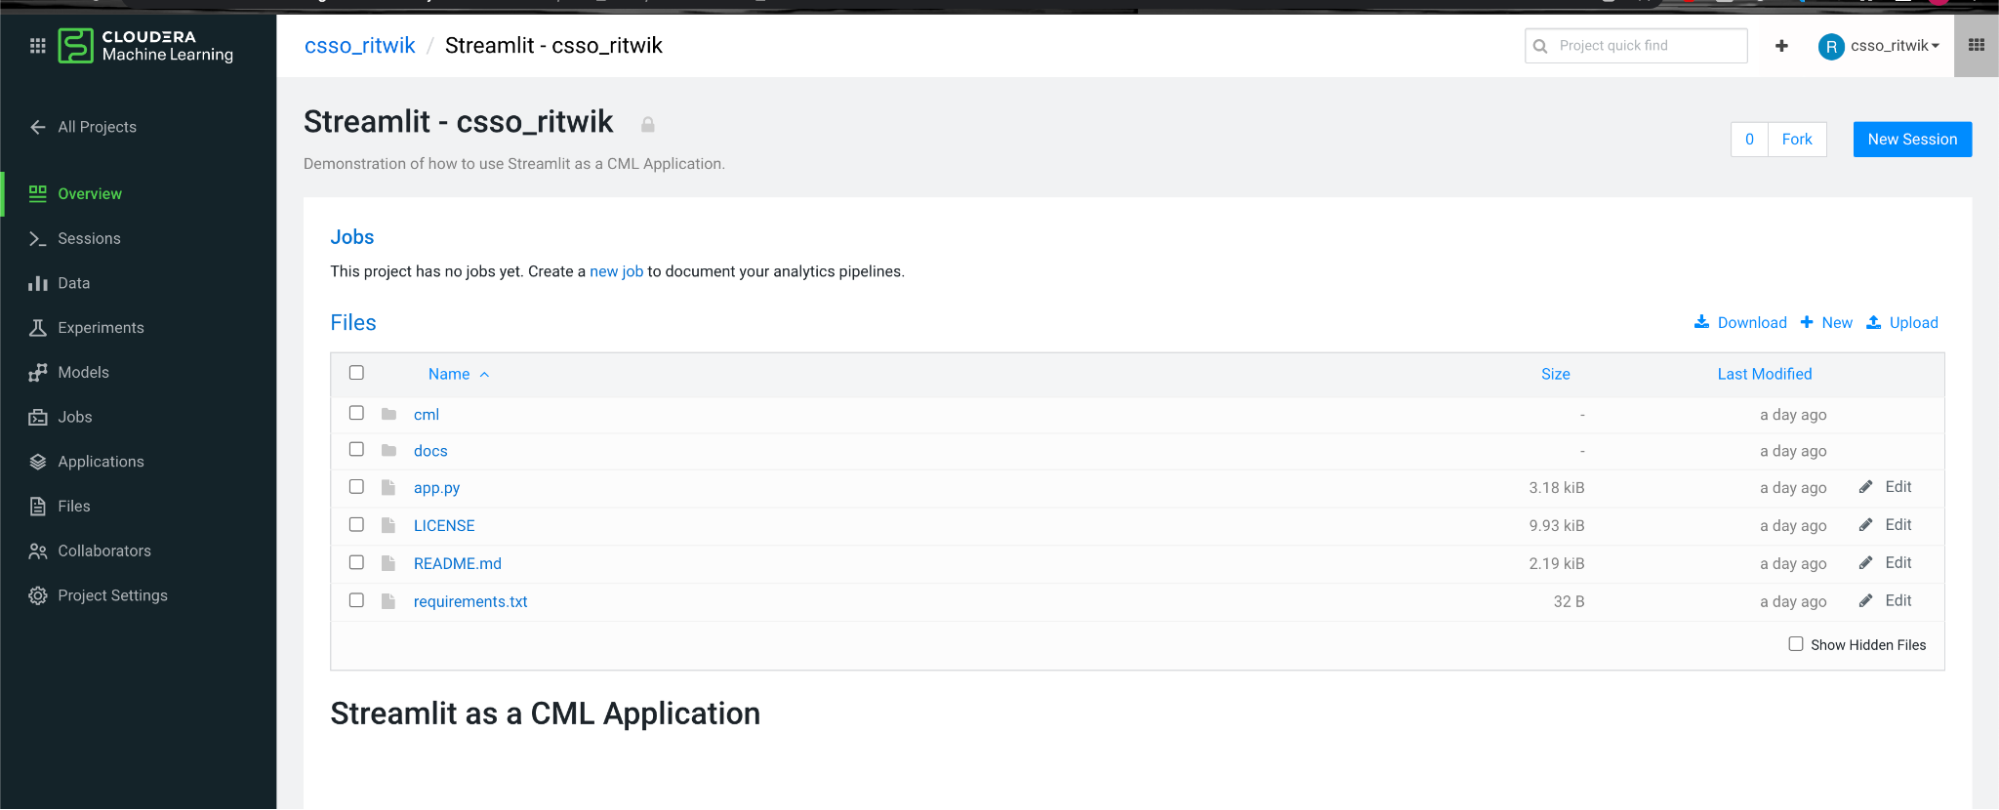
Try going into one of the projects and see if the files are still visible and accessible.

