
Creating a Cloudera AI Registry
Before you can start using Cloudera AI Registry you must create a AI registry for your environment.
-
Depending on your environment, complete one of the following:
-
If your environment is in AWS, AI Registry displays the following dialog box:
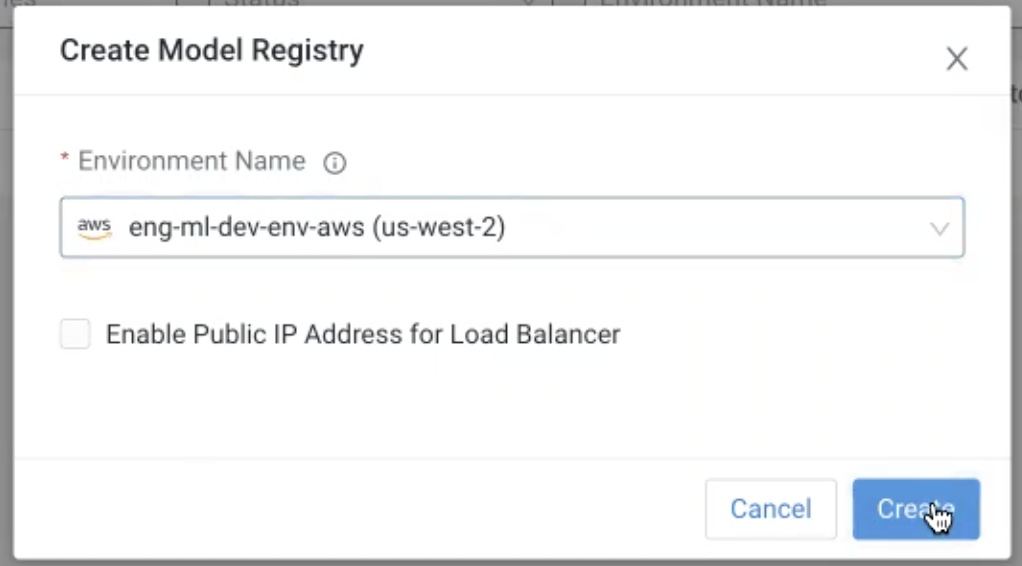
- From the Environment Name dropdown list, select your environment.
- Enable Public IP Address for Load Balancer: By default, AI Registry service uses a private load balancer for cluster ingress. If you use a public load balancer instead, select the Enable Public IP Address for Load Balancer option. If you use a private load balancer for cluster ingress, you must have a VPN connection between your corporate network and the Virtual Private Cloud (VPC) in which the AI Registry is deployed.
- click Create to create the Cloudera AI Registry.
-
If your environment is in Azure, Cloudera AI Registry displays the
following dialog box:
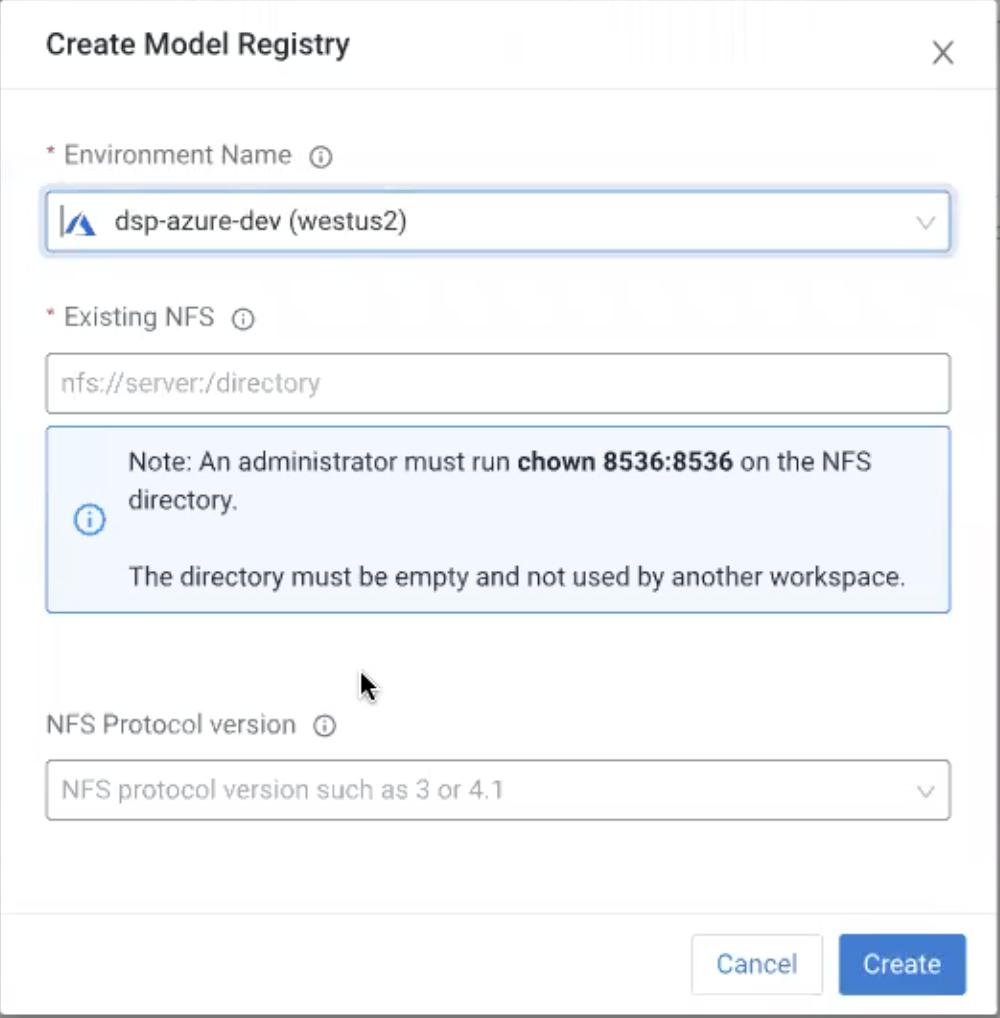
- Choose the Azure environment for the Cloudera AI Registry.
- Click Create to create the Cloudera AI Registry.
-
If your environment is in AWS, AI Registry displays the following dialog box: