After scanning the source cluster, you can use collections to sort the datasets that
need to be migrated to the destination cluster. Collections can also be useful to organize
different types of data, workflows and applications before migration.
Click Start Mapping or
Collections.
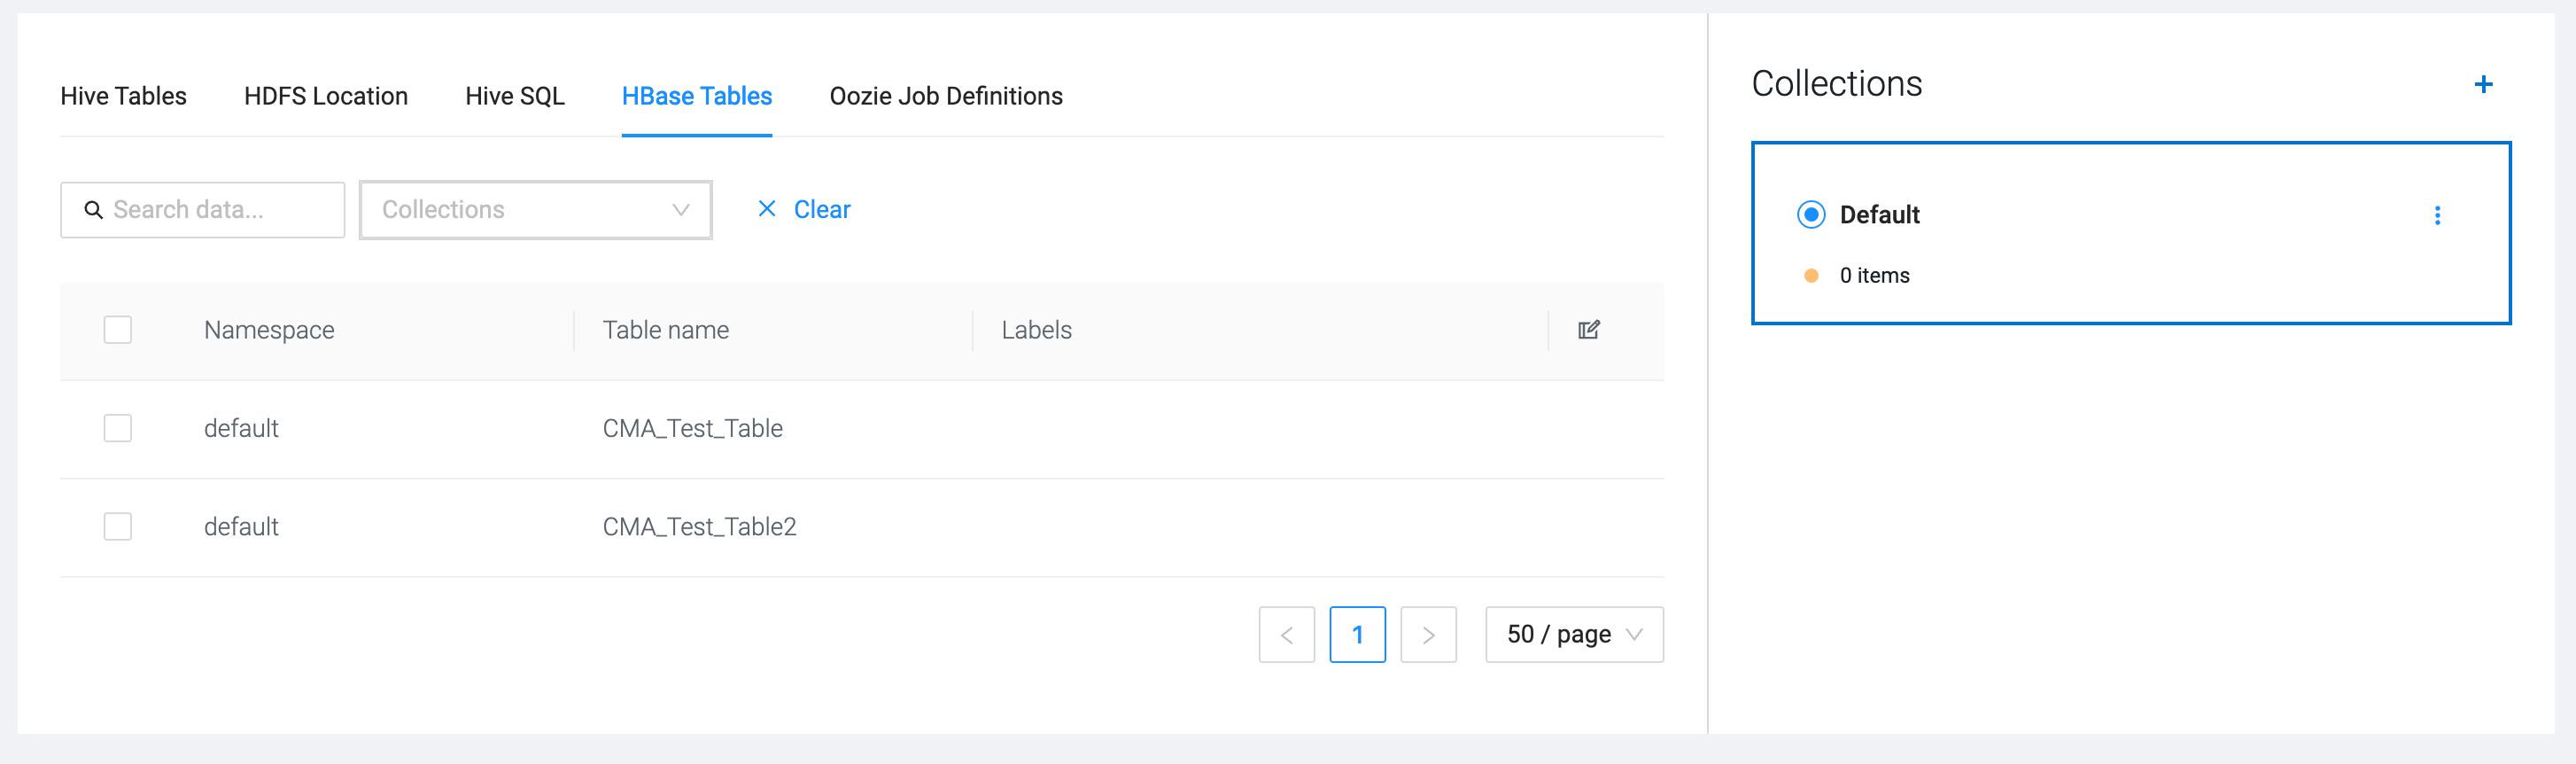
Click Hive Tables, HDFS Location,
Hive SQL, HBase Tables,
Oozie Job Definitions or Spark
Applications based on which items you would like to add to a
collections.
The different windows show the results of the scanning. For example, the Hive
Tables display all the existing tables in Hive on the source cluster.
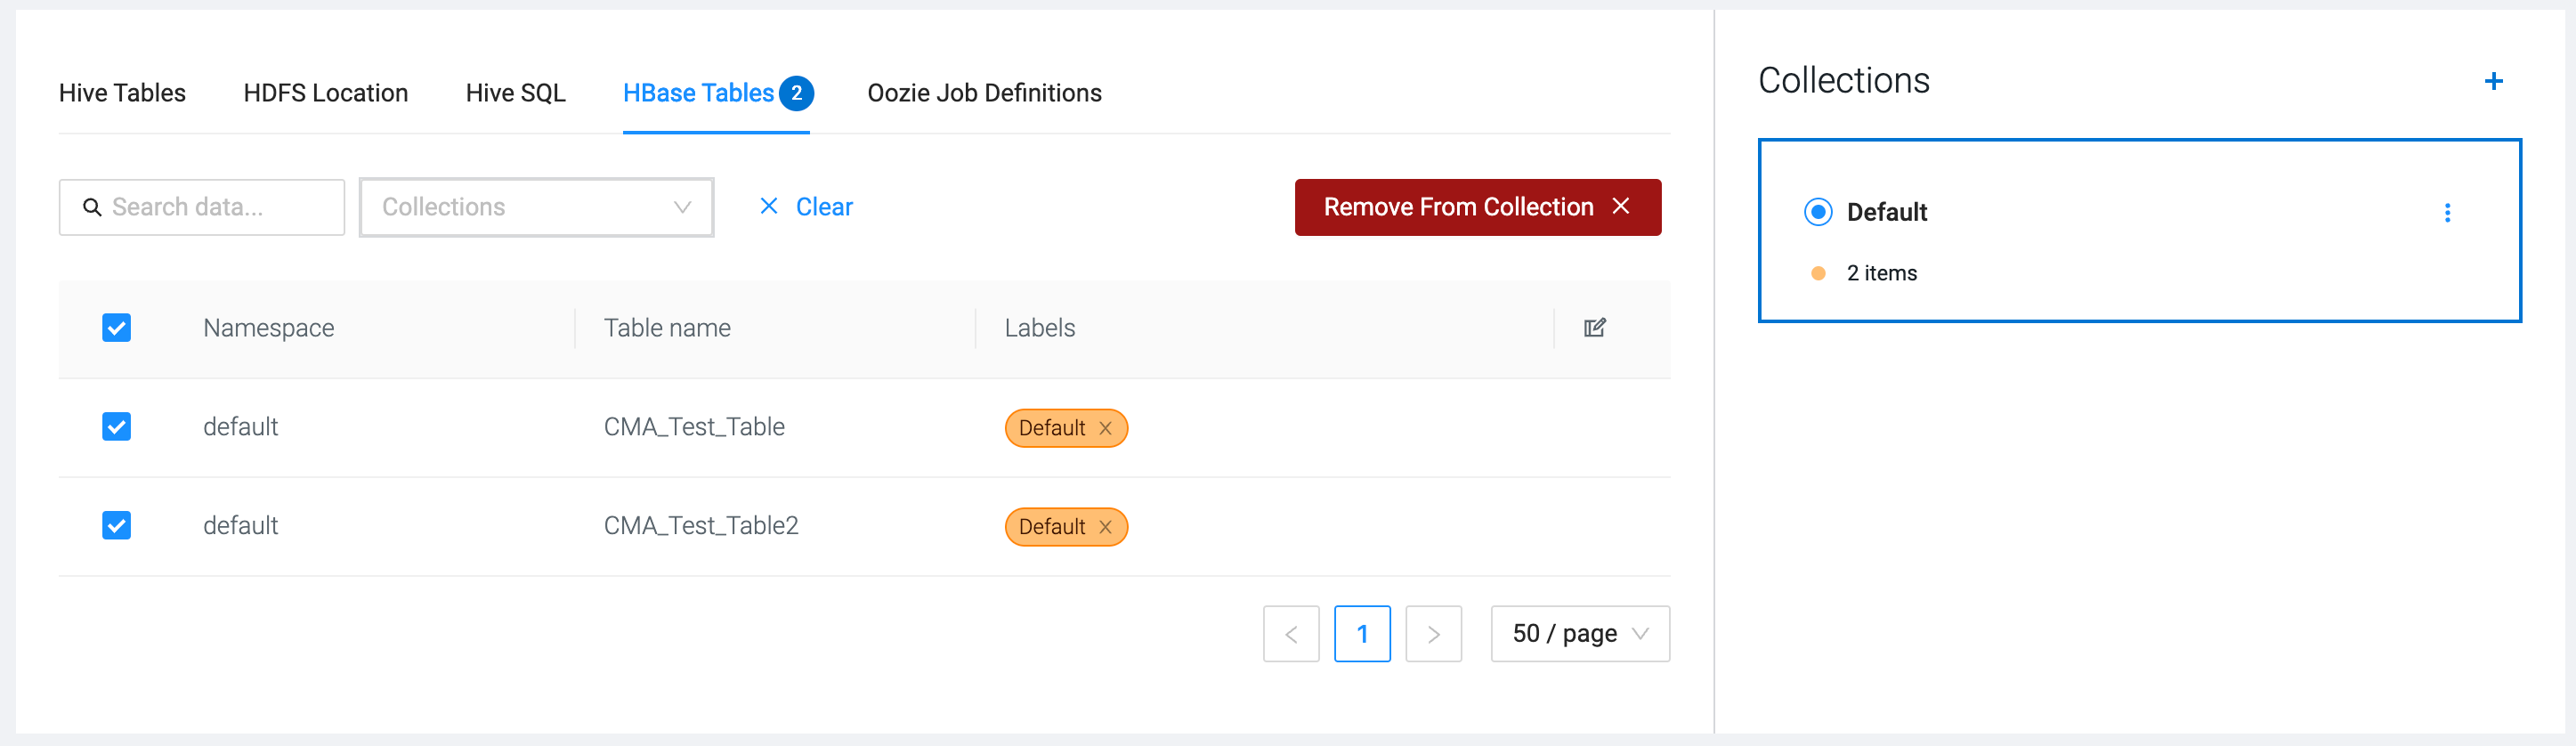
Select the items that you want to add to a collection, and click Add
to collection.
The selected items are added to the Default collection,
and the Default label is assigned to the selected
items.You have the option to create more collections beside the
Default collection.
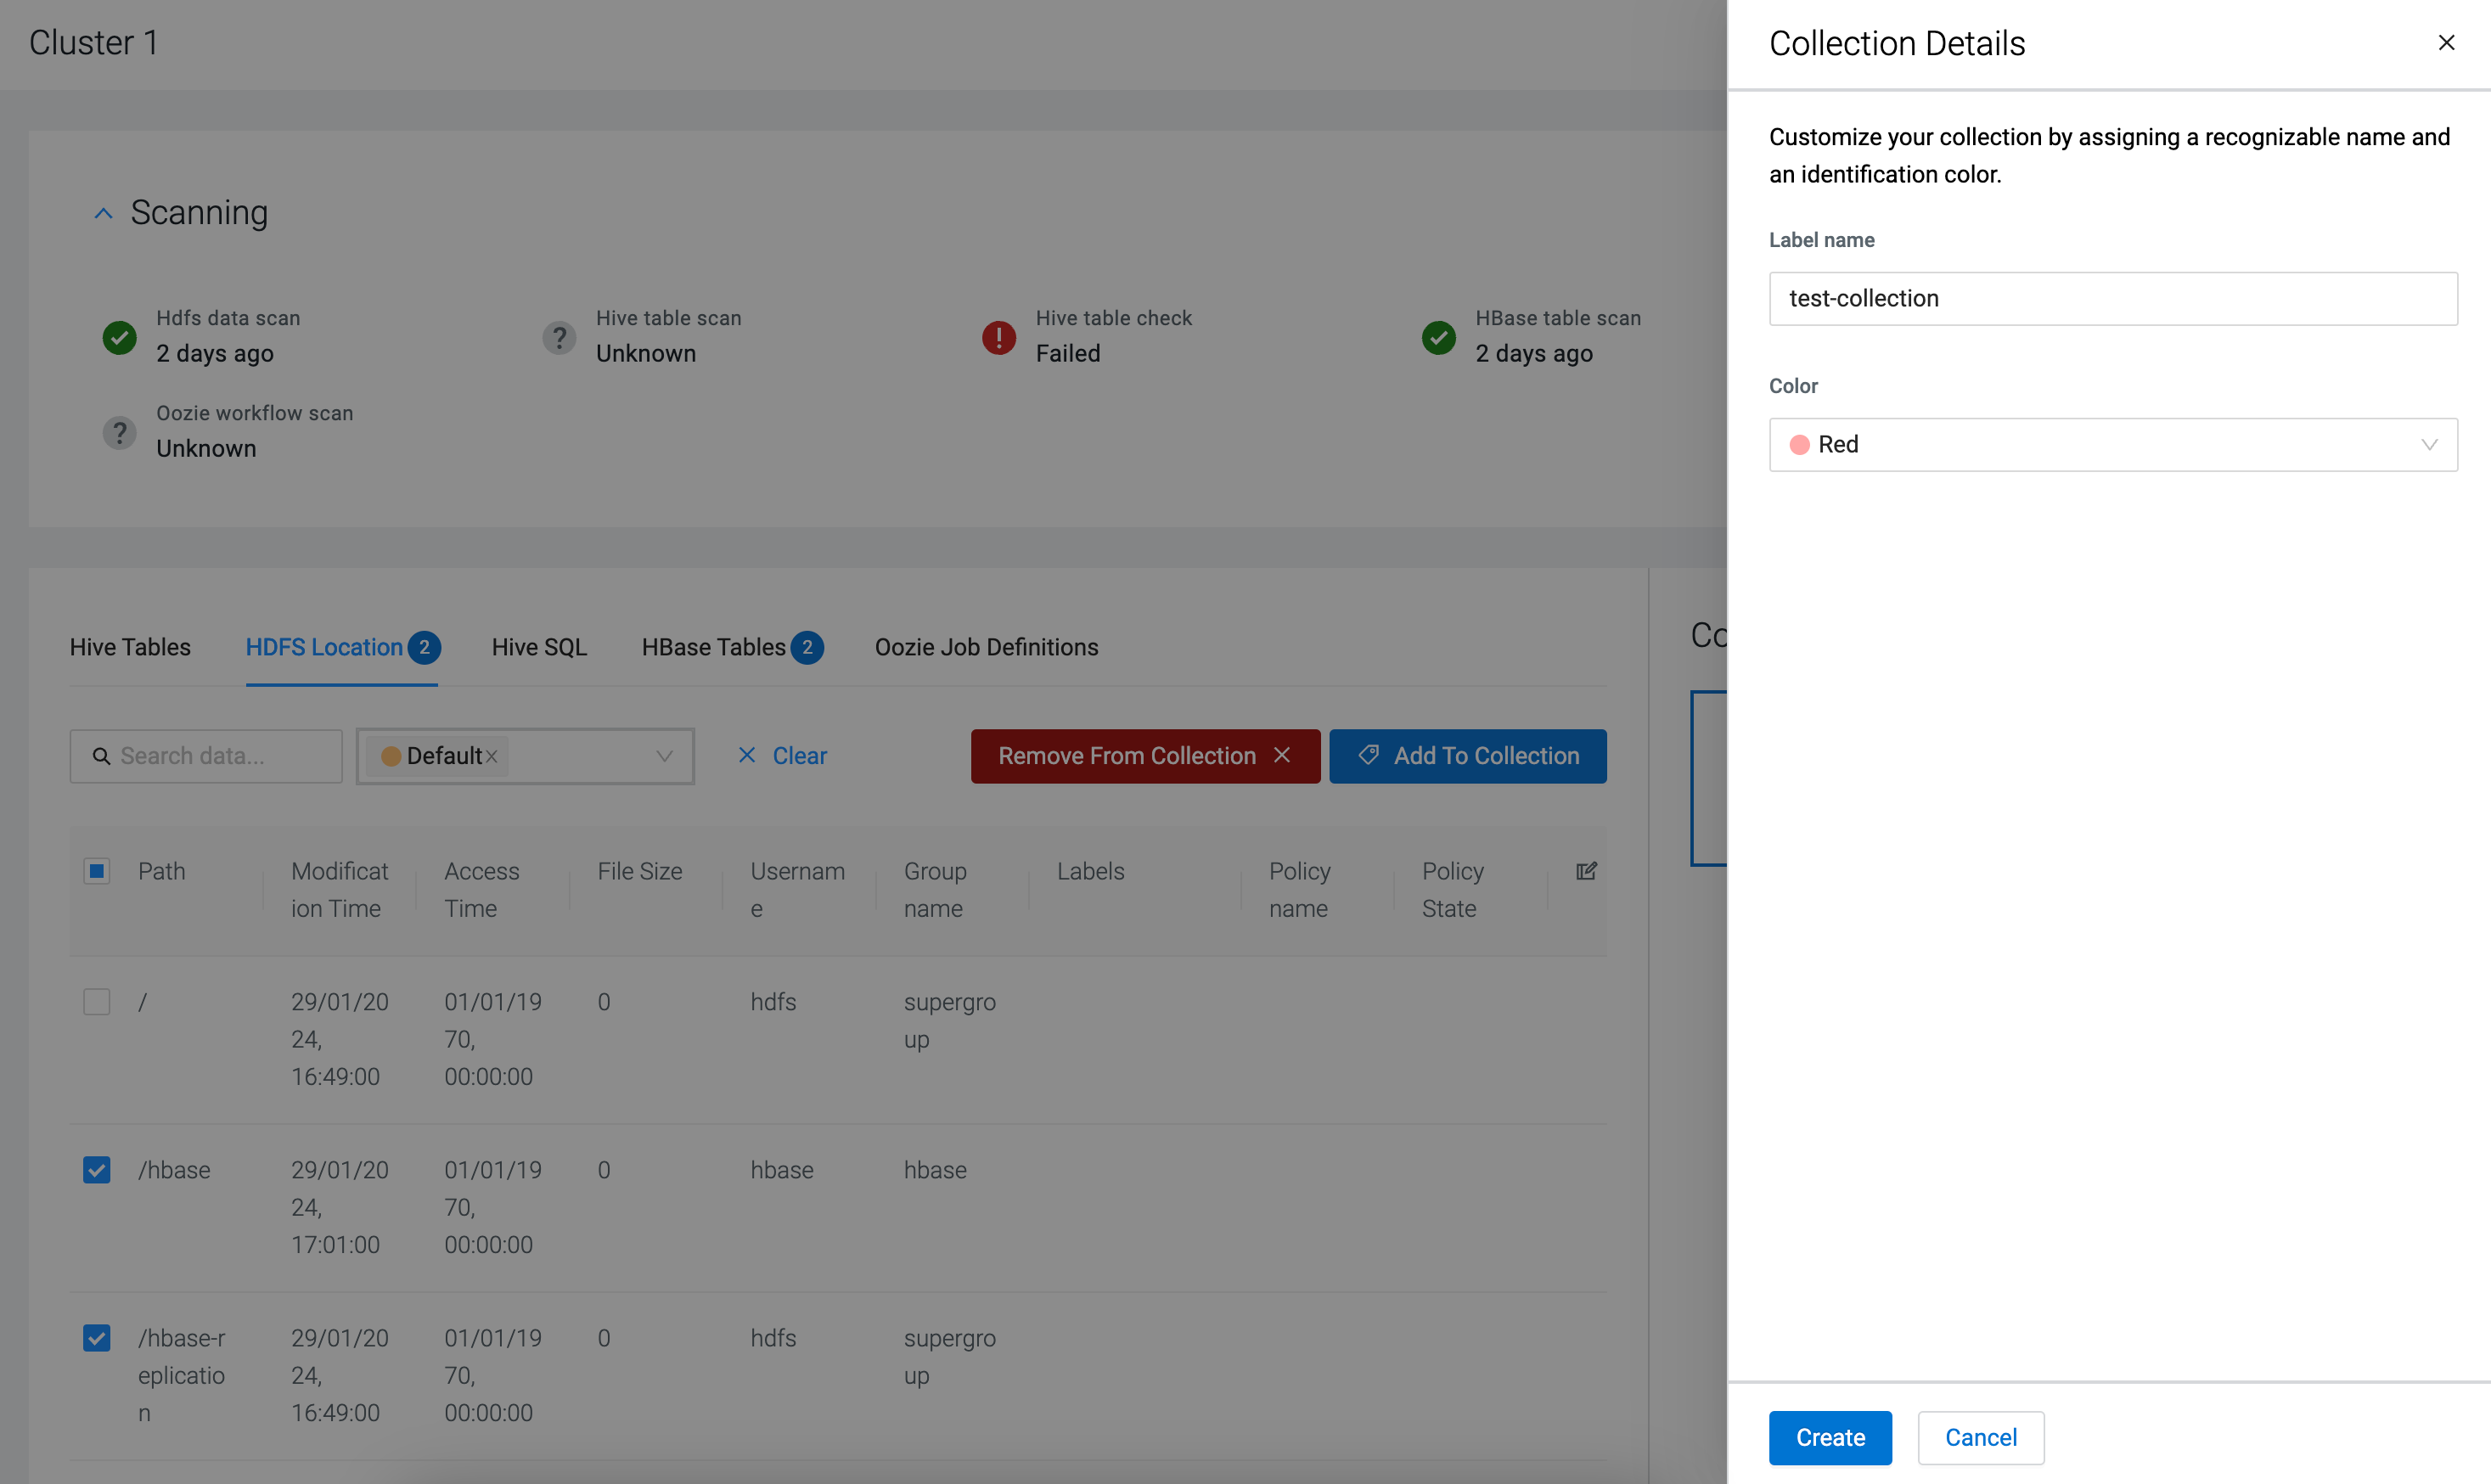
Click next to
Collections, and customize the collection by providing
a Label name and selecting a
Color. Click Create.
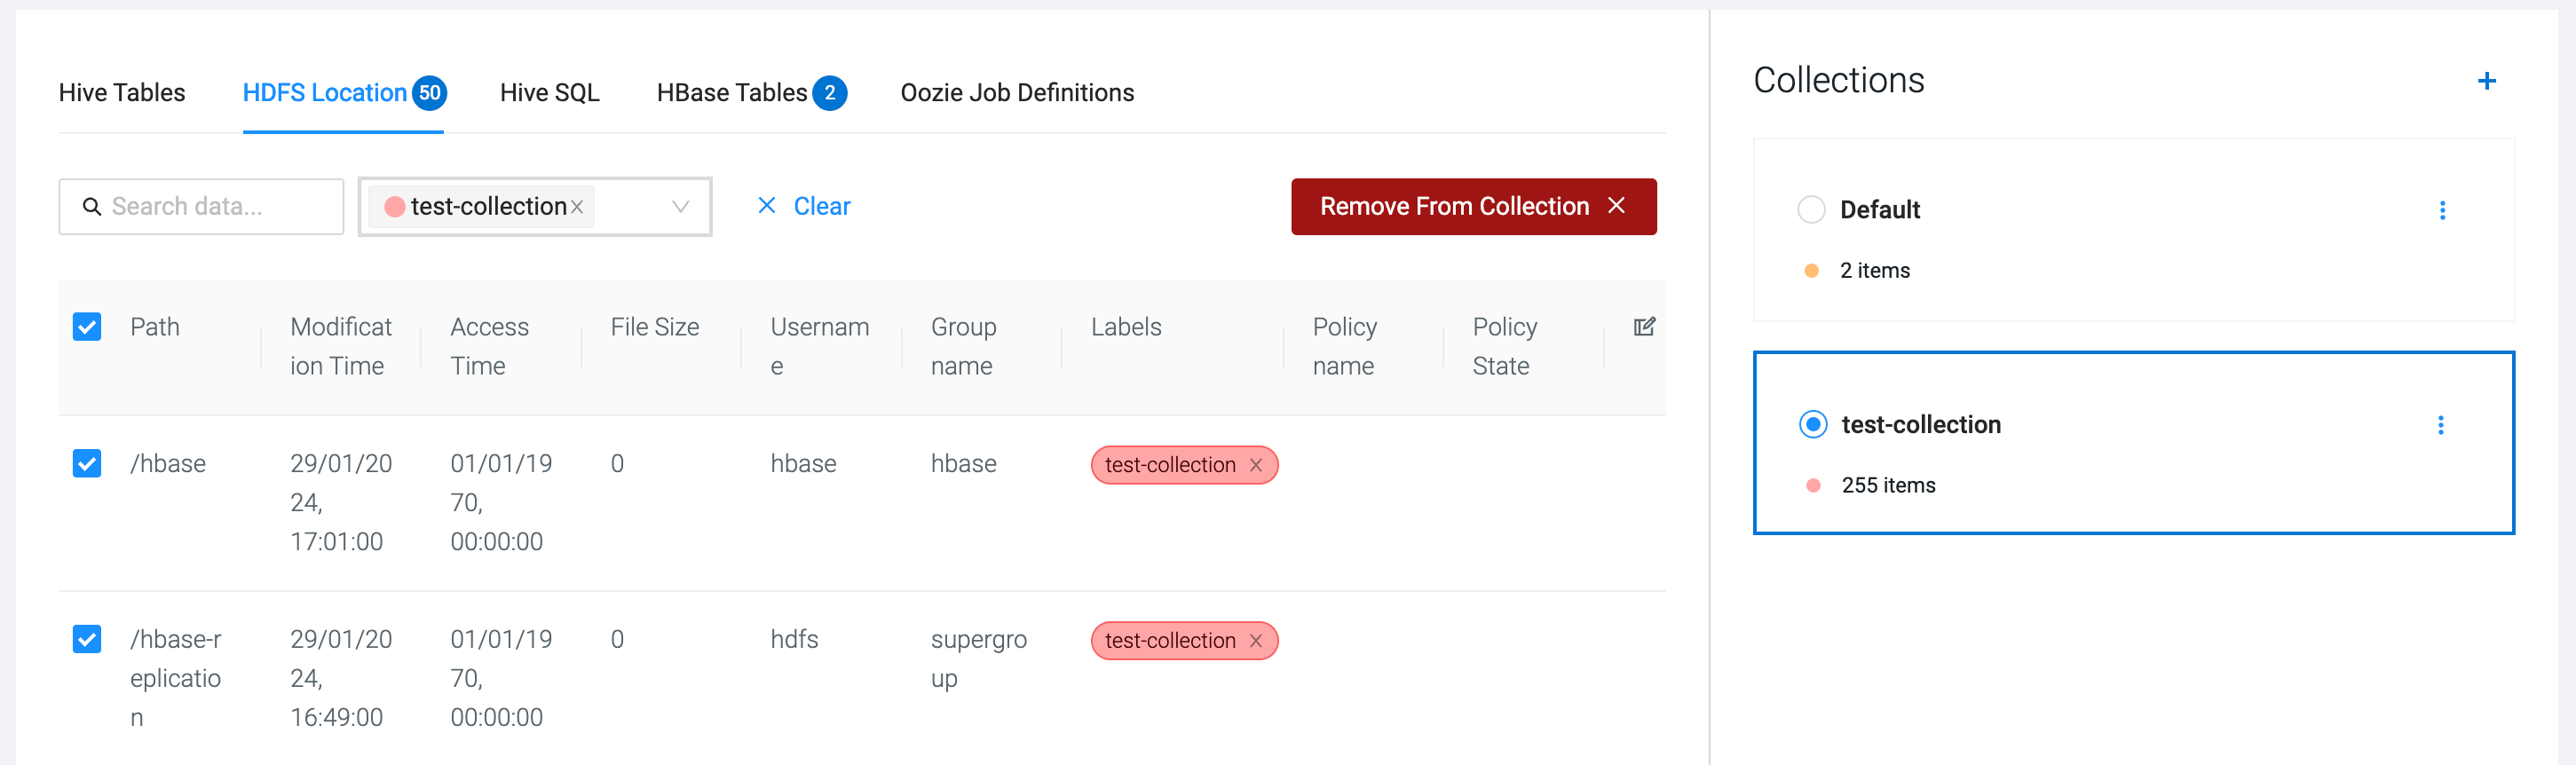
Select more items from the scanning results, and add it to the newly
created collection.You can manage the created collections by clicking on to open the
collections menu. You can review the labeled results in a collections using
View Items, and modify or delete the created
collection using Edit and Remove.
Removing a collection does not affect the items on the source cluster, only the
labelling is deleted.
The datasets are labeled for migration.Register the destination cluster to which the datasets and workflows are going to
be migrated.
 next to
Collections, and customize the collection by providing
a Label name and selecting a
Color. Click Create.
next to
Collections, and customize the collection by providing
a Label name and selecting a
Color. Click Create.
 to open the
collections menu. You can review the labeled results in a collections using
View Items, and modify or delete the created
collection using Edit and Remove.
Removing a collection does not affect the items on the source cluster, only the
labelling is deleted.
to open the
collections menu. You can review the labeled results in a collections using
View Items, and modify or delete the created
collection using Edit and Remove.
Removing a collection does not affect the items on the source cluster, only the
labelling is deleted.