To set up audit archiving, you must designate a container for audit archiving in the
Azure portal. While you can use an existing container, Cloudera recommends that you create a dedicated container
for audit archiving.
Before you create a container, take note of the location
property for the storage account at the top of the page in the Storage Account overview
section. You will use this later as the storageRegion value when you
configure archiving using the CDP CLI or Cloudera UI.
-
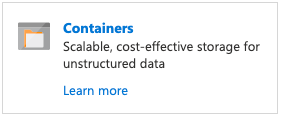
Navigate to your newly created storage account resource and click the
Containers button:
-
In the next screen, click the + Container button, then enter a
name for the container and the default Private access level.
You will use the container name when you create a new service principal in Azure.
Alternatively, you can create a new container using the Azure shell by
running the following
command:
az storage container create --name <container-name> --account-name <storage-account-name>
-
Obtain the URL for the newly created container.
To retrieve the URL, open the container and click the
Properties link in the left navigation bar under
Settings. Copy the URL shown. You will need this value when you
configure audit archiving as the value for the storage location URL. The format is:
https://<storage-account-name>.blob.core.windows.net/container-name{{}}

