Creating a storage account in Azure
To set up audit archiving, you must first designate a storage account and container for audit archiving in the Azure portal. While you can use an existing storage account, Cloudera recommends that you create a dedicated storage account for audit archiving, especially if you are archiving any sensitive data.
- Resource group name
- Storage account name
az group create --location <location> --name <resource-group-name>-
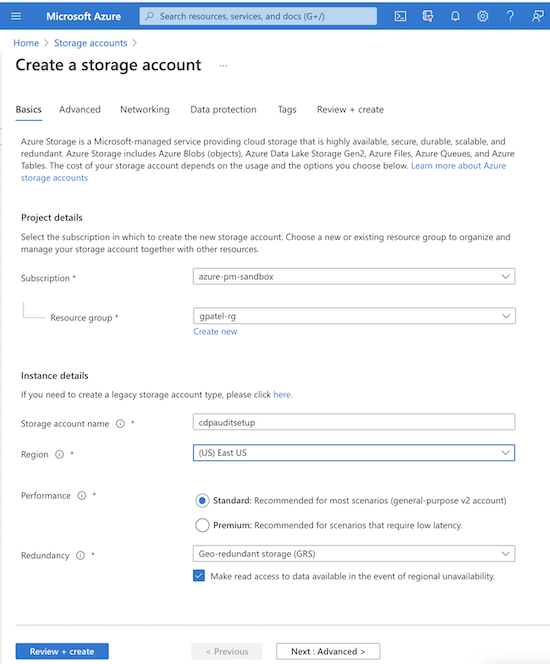
In Azure, create a storage account.
In the Basics page, you should be able to accept the defaults for all settings other than the name. You should also be able to accept the defaults on the Advanced and Networking pages.
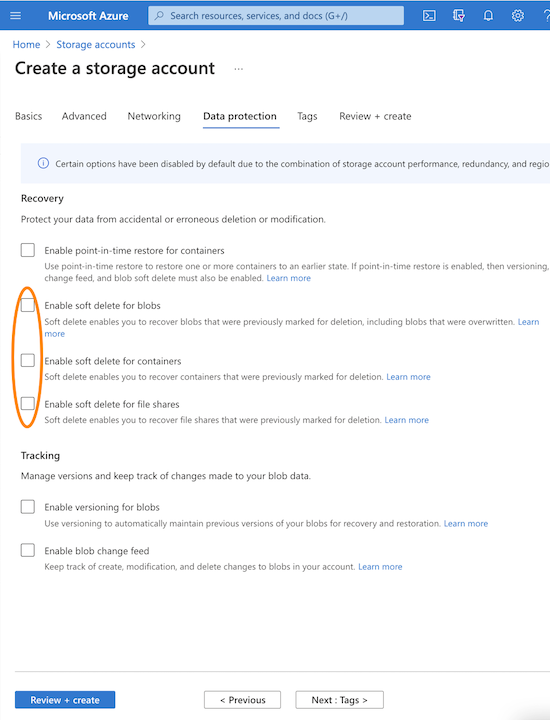
- When you reach the Data Protection page, you must disable the
soft delete options for blobs, containers, and file shares. These options are enabled by
default, so be sure to uncheck the selection boxes for these options, as shown
below:
-
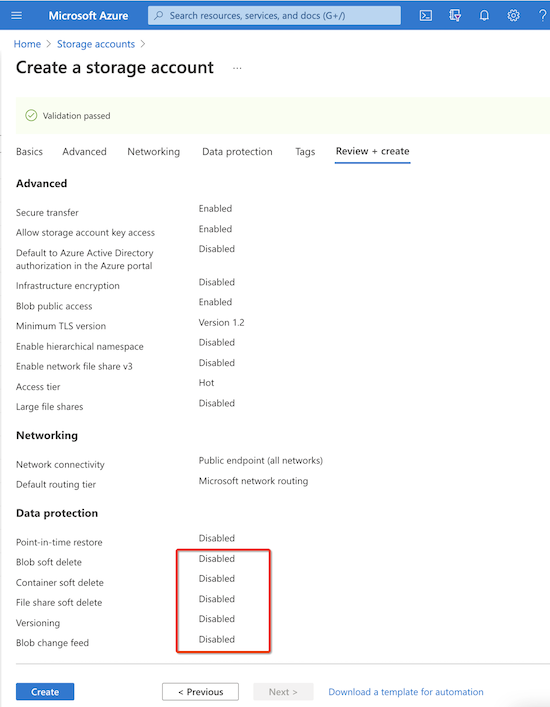
Review your changes in the next screen and verify that the soft delete options are
disabled. If everything looks correct, click the Create
button.
 Alternatively, you can create a storage account using the Azure shell by running the following command:
az storage account create --name <storage-account-name> --kind <kind> --location <location> --resource-group <resource-group-name>