Creating your first Azure Function App
Azure Functions is a serverless computer service that allows you to write less code, maintain less infrastructure, and save on costs. Instead of deploying and maintaining servers, the cloud infrastructure provides all the up-to-date resources needed to keep your applications running. In Azure Functions, a function app provides the execution context for your individual functions.
Follow these steps to create an Azure Function App that is able to run Cloudera Data Flow Functions:
-
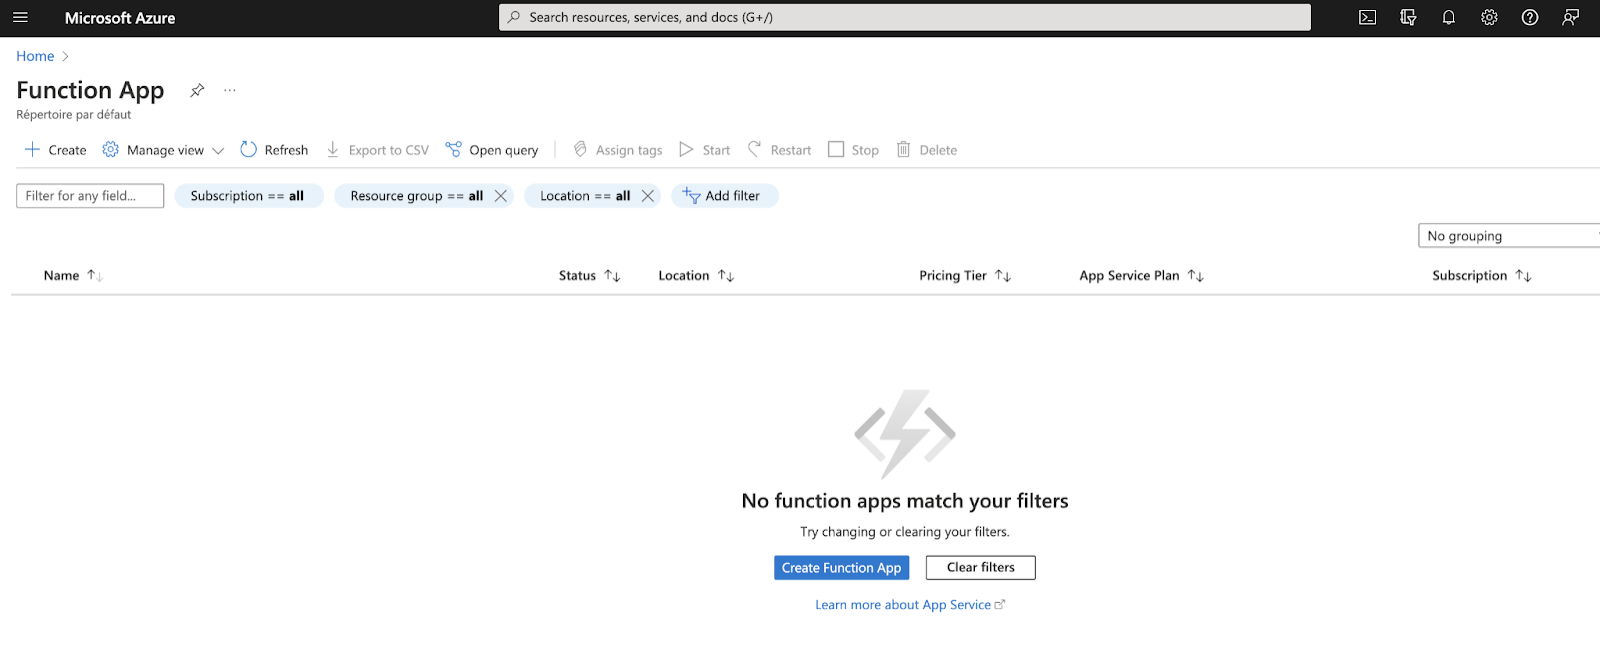
Navigate to the Azure Portal in your cloud account and click the Function
App service.

-
Click Create Function App.
You can now create your Function App:
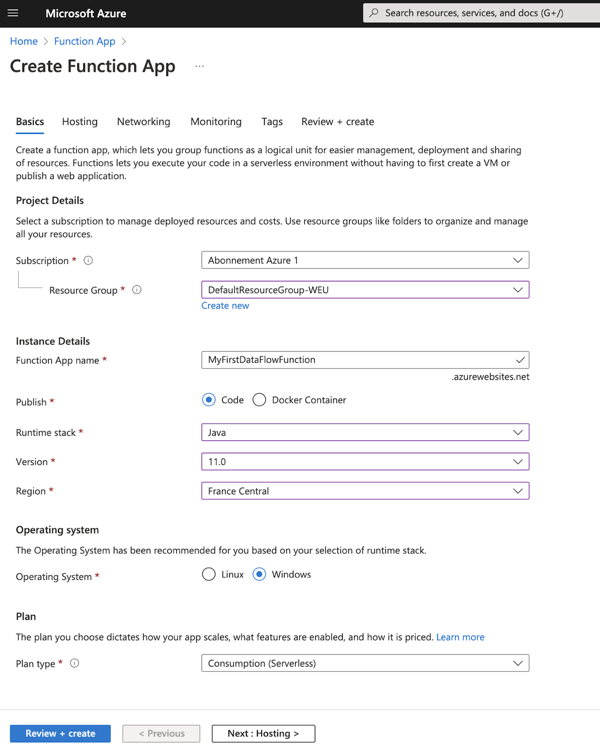 After completing the Basics tab, you can either click Next : Hosting > to provide additional details for your function app, or if you want to skip these configurations, click Review + create.
 -
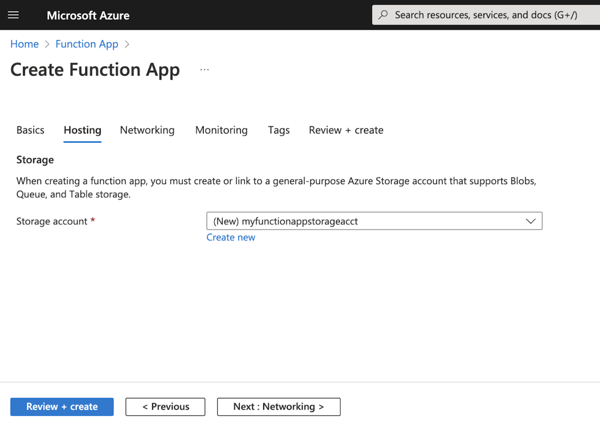
Click Next : Hosting > to continue creating the function app in
the wizard.
You can specify an existing an existing or create a new Azure Storage account.
-
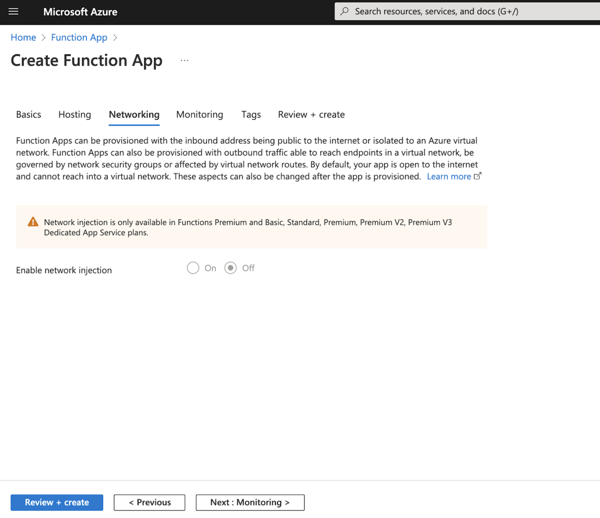
Click Next : Networking > to move forward in the wizard.
Depending on the Service Plan you selected, here you may be able to enable network injection.
-
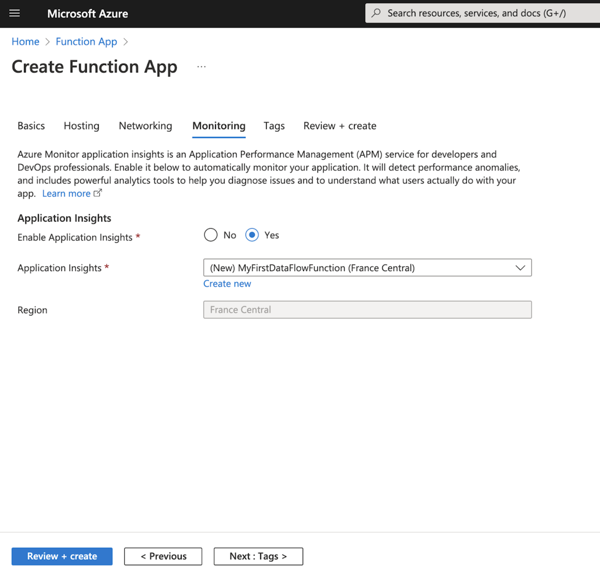
Click Next : Monitoring > to go to the next page.
Application Insights will automatically be integrated unless disabled here.
-
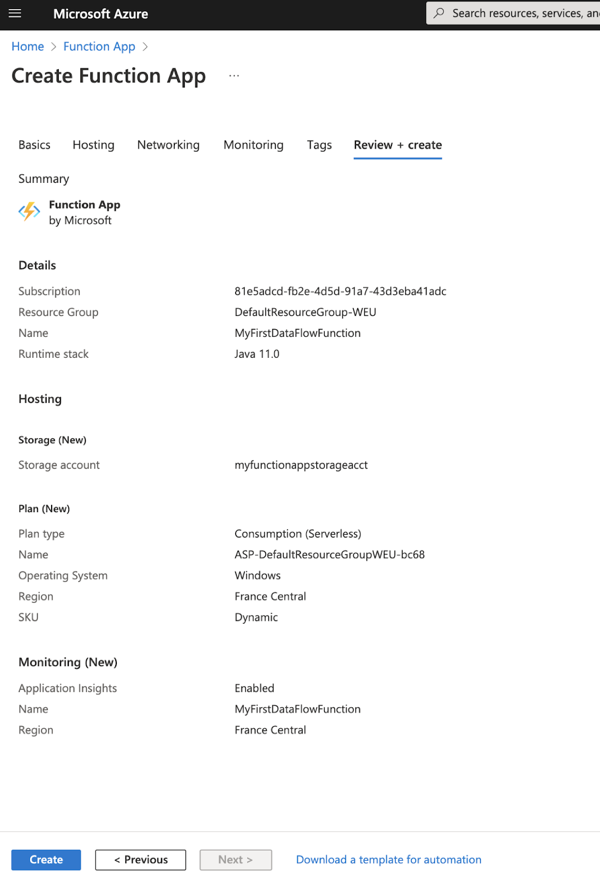
Click Create to create your Function App, and wait for the
deployment to complete.
- Navigate to the storage account selected or created before, and click Access keys.
- Click Show keys at the top, and copy the key1 "Connection string" value.
- Go back to the Function App, click to add a new setting named WEBSITE_CONTENTAZUREFILECONNECTIONSTRING, and paste the copied value as the setting value.
- Add another Application setting named WEBSITE_CONTENTSHARE with a value of "-fileshare".
- Click at the top.
This creates a file share to back your Function App that you can easily access from your storage account.
- Follow the instructions in the Managed Identity section to create a managed identity for your Function App.
- Navigate to the new storage account you created, and select the Containers blade.
- Click + Container on the top left and specify a name for a new Blob Container (e.g., "naaf").
- Click Create.
- Click the new container and select the .
- Click Add at the top left, and specify Add role assignment.
- Select Storage Blob Data Reader and click Next.
- Change Assign access to to Managed identity.
- Click the Select members link.
- Under Managed identity, select Function App and click the name of your Function App.
- Click Select and Review + assign.
- Go back to the new Container, click Upload at the top left and upload the NaafAzureFunctions.zip file provided by Cloudera.
For Windows based Function App or non-Consumption plans, follow these steps to upload the Cloudera Data Flow Functions binary to your newly created Function App:
- Navigate to the storage account selected or created before, and click the File shares blade under Data storage
- Click the file share name.
You can see that this share has a 5 TB quota. It will be mapped to /home on the Function App filesystem.

- Click the data directory (or create it if it does not yet exist), and click Add directory at the top to create a directory named SitePackages.
- Enter the new directory and upload the NaafAzureFunctions.zip file.
- Create a file named packagename.txt with the contents of
NaafAzureFunctions.zip and upload it as well.
% echo
                "NaafAzureFunctions.zip" > packagename.txt
