Deploy the Hello World ReadyFlow using the deployment wizard
Learn about the steps to deploy the Hello World ReadyFlow to get started with Cloudera Data Flow.
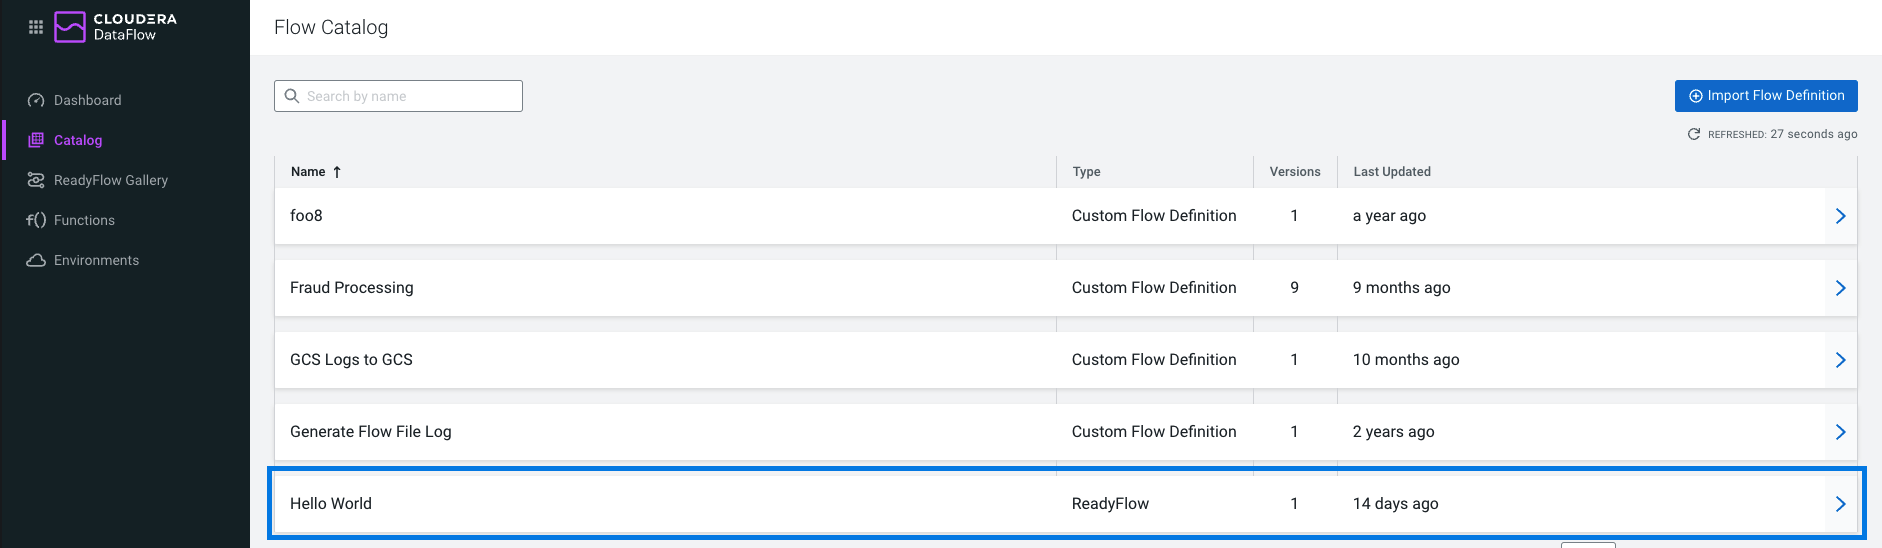
Once you have added the Hello World ReadyFlow into the Catalog, stay in the Catalog and use the Deployment wizard to deploy that flow definition.
-
You must have an enabled and healthy Cloudera Data Flow environment.
-
You must be assigned the DFCatalogAdmin role granting you access to the Catalog.
-
You must have added the Hello World flow definition to the Catalog.
-
You must be assigned the DFFlowAdmin role for the environment where you want to deploy the flow definition.
-
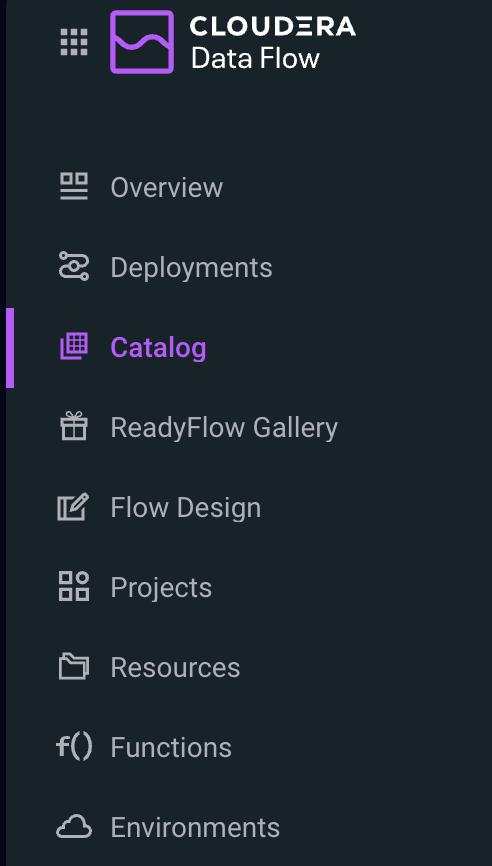
In the navigation pane, click
 Catalog.
-
To initiate deployment, click the Hello World flow
definition on the Catalog pane to display the flow
definition details.
-
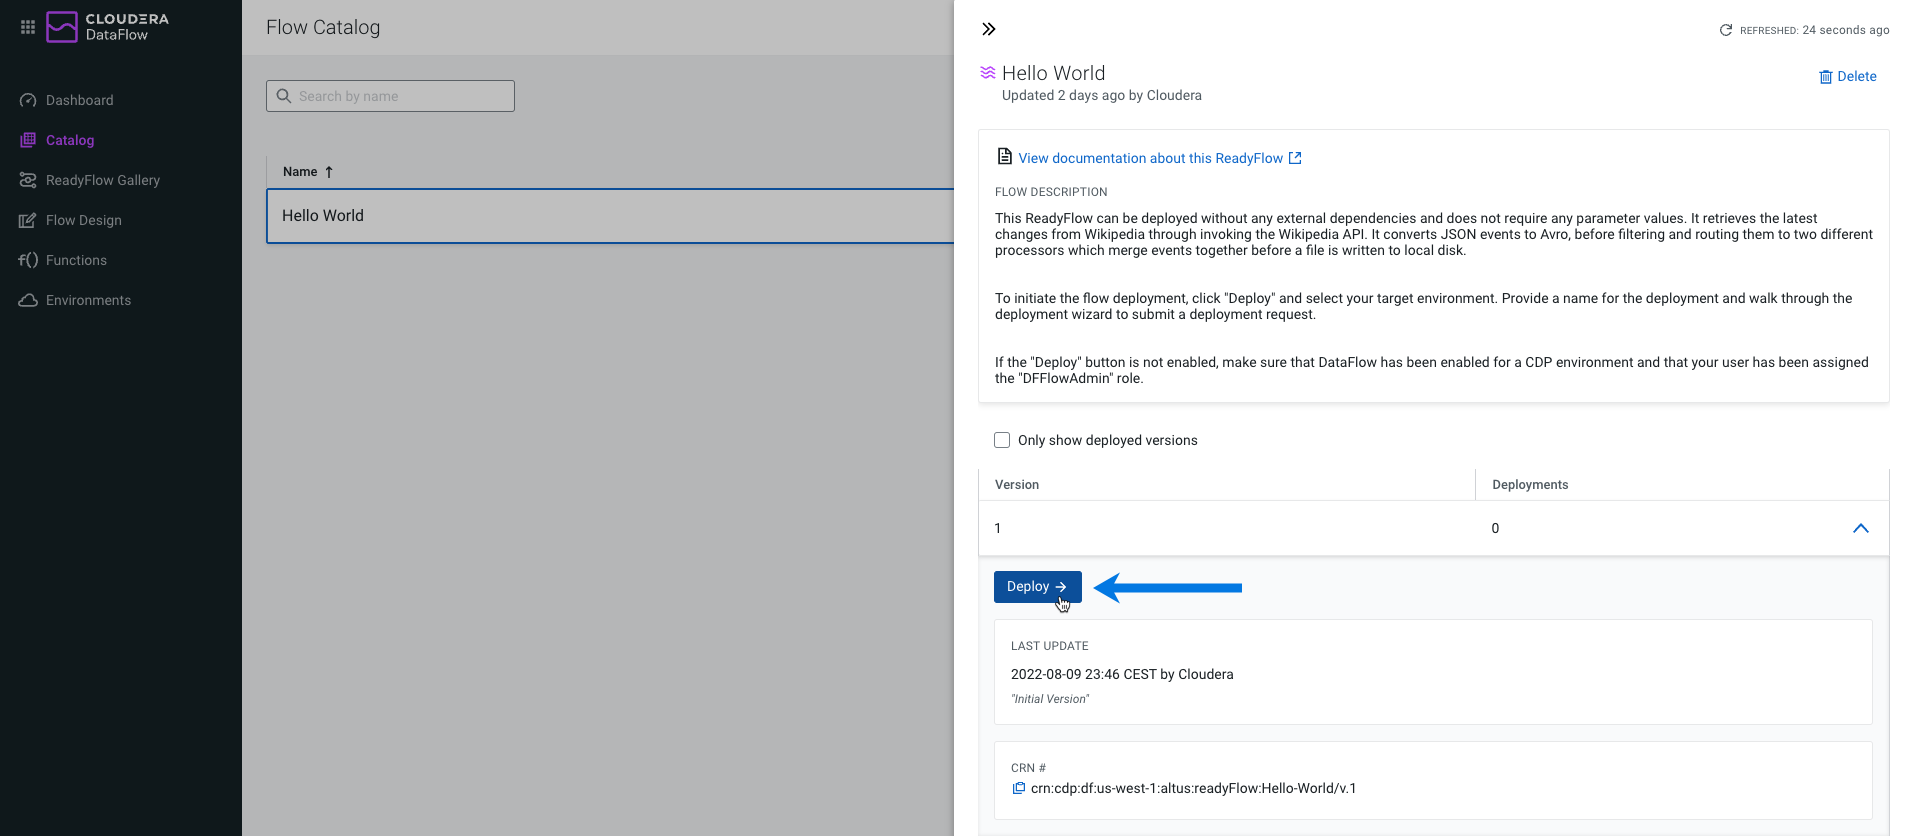
Click Deploy
 to launch the
deployment wizard.
to launch the
deployment wizard.
-
Click Continue .
-
Click Next .
-
In the NiFi Configuration step, click Next .
-
In the Parameters step, click Next .
-
In the Sizing & Scaling step, click Next .
- Optional:
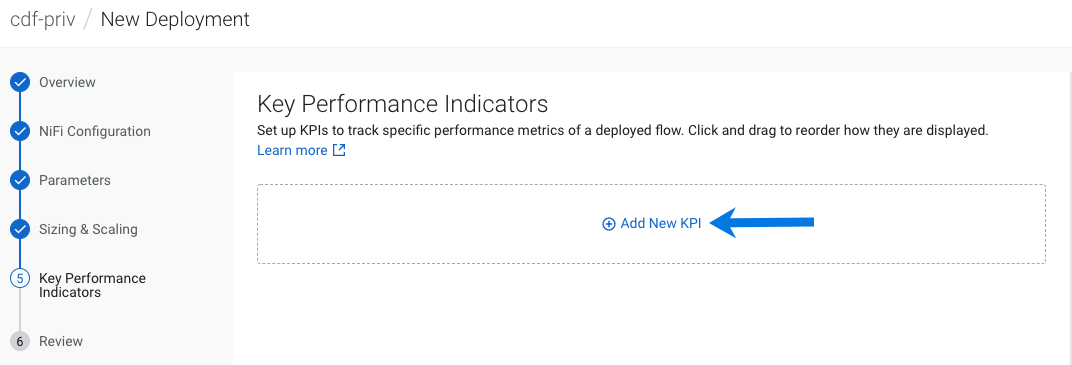
To learn about the use of Key Performance Indicators (KPIs), add a KPI that
will track how much data the processor is writing to the destination files.
The KPI will raise an alert whenever the value goes below 1MB.
-
In the Key Performance Indicators step, click
 Add
New KPI.
Add
New KPI.
-
Set the following properties:
- KPI Scope
- Select Processor.
- Processor Name
- Select Write "Added Content" Events to File.
- Metric to Track
- Select Bytes Sent
- Alerts
- Select Trigger alert when metric is less than and set the value to 1 MBytes.
- Alert will be triggered when metric is outside the boundary(s) for
- Set to 2 Minutes.

-
In the Key Performance Indicators step, click
-
Click Next .
-
Review a summary of the information provided. When you
are finished, complete flow deployment by clicking
 Deploy.
Once you click the Deploy button, you are redirected to the Active Alerts tab in the detail view for the deployment where you can track the deployment progress.