After Atlas is available on the Cloudera Private Cloud Base cluster,
you must import the Atlas data that the Atlas migration exporter utility exported from the
HDP 2.6.5.x cluster.
Use these properties to improve the speed of Atlas data
import:
For a node with 4 cores and 8 GB of heap space, the estimated duration for
import is 0.75 million entities per hour.
Go to Atlas > Configuration > Category > Advanced > Custom application-properties:
atlas.migration.mode.batch.size: The recommended value is
300.
atlas.migration.mode.workers: The recommended value is 3
when using one Atlas Solr shard.
The value to be set depends on the following calculation:
if ATLAS_SOLR_SHARDS >
1,
atlas.patch.numWorkers=ATLAS_SOLR_SHARDS * 3
Additional patches are applied after the migration is completed. These are the
properties that will help with improving the speed of patches.
Configure Atlas in Cloudera Private Cloud Base with the
location of the exported data.
Configure the atlas.migration.data.filename
property.
In Cloudera Manager, go to
Clusters and select
Atlas.
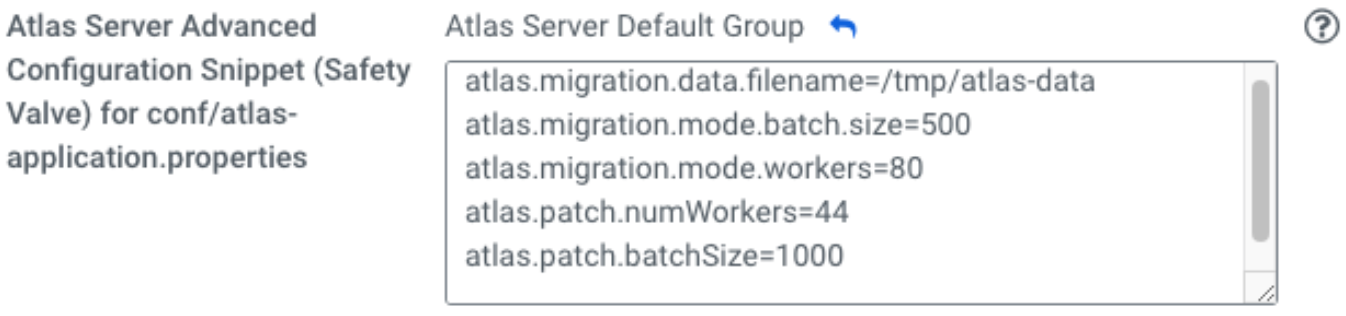
From Atlas configuration, set the Advanced Configuration Snippet
(Safety Valve) for conf/atlas-application.properties value to
the location which contains exported Atlas data.
Set additional properties:
atlas.migration.mode.batch.size=300.
atlas.migration.mode.workers=<use the value
from calculation above>
atlas.patch.batchSize=300
atlas.patch.numWorkers=<use the value from
calculation above>
For example:
atlas.migration.data.filename=/var/lib/atlas-data
atlas.migration.mode.batch.size=300.
atlas.migration.mode.workers=3
atlas.patch.batchSize=300
atlas.patch.numWorkers=3
Save the configuration.
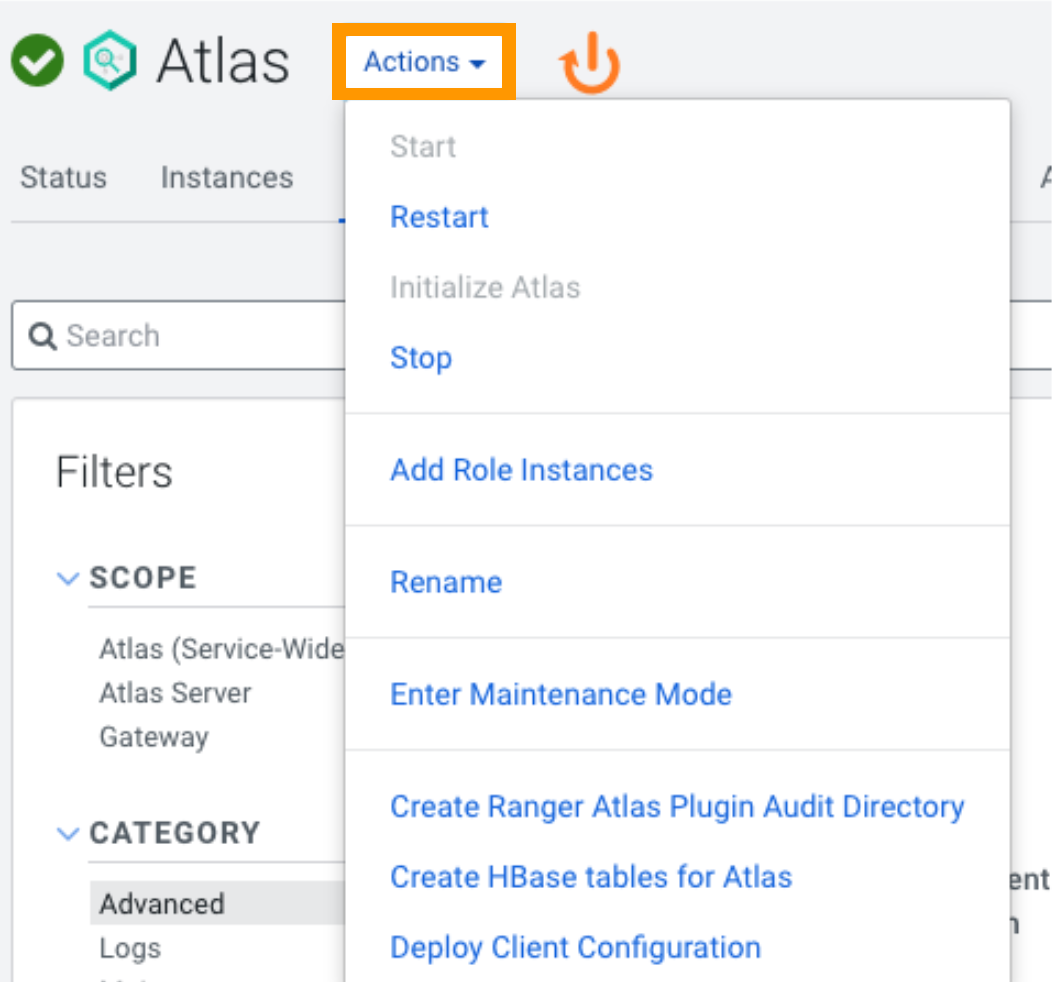
Restart Atlas from Cloudera Manager. Go to Atlas > Actions > Restart.
Atlas starts in the migration mode and data import should commence. During the
migration process, Atlas blocks all the REST API calls and Atlas Hook
notification processing.
To check the migration status, use the following command:
http://[atlas_server]:21000/api/atlas/admin/status
The migration status is displayed in the browser window:
{"Status":"Migration","currentIndex":139,"percent":67,"
startTimeUTC":"2018-04-06T00:54:53.399Z"}
The progress of import can be monitored using Atlas logs on the node where the
migration is running. On the completion of migration, the log should have this
entry: Done! loadLegacyGraphSON.
(GraphDBGraphSONMigrator:76)
After the migration is complete, change the status of Atlas from migration mode
to normal operation by removing the
atlas.migration.data.filename property and restarting
Atlas in Cloudera Manager.