Setting up CMA server
You must create a docker image to run the Clouder Migration Assistant server or install it locally. You can deploy it to any of your cluster nodes or an external node that has visibility to the cluster and has at least 1.5 GB of extra memory. ${cloudera.version} here represents the CMA versions such as 3.3.0.0-38 and so on.
CMA without internet connection
When setting up CMA without internet connection, the installation script ensures to install the required Python dependencies without using internet connection and creates the Python Package Index (pypi) repository locally.
You can view the list of components installed with CMA under the following directory: cma-${cloudera.version}/am2cm-ansible/python_requirements/
The Python requirements file details the Python packages that are needed to set up the virtual environment to run CMA. No internet connection is used to download these components when setting up CMA in an air-gapped network.
Downloading CMA
Download the latest CMA binaries from https://archive.cloudera.com/cma/3.3.0.0/. The supported version of CMA is 2.4.1.1 and higher. For more information on the CMA versions, see Software download matrix
- With internet connection:
- wget https://archive.cloudera.com/cma/${base.version}/tars/cma-${cloudera.version}-bin.tar.gz or curl https://archive.cloudera.com/cma/${base.version}/tars/cma-${cloudera.version}-bin.tar.gz --output cma-${cloudera.version}-bin.tar.gz
Extract the downloaded file: tar xzf cma-${cloudera.version}-bin.tar.gz
- Without internet connection:
- mkdir cma-${cloudera.version}
- cd cma-${cloudera.version}
wget https://archive.cloudera.com/cma/${base.version}/tars/cma-${cloudera.version}-bin.tar.gz
wget https://archive.cloudera.com/cma/${base.version}/tars/cma-extras-gpl-${cloudera.version}-bin.tar.gz
orcurl https://archive.cloudera.com/cma/${base.version}/tars/cma-${cloudera.version}-bin.tar.gz --output cma-${cloudera.version}-bin.tar.gz
curl https://archive.cloudera.com/cma/${base.version}/tars/cma-extras-gpl-${cloudera.version}-bin.tar.gz --output cma-${cloudera.version}-bin.tar.gz
When the required binaries for air-gapped install are successfully downloaded, the directory structure looks like the following example:
drwxr-xr-x 14 testuser testuser 4096 febr 27 13:21 cma-3.2.0.0-14\
-rw-rw-r-- 1 testuser testuser 518140466 febr 27 13:28 cma-3.2.0.0-14-bin.tar.gz
-rw-rw-r-- 1 testuser testuser 85089637 febr 27 13:28 cma-extras-gpl-3.2.0.0-14.tar.gz
Extract the downloaded file: tar xzf cma-${cloudera.version}-bin.tar.gz
Starting CMA server
After extracting the compressed file, there are two ways to start the CMA server - in a Docker container or locally.
Starting CMA server in Docker Container
Ensure that Docker 20+ is installed on the host. For more information, see the Installing Docker Engine documentation.
In case you do not define the Python executable when running the script, you will be prompted to enter the Python executable path.
- With internet connection:
Run the cma-docker.sh script in the untarred top-level folder to launch the CMA server in a Docker container: cma-${cloudera.version}/bin/cma-docker.sh --start
- Without internet connection:
cd ${cloudera.version}/bin/cma-docker.sh --start --airgapped --python-executable=python3
If the GPL file is not located in the same directory as the CMA file, you can use the following command, where you define the path of the GPL file: cma-${cloudera.version}/bin/cma-docker.sh --start --airgapped --cma-extras-gpl-tar-location=`<ABSOLUTE PATH TO EXTRAS GPL>`
Check that the local pypi repository is installed correctly: netstat -atnp | grep 9003(Not all processes could be identified, non-owned process info will not be shown, you would have to be root to see it all.)tcp 0 0 0.0.0.0:9003 0.0.0.0:* LISTEN 201503/python3
Starting CMA server locally
The preferred way of running CMA server is using docker, however if you have constraints on Docker you can install it directly on any host. Ensure that Python 3.8 or later and Java runtime version 11 are installed on the host.
- With internet connection:
Run the cma-local.sh script in the untarred top-level folder and follow its instructions to launch the CMA server locally: cma-${cloudera.version}/bin/cma-local.sh --start
- Without internet connection:
cd ${cloudera.version}/bin/cma-local.sh --start --airgapped --python-executable=python3
If the GPL file is not located in the same directory as the CMA file, you can use the following command, where you define the path of the GPL file: cma-${cloudera.version}/bin/cma-local.sh --start --airgapped --cma-extras-gpl-tar-location=`<ABSOLUTE PATH TO EXTRAS GPL>`
Check that the local pypi repository is installed correctly: netstat -atnp | grep 9003(Not all processes could be identified, non-owned process info will not be shown, you would have to be root to see it all.) tcp 0 0 0.0.0.0:9003 0.0.0.0:* LISTEN 201503/python3
After startup
http://localhost:8090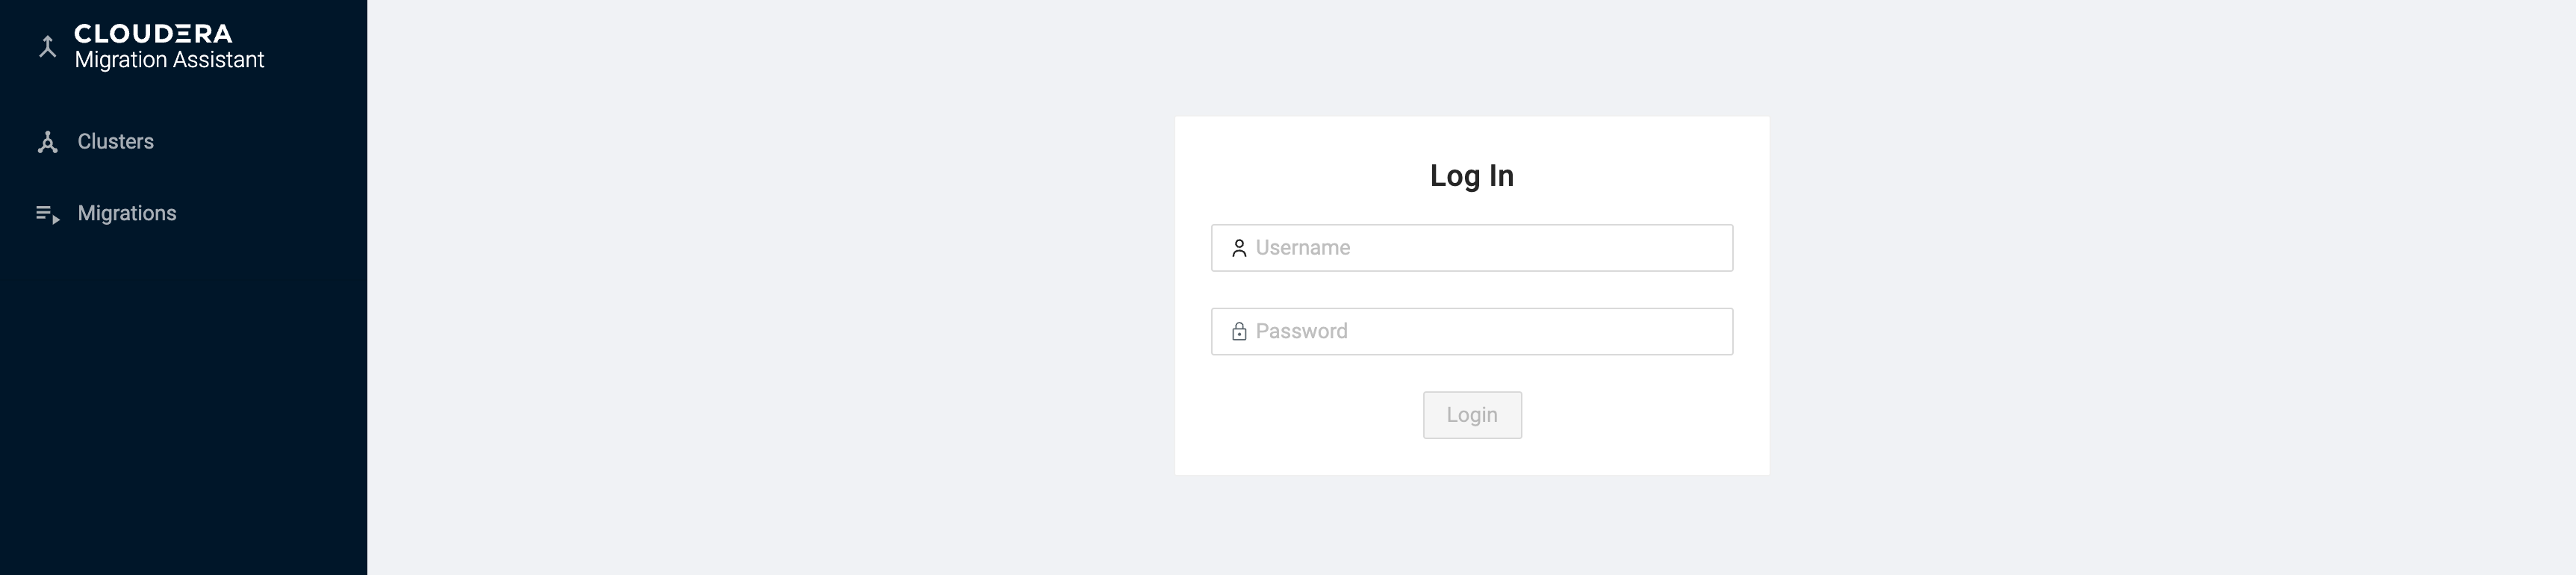
You also need to make sure you that CMA host has a line of sight to the cluster nodes, by configuring /etc/hosts or /etc/resolv.conf files.